In this article, you will learn how to customize your Z-Wave devices.
Please note that we recommend only the advanced users to make any changes in this section. Any change made to the advanced parameters without consulting the device manual might brick the device functionality. In that case you might need to reset your Z-Wave device to factory defaults and re-include on the controller and add in in the scenes.
This guide will teach you how to:
- Access the Z-Wave device advanced parameters
- Check the default parameters for the Z-Wave device
- Understand the parameter status
- Change the display format for the manually added parameter
- To reset to default the Z-Wave device
- To edit the configuration settings for the default parameters
- To manually add a new parameter
- To edit the configuration settings for the parameters manually added by me
- To be notified when I edit my parameters
- To delete a manually added parameter
1. Access the Z-Wave Settings option for my Z-Wave devices:
- You go to Devices
- You tap on the ">" button to see the device options
- Z-Wave Settings option is displayed
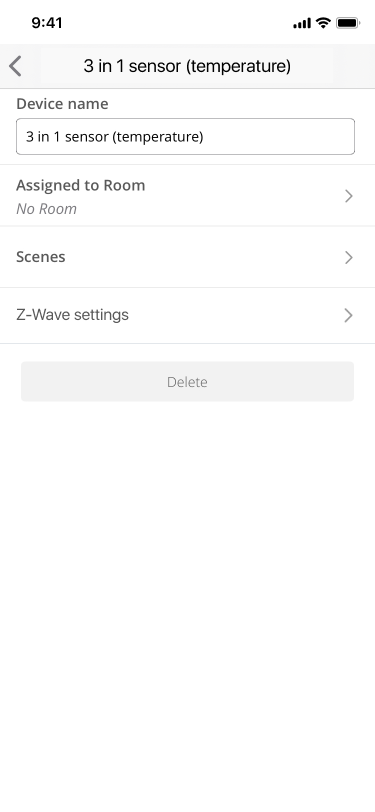
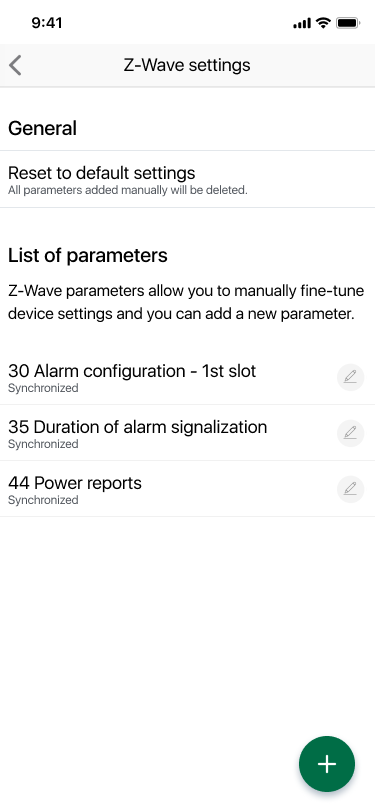
2. Check the default configuration settings for my Z-Wave device
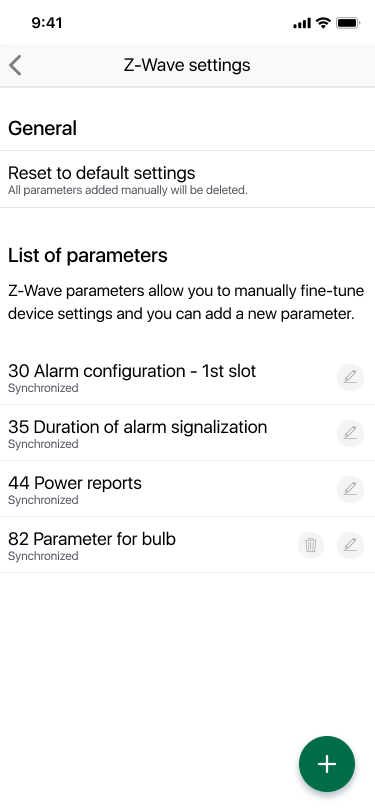
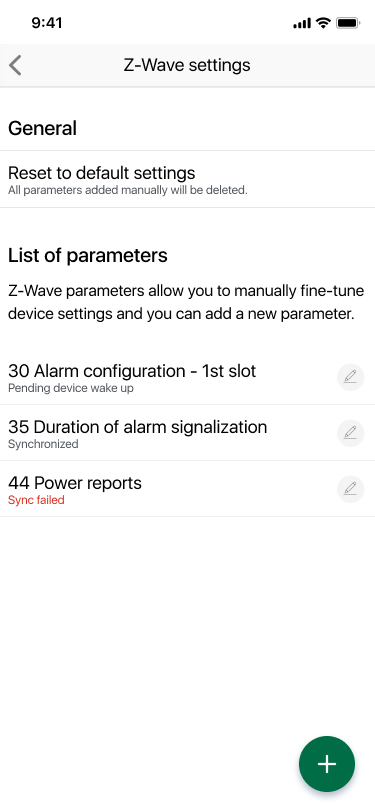
Z-Wave Settings page has 3 sections:
- General
- Reset to Default
- List of parameters:
- "Parameter 1 Motion sensitivity" (parameter ID + parameter name)
- Parameter status
- Edit button
- Delete button - only displayed for parameters manually added by you
- Plus button - to manually add a parameter
3. Understand what the status displayed under a parameter means
Go to parameter details and tap on the info button.
The info button is displayed for all parameters, added by default when the device is included on the controller and also the ones manually added by you.
The status can be:
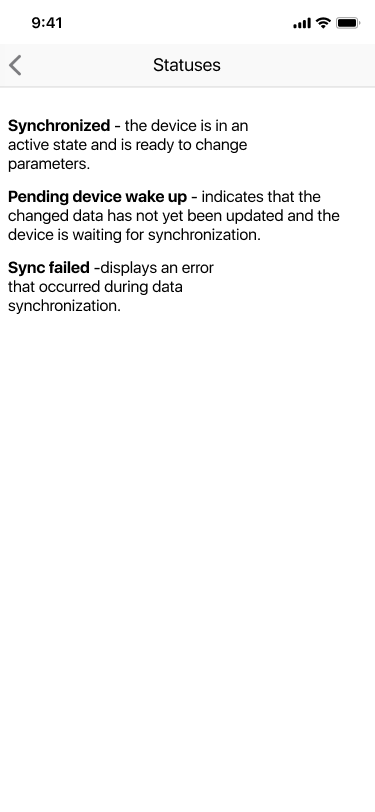
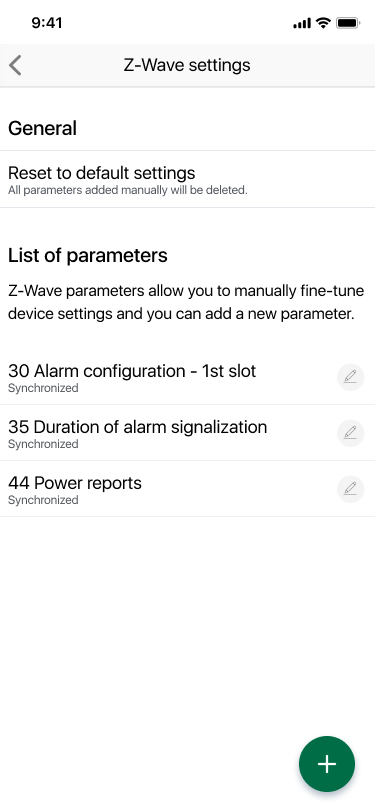
- Synchronized - the device is in an active state and is ready to change parameters.
- Pending device wake-up - indicates that the changed data has not yet been updated and the device is waiting for synchronization.
- Sync failed - displays an error that occurred during data synchronization.
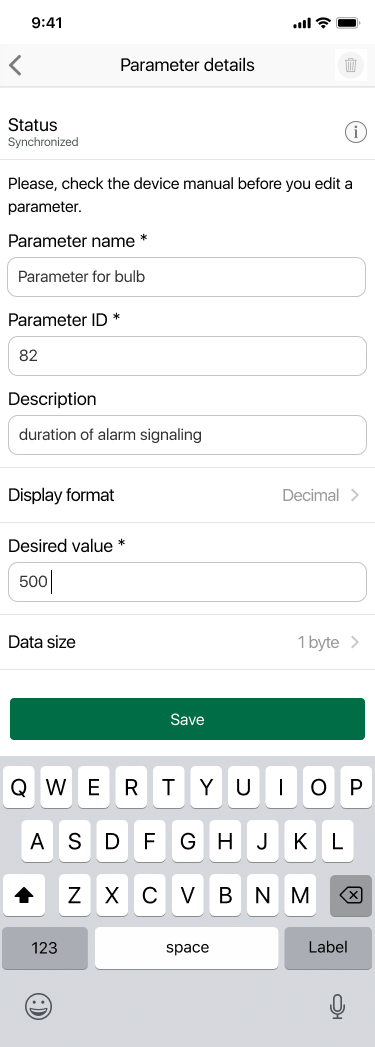
4. Check and change the display format for the manually added parameter
- Tap on edit near a manually added parameter
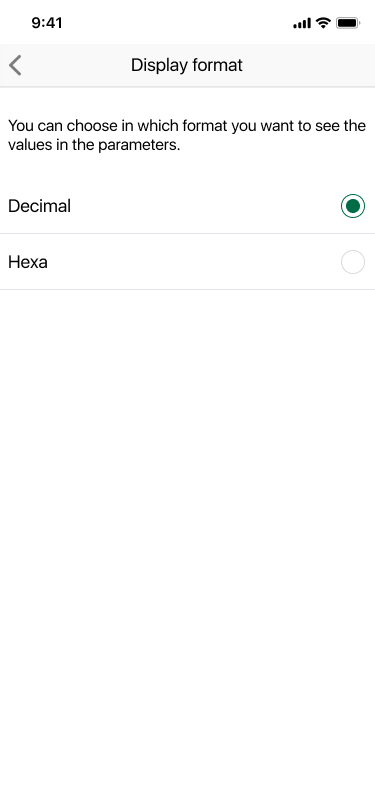
- Tap on "Display format"
- By default, you will have the "decimal" option
- You can select between decimal and hex
Notes:
- You can change the display format only for manually added parameters
- You can select the format display when you add a new parameter on when you edit an existing manually added parameter

5. Reset to default the device
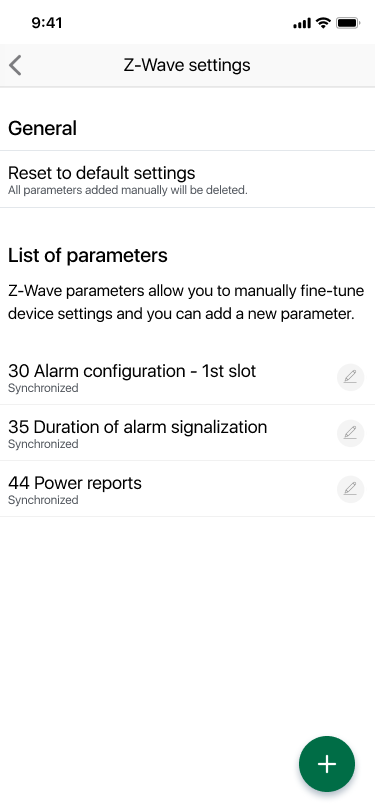
- Go to Z-Wave settings page
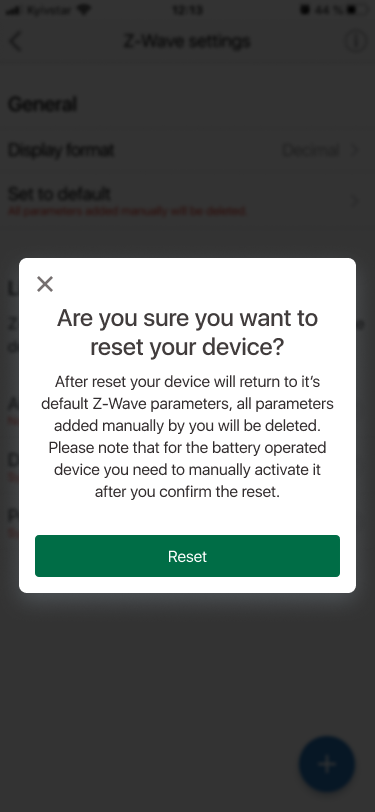
- Tap on Reset to default settings button
- You are asked for confirmation: "Are you sure you want to reset your device? After resetting your device will return to its default Z-Wave parameters, all parameters added manually by you will be deleted. Please note that for the battery-operated device, you need to manually activate it after you confirm the reset."
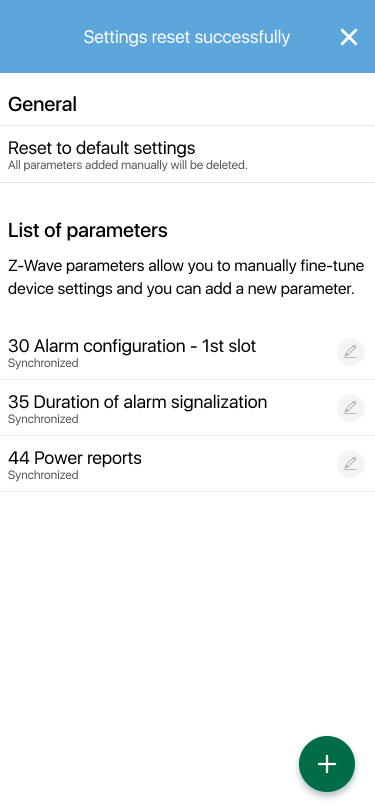
- If you tap on the Reset button you will see the confirmation: "Settings reset successfully"
- If you tap on "x" in the confirmation dialog then the reset to defaults command is not sent
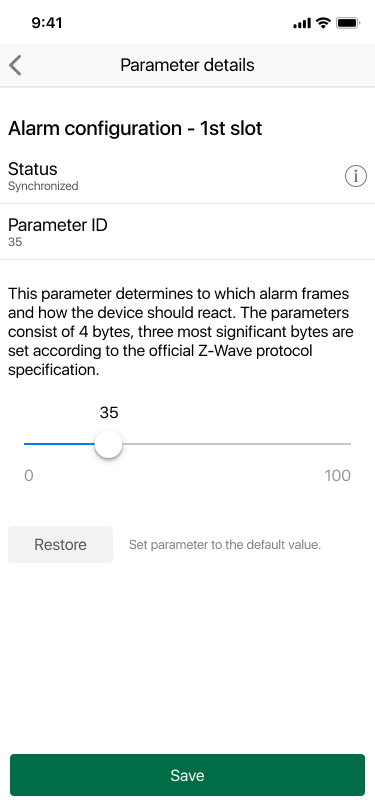
6. Edit the configuration settings for the default parameters
- Go to Z-Wave settings page
- Tap on Edit button near the parameter name (these are the parameters added by default when the device is included)
- "Parameter details" page is displayed
- In this page, you will see the default configuration settings that are set for the device, during the device integration
- Each device will have its own configuration settings (eg multi-sensor has different configuration settings than a door/window sensor)
- Elements displayed for each parameter:
- Parameter name - READ ONLY
- Status label + status value ( Synchronized, Pending device wake up, Sync failed)
- Label "Parameter" followed by the parameter ID - READ ONLY
- Parameter short description - READ ONLY
- Parameter template (eg slider/radio buttons / check box / RGB selector/input box) - Editable
- Restore button - Set parameter to the default value
- Save button
Notes:
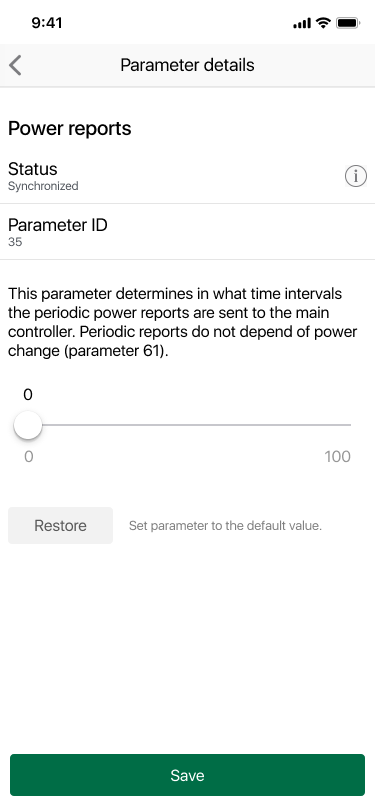
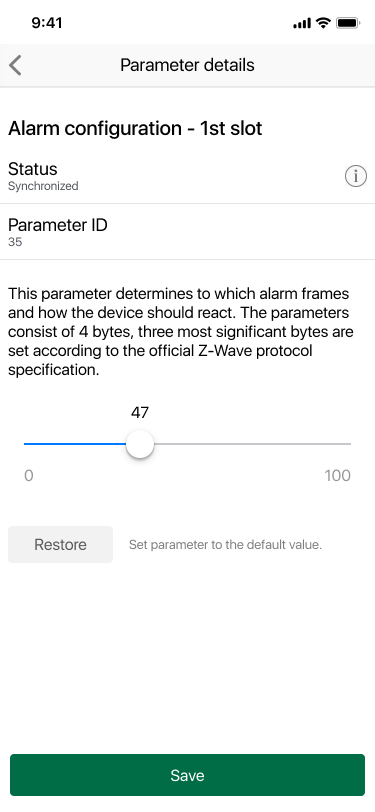
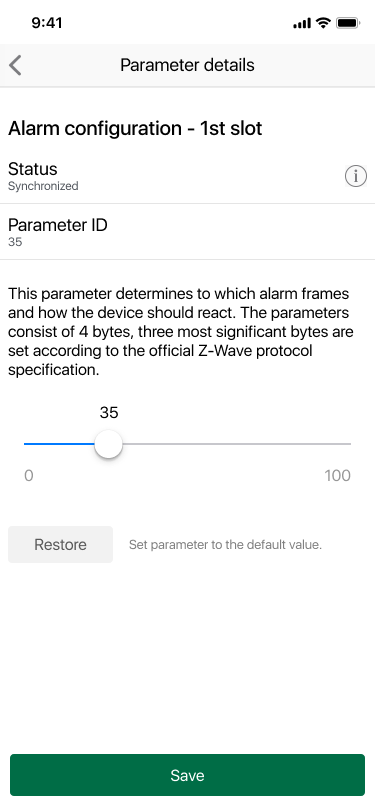
1. Slider:
-
- Default parameter value is displayed on slider
- Max and min values are displayed at the slider extremities
- You can move the slider to any value between min and max

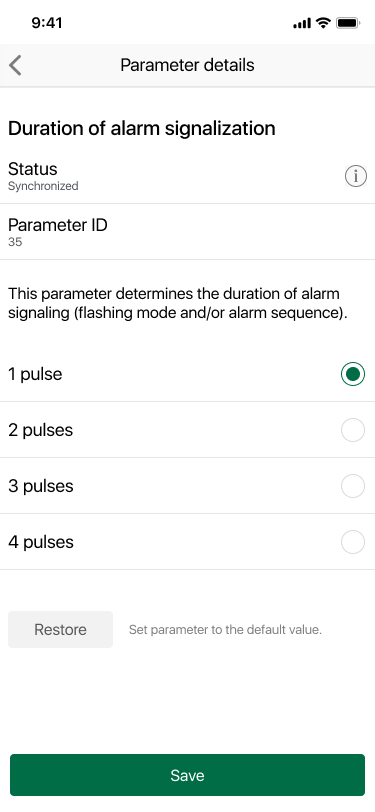
2. Radio button:
- Default parameter value is selected
- You can select only 1 value
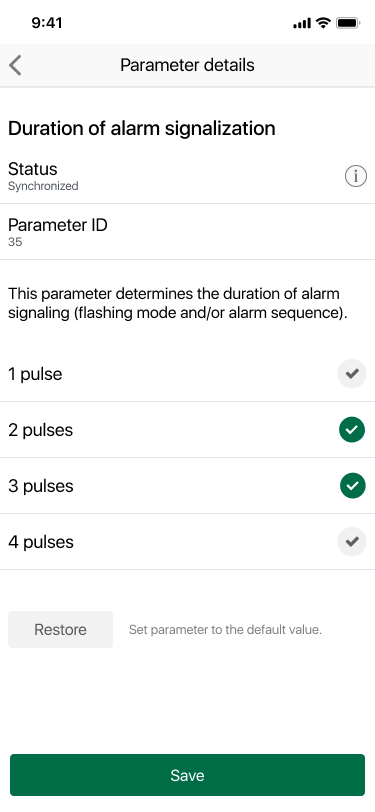
3. Check box:
- Default parameter value is selected (or there can be more values selected)
- You can select any value
4. RGB selector:
- Default parameter color and value are displayed
- You can move the slider in the color scheme to select a new color
5. Input box:
- Default parameter value is displayed in the input box
- You can enter any value supported by the parameter
7. Manually add a new parameter
- Go to Z-Wave settings page
- Tap on Plus button
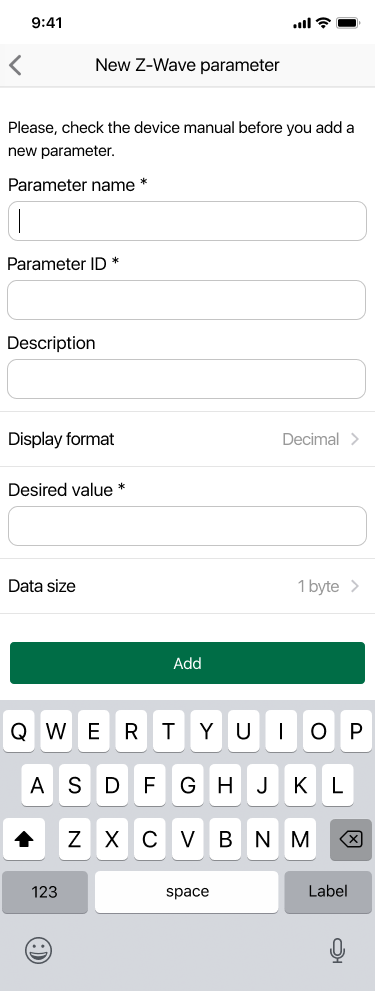
- "New Z-Wave parameter" page is displayed
- Elements displayed:
- The configuration parameter name - mandatory field
- The configuration parameter ID - mandatory field
- The configuration parameter description - not mandatory field
- Display format
- Desired value - mandatory field
- Data size: options: 1 byte, 2 bytes, 3 bytes, or 4 bytes - mandatory field
- Add button
- Manually added params will be displayed under the Z-Wave settings page, with all the default params.



8. Edit the configuration settings for the parameters manually added by me
- Go to Z-Wave settings page
- Tap on the Edit button near the parameter manually added by you
- You will see the page "Parameter details" with the fields filled
- Elements displayed:
- The configuration parameter ID - mandatory field
- The configuration parameter description - not mandatory field
- Desired value - mandatory field
- Display format
- Size: drop-down with options: 1 byte, 2 bytes, 3 bytes, or 4 bytes - mandatory field
- Save button
- You can edit all the above parameters

9. See a message when I edit a parameter
- Go to Z-Wave settings page
- Tap on the Edit button near the parameter name for a battery-operated device (eg. a multi-sensor or a door/window sensor)
- Edit the parameter values and tap on Save
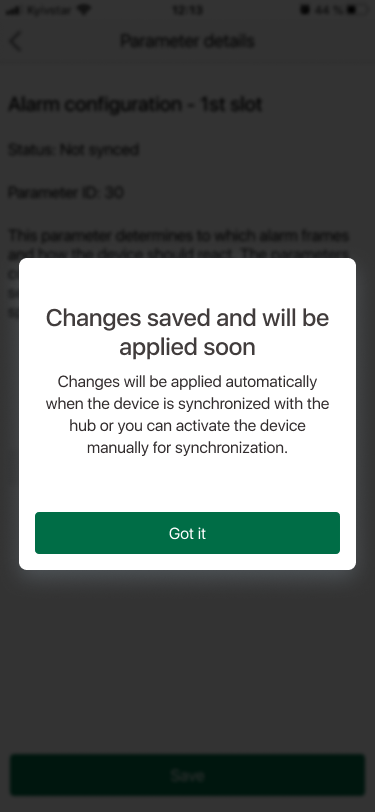
- You will see a warning message: "Changes saved and will be applied soon. Changes will be applied automatically when the device is synchronized with the hub or you can activate the device manually for synchronization."


10. Delete a manually added parameter
- Go to Z-Wave Settings page
- You can delete only the parameters that are manually added by you
- Only the manually added parameters have the delete button
Comments
0 comments
Please sign in to leave a comment.