
How to connect IFTTT with Vera (BETA)
IFTTT helps you do more with the services you love. When you connect your Vera controller to services in IFTTT you can expand far beyond the capabilities of the smart home ecosystem.
Get started by taking the following steps to pair IFTTT with your Vera Controller.
1. If you don’t have an IFTTT account already you’ll need to first sign up for one: https://ifttt.com
2. Upgrade your Vera controller to the latest firmware available
To do this, go to the Dashboard from home.getvera.com
Dashboard > Settings > Firmware
If there’s a later version available, update to it.

3. Next, login at https://ifttt.com/login
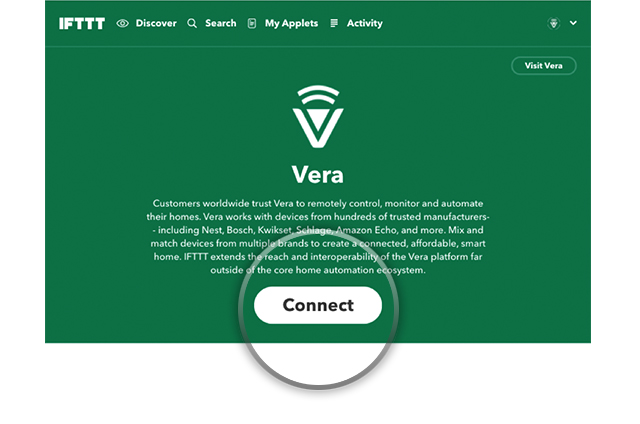
4. Open the IFTTT invite URL for the Vera Service located in your Beta Welcome Email. Click “Connect”.
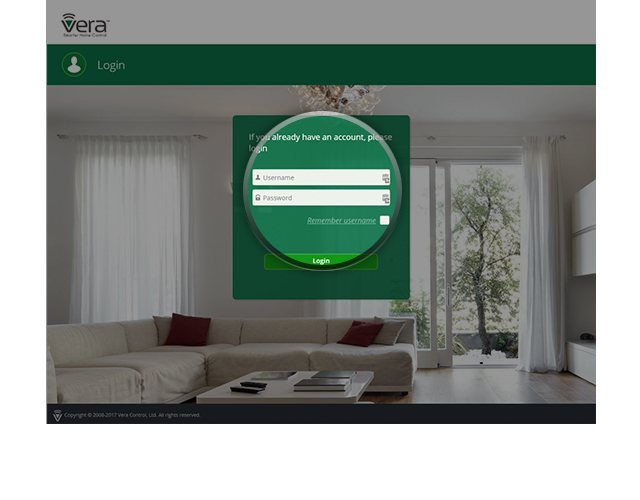
5. This screen will appear. Login with your Vera credentials.
 6. After logging in, select the devices and scenes you want to control then click Finish.

7. At this point you will be redirected back to the IFTTT page for Vera: https://ifttt.com/Vera.
In the following steps, you will choose a trigger = “+this”
Vera = “+that”
In the example below, we chose the service “Date and Time”. This is just an example, your “+this” trigger will be whatever service you choose.
Your “+that” service is always Vera if you’re connecting a service to Vera.
Device types that have security or safety considerations are prohibited at this time. Specifically, the following devices are not allowed:
The prohibited devices also cannot be used in scenes. If a scene contains a prohibited devices, IFTTT will not discover or execute commands on them.
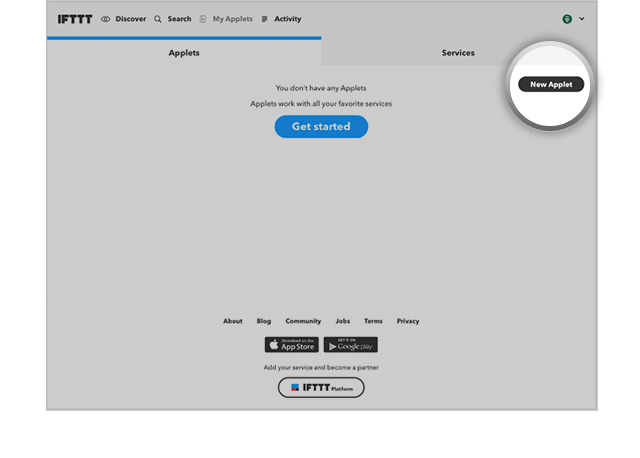
9. In the top nav, go to My Applets and then click: New Applet
10. To set your trigger, click on +this
11. Search for Date & Time in the Search Services window.
Note: Date & Time is used only as an example. You can choose any service as your trigger.

12. When you select Date & Time, your screen will look like this:


18. Review and click the finish button.
In this example, we know that every day at 12AM our Smart LED Light will turn on:

Congratulations!
The Applet has been created.
Go ahead and try more.
To modify the devices that you allow access from IFTTT:
1. Log in to IFTTT
2. Click on My Applets; then click on Services and Select the Vera Service
IFTTT helps you do more with the services you love. When you connect your Vera controller to services in IFTTT you can expand far beyond the capabilities of the smart home ecosystem.
Get started by taking the following steps to pair IFTTT with your Vera Controller.
1. If you don’t have an IFTTT account already you’ll need to first sign up for one: https://ifttt.com
2. Upgrade your Vera controller to the latest firmware available
To do this, go to the Dashboard from home.getvera.com
Dashboard > Settings > Firmware
If there’s a later version available, update to it.
3. Next, login at https://ifttt.com/login
4. Open the IFTTT invite URL for the Vera Service located in your Beta Welcome Email. Click “Connect”.
5. This screen will appear. Login with your Vera credentials.
7. At this point you will be redirected back to the IFTTT page for Vera: https://ifttt.com/Vera.
At this point, it’s important to note a couple of things:
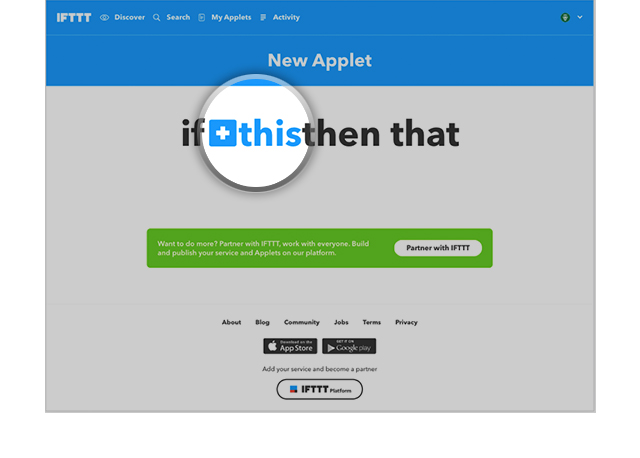
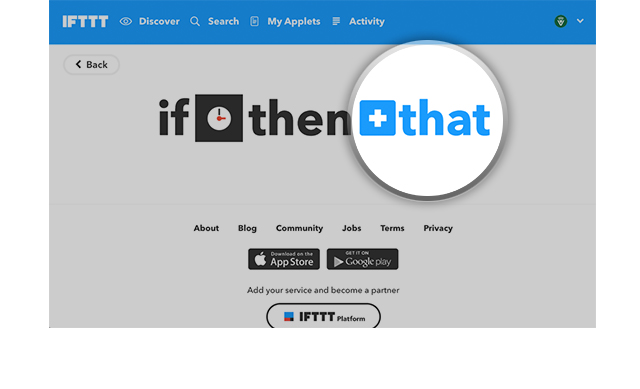
How IFTTT Works
IFTTT works with basic “if this then that” logic.In the following steps, you will choose a trigger = “+this”
Vera = “+that”
In the example below, we chose the service “Date and Time”. This is just an example, your “+this” trigger will be whatever service you choose.
Your “+that” service is always Vera if you’re connecting a service to Vera.
Devices Supported
Vera currently supports lights, switches, and smart plugs including turning devices on and off and running scenes through IFTTT.
Device types that have security or safety considerations are prohibited at this time. Specifically, the following devices are not allowed:
- Door Locks
- Garage Doors
- Security Systems
- Security Sensors
- Cooking Appliances
- Cameras
The prohibited devices also cannot be used in scenes. If a scene contains a prohibited devices, IFTTT will not discover or execute commands on them.
8. Now you can create an Applet that can use a Vera action (i.e. turn on, turn off or run scene)
9. In the top nav, go to My Applets and then click: New Applet
10. To set your trigger, click on +this
11. Search for Date & Time in the Search Services window.
Note: Date & Time is used only as an example. You can choose any service as your trigger.
12. When you select Date & Time, your screen will look like this:
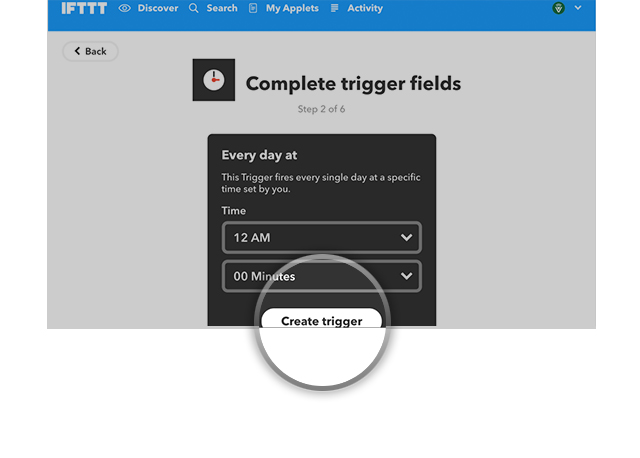
13. Click on “Every day at”, select 12AM (or whatever time), then click “create trigger”:
14. Now you will be back here, click on +that:
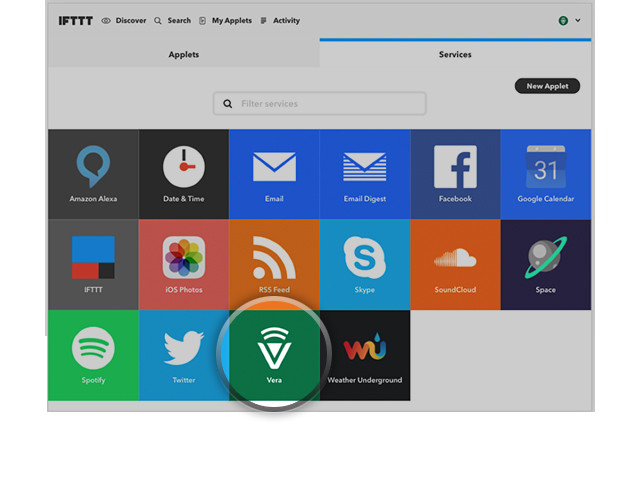
15. Click on the Vera icon:
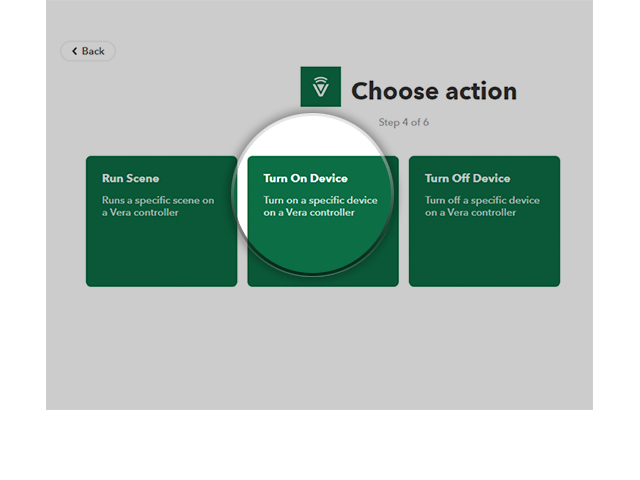
16. Select an action-- in this example we’ll use Turn On Device:
17. Select the device to run from the drop-down and click “create action”:
18. Review and click the finish button.
In this example, we know that every day at 12AM our Smart LED Light will turn on:
Congratulations!
The Applet has been created.
Go ahead and try more.
To modify the devices that you allow access from IFTTT:
1. Log in to IFTTT
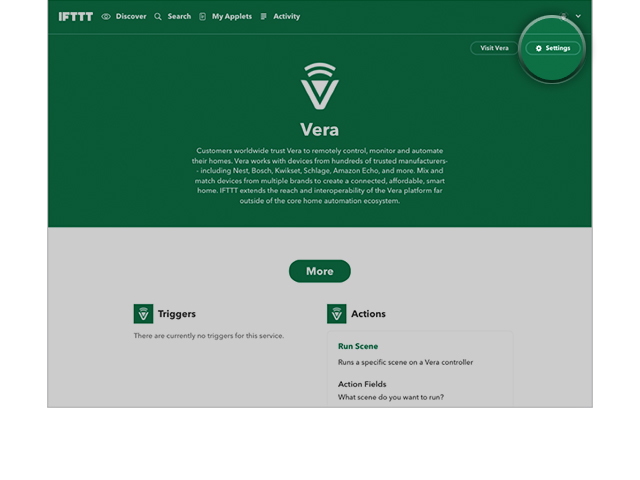
2. Click on My Applets; then click on Services and Select the Vera Service
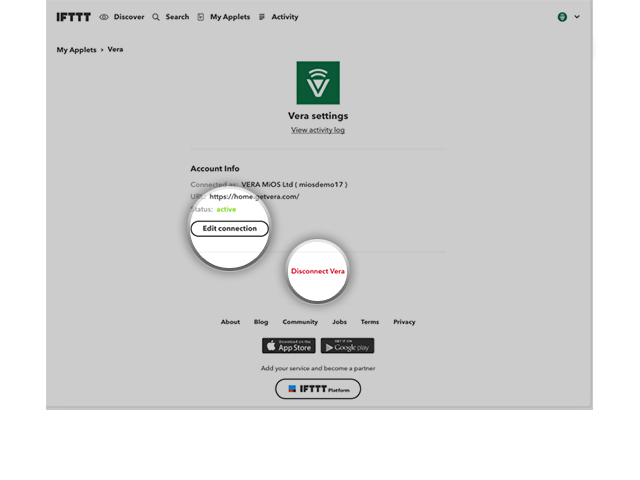
3. Click on Settings
4. At this point you can click Edit connection to change the list of devices that can be used by IFTTT or click on Disconnect Vera to remove the skill from IFTTT.
Comments
0 comments
Please sign in to leave a comment.