The new dashboard deviates markedly from its predecessor, with a view to higher customizability and a more compact layout.
Here's what this guide will be covering:
3. The Layout
1. Operating Your Devices
Changing the status of a device is now about as easy as it gets. For devices that support a binary-type command (e.g. on/off, armed/disarmed), tapping on their icon will switch to the other state, which is indicated by the color of their respective card (as well as, of course, the icon itself—colored if active/on/armed etc, grayed out if not).
For example, if a device is on, the card will be a clear white, while if the device is off, by contrast, it will be a more toned-down gray, by way of indicating the current state.
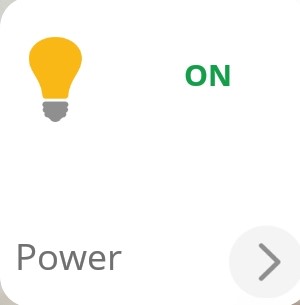
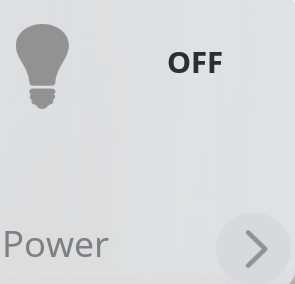
Underneath, the underlying options offered are the same as before. To enter the page of a specific device, tap on the '>' sign in the bottom right corner of the device's card.
2. Scene Operation
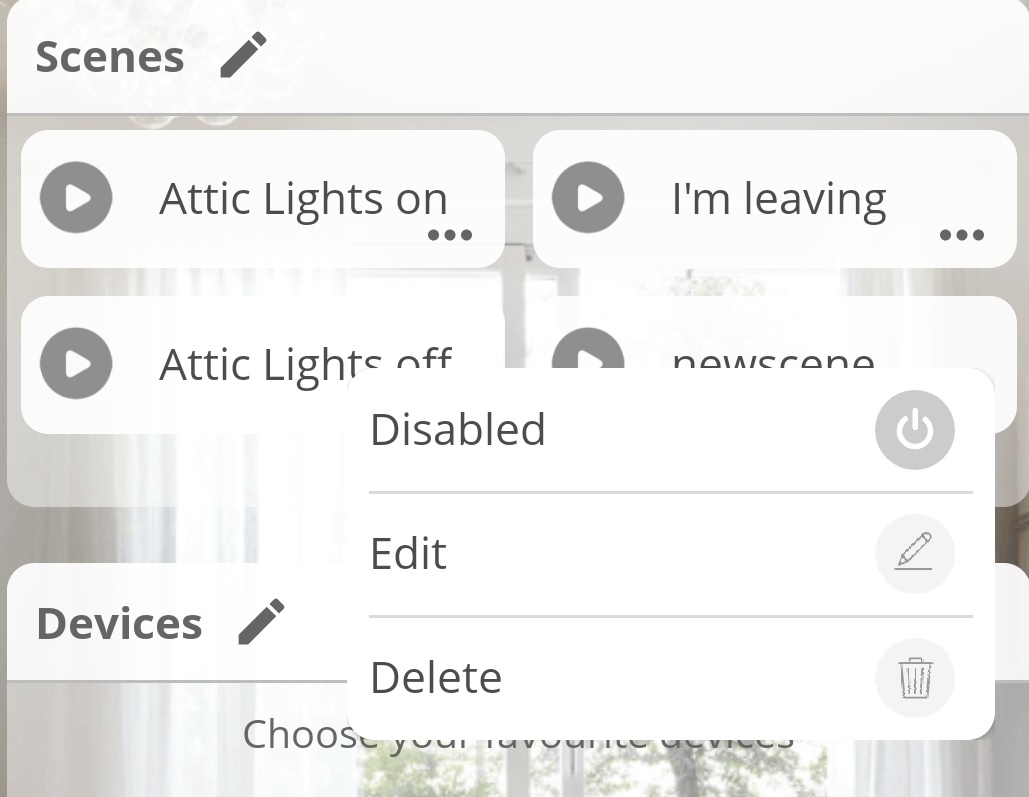
Scenes also allow for quick and convenient operation by means of the '...' sign displayed in the bottom right corner of their card. Tapping on that gives you ready access to three actions: enabling or disabling the scene (depending on the current state), editing it, or deleting it.
3. The Layout
A. The Default Layout
Things are now more tightly and neatly organized, with more information displayed while at the same time taking up less space, which makes everything more easily accessible at a glance.
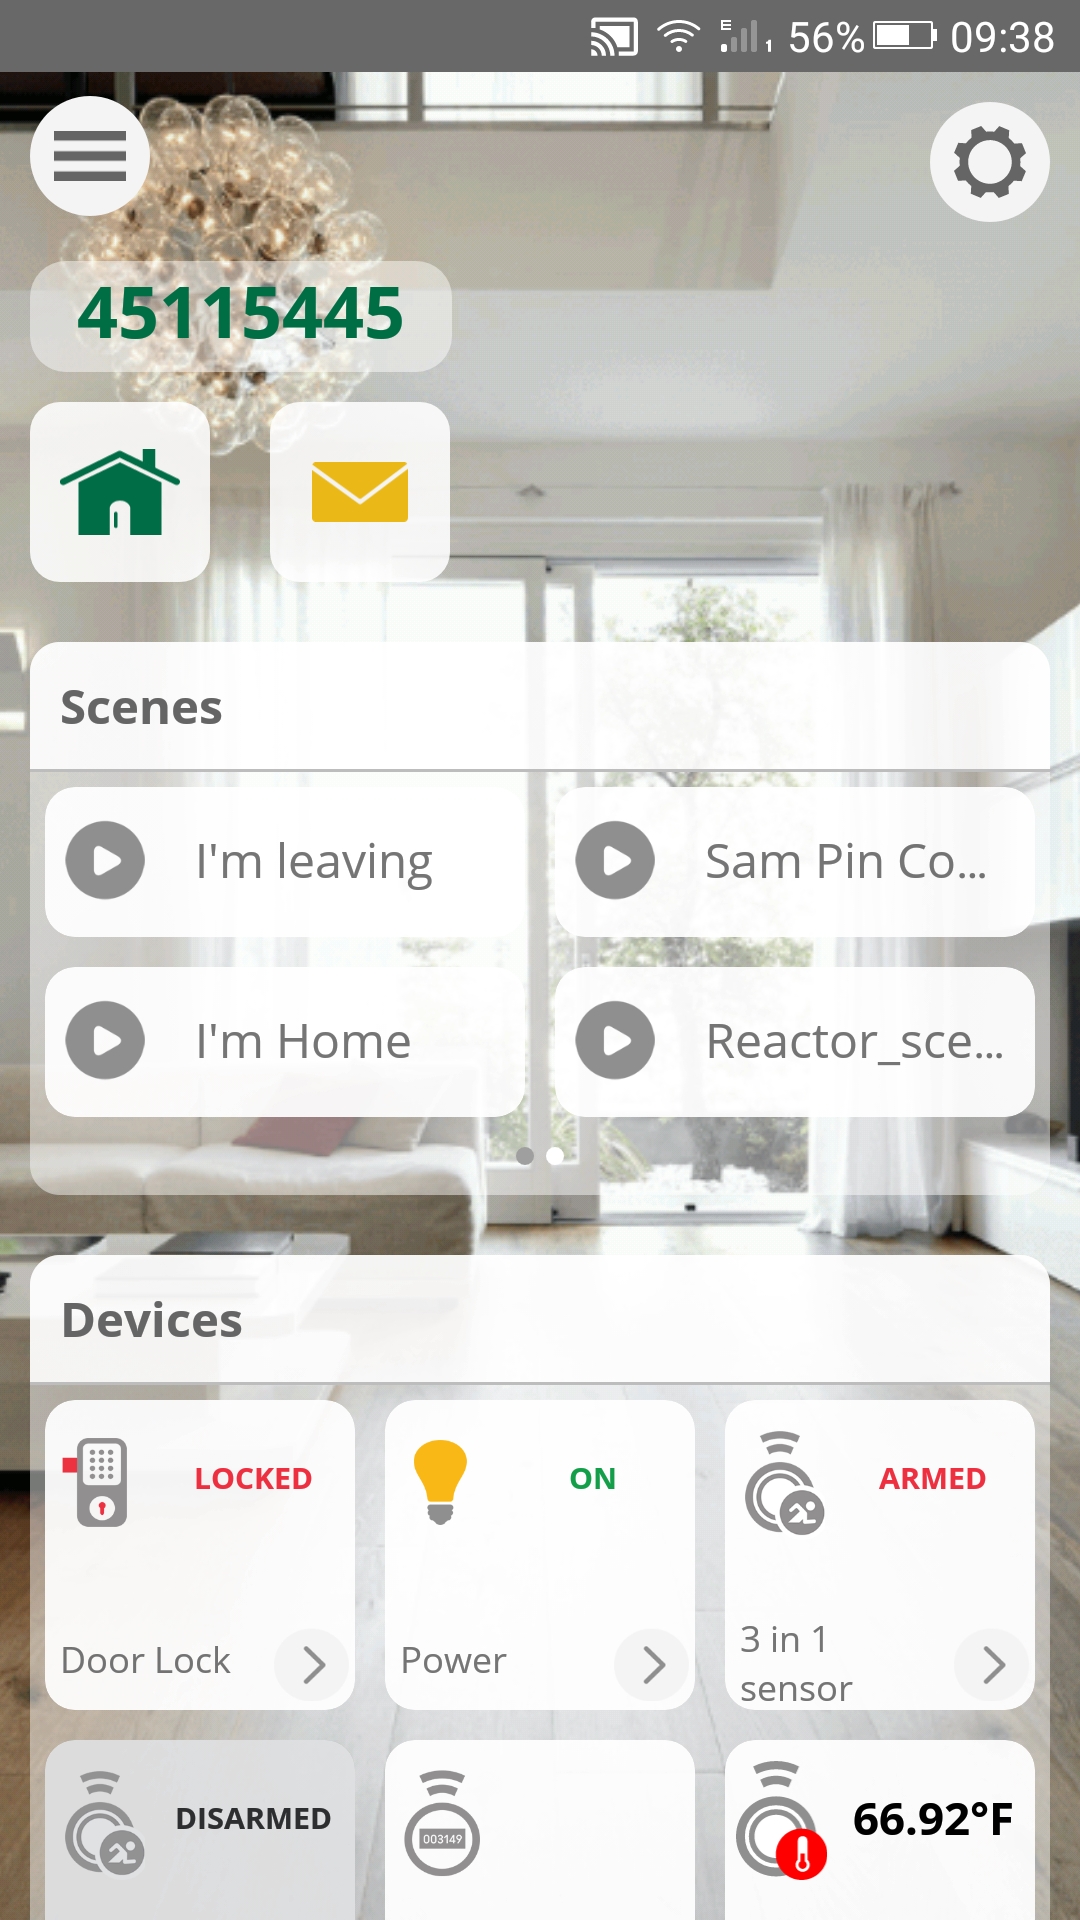
The layout breaks down into 3 sections: scenes, devices, and cameras-arranged in this very order, from top to bottom, by default.
In each section, depending on the number of devices/scenes/cameras (i.e. depending on whether there are enough of them to fill up their respective panel), you can swipe left or right to see all of them, which makes it all a breeze to navigate.
Above this, there are another two icons as well, the former (the house icon) used for setting or editing the house mode or, and the latter (the envelope icon) used for viewing your alerts.
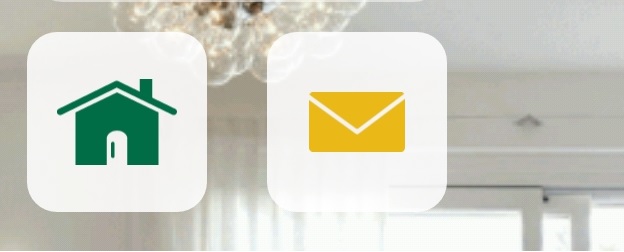
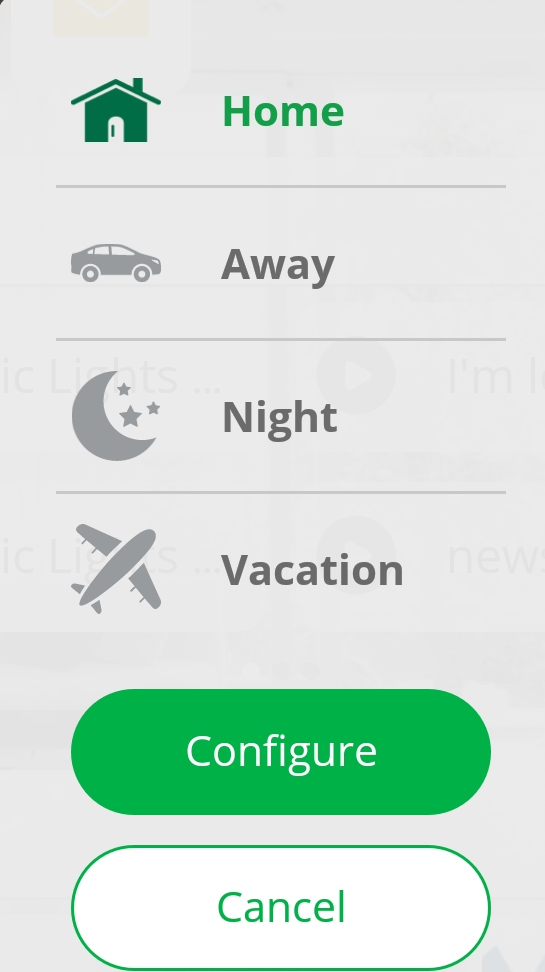
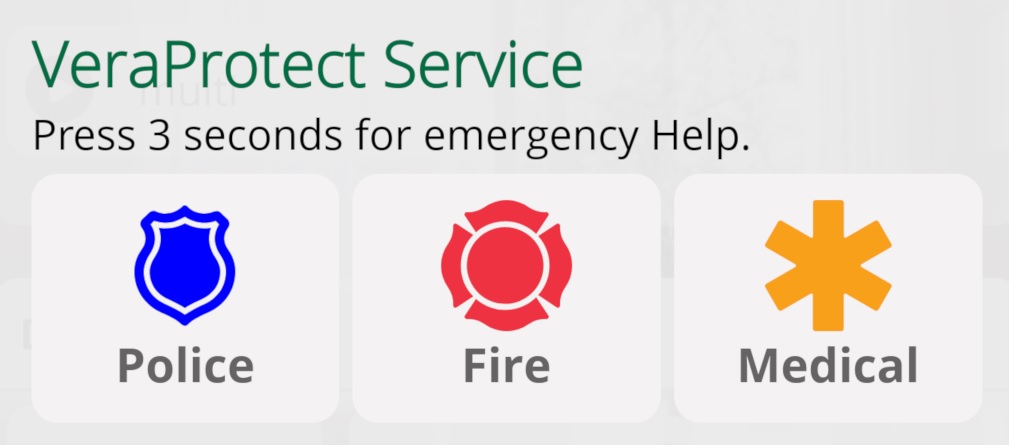
To these two buttons, another two might be added (image 1 below), as appropriate: a quick button for Vera Protect (alerting you or opening into a panel of panic buttons—see image 2 below) appearing only if the service is active, and the other one signalling that a new firmware is available for download (image 3).
1. ![]()
2. 
3. 
The hamburger icon in the top left corner, as expected, will pull up the main menu.
![]()
B. Customizing the Layout
As said above, the new dashboard affords much more customization, including the rearrangement of the aforementioned sections and changing the background picture to one of your choice.
- Entering Customization Mode
If you tap on the gear icon in the upper right corner of the screen, you will enter edit mode.
![]()
You'll notice that the customizable sections will change accordingly to reflect this. The serial number (or the name you gave your controller) will display a '>' sign to the right, and the 'Scenes', 'Devices', and 'Cameras' sections will display a pen sign at the top of the panel.
![]()
- Customizing the Dashboard Panels
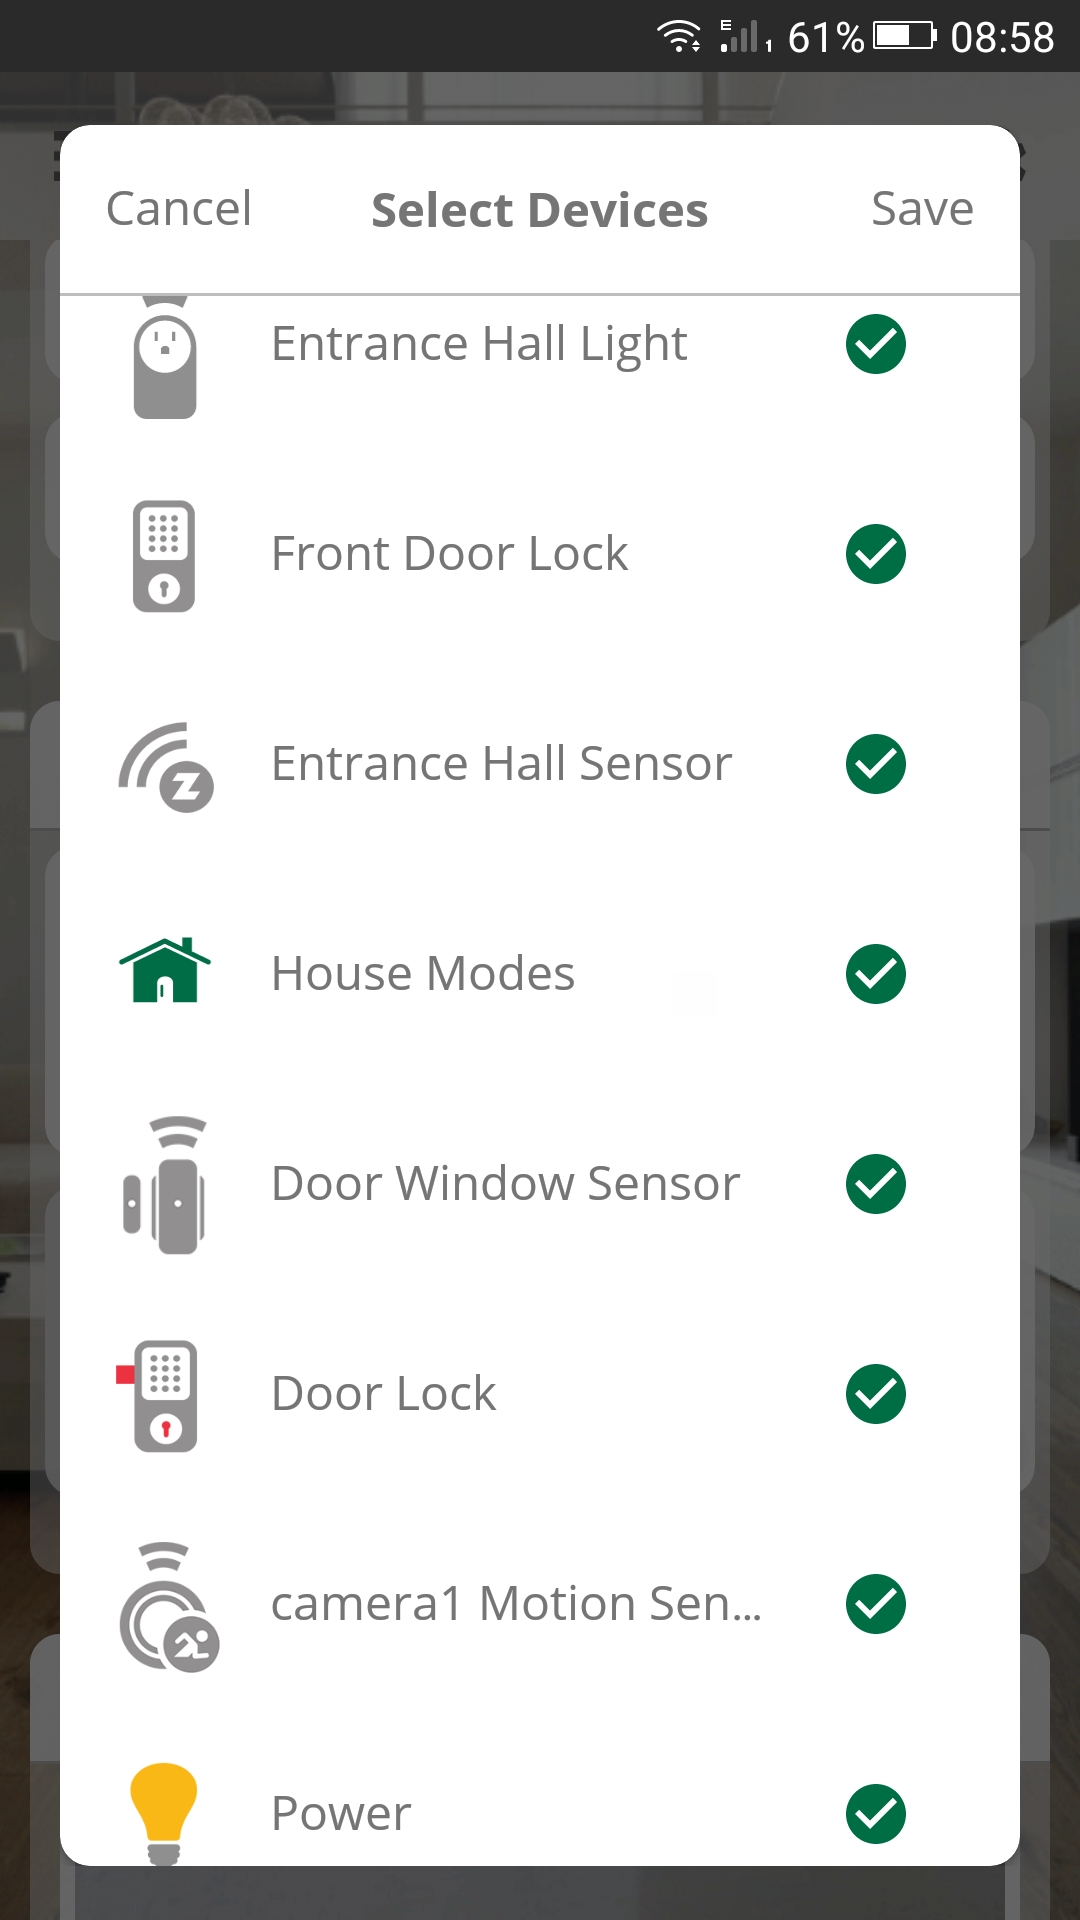
Tapping on the pen sign lets you select which devices you want displayed in the given panel. You're given a list of all the devices, and you can check or uncheck a device to have it show up or be hidden. Additionally, you can rearrange the devices or scenes in a given panel by dragging and dropping your item, while in edit mode.
Tap on Save for the changes to take effect.
- Changing the Background And Rearranging the Panels
Tapping on the '>' sign next to the serial number/name of the controller (near the top of the screen) allows for more general customization.
It's here that you can change the background picture and rearrange the displayed sections. For the latter, just tap and hold and then drag the section you want moved on top of or under the others. As for the former, you can tap on "Choose a background image", whereupon you'll be prompted to pick a locally stored picture.
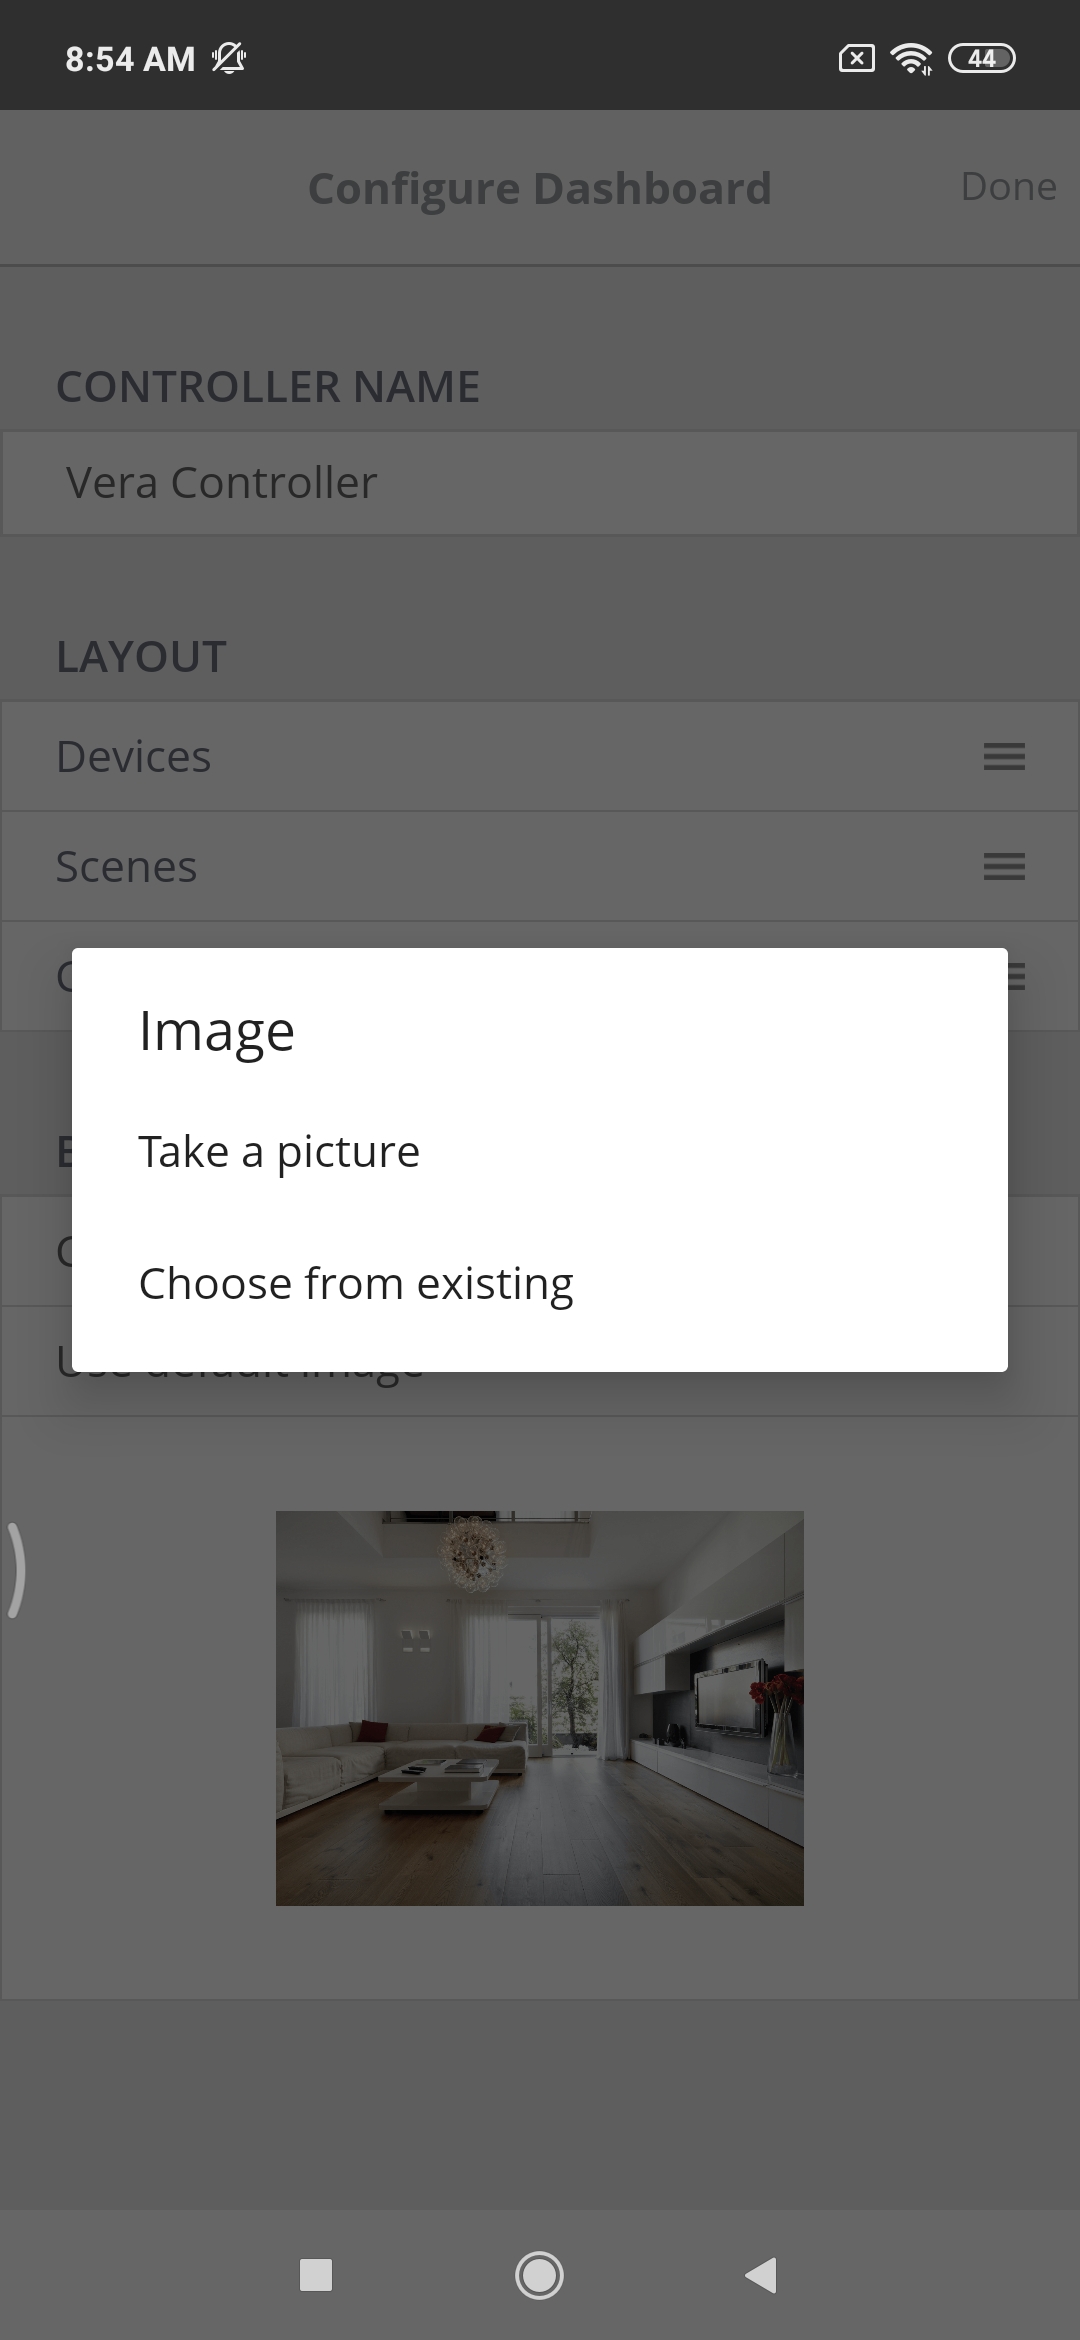
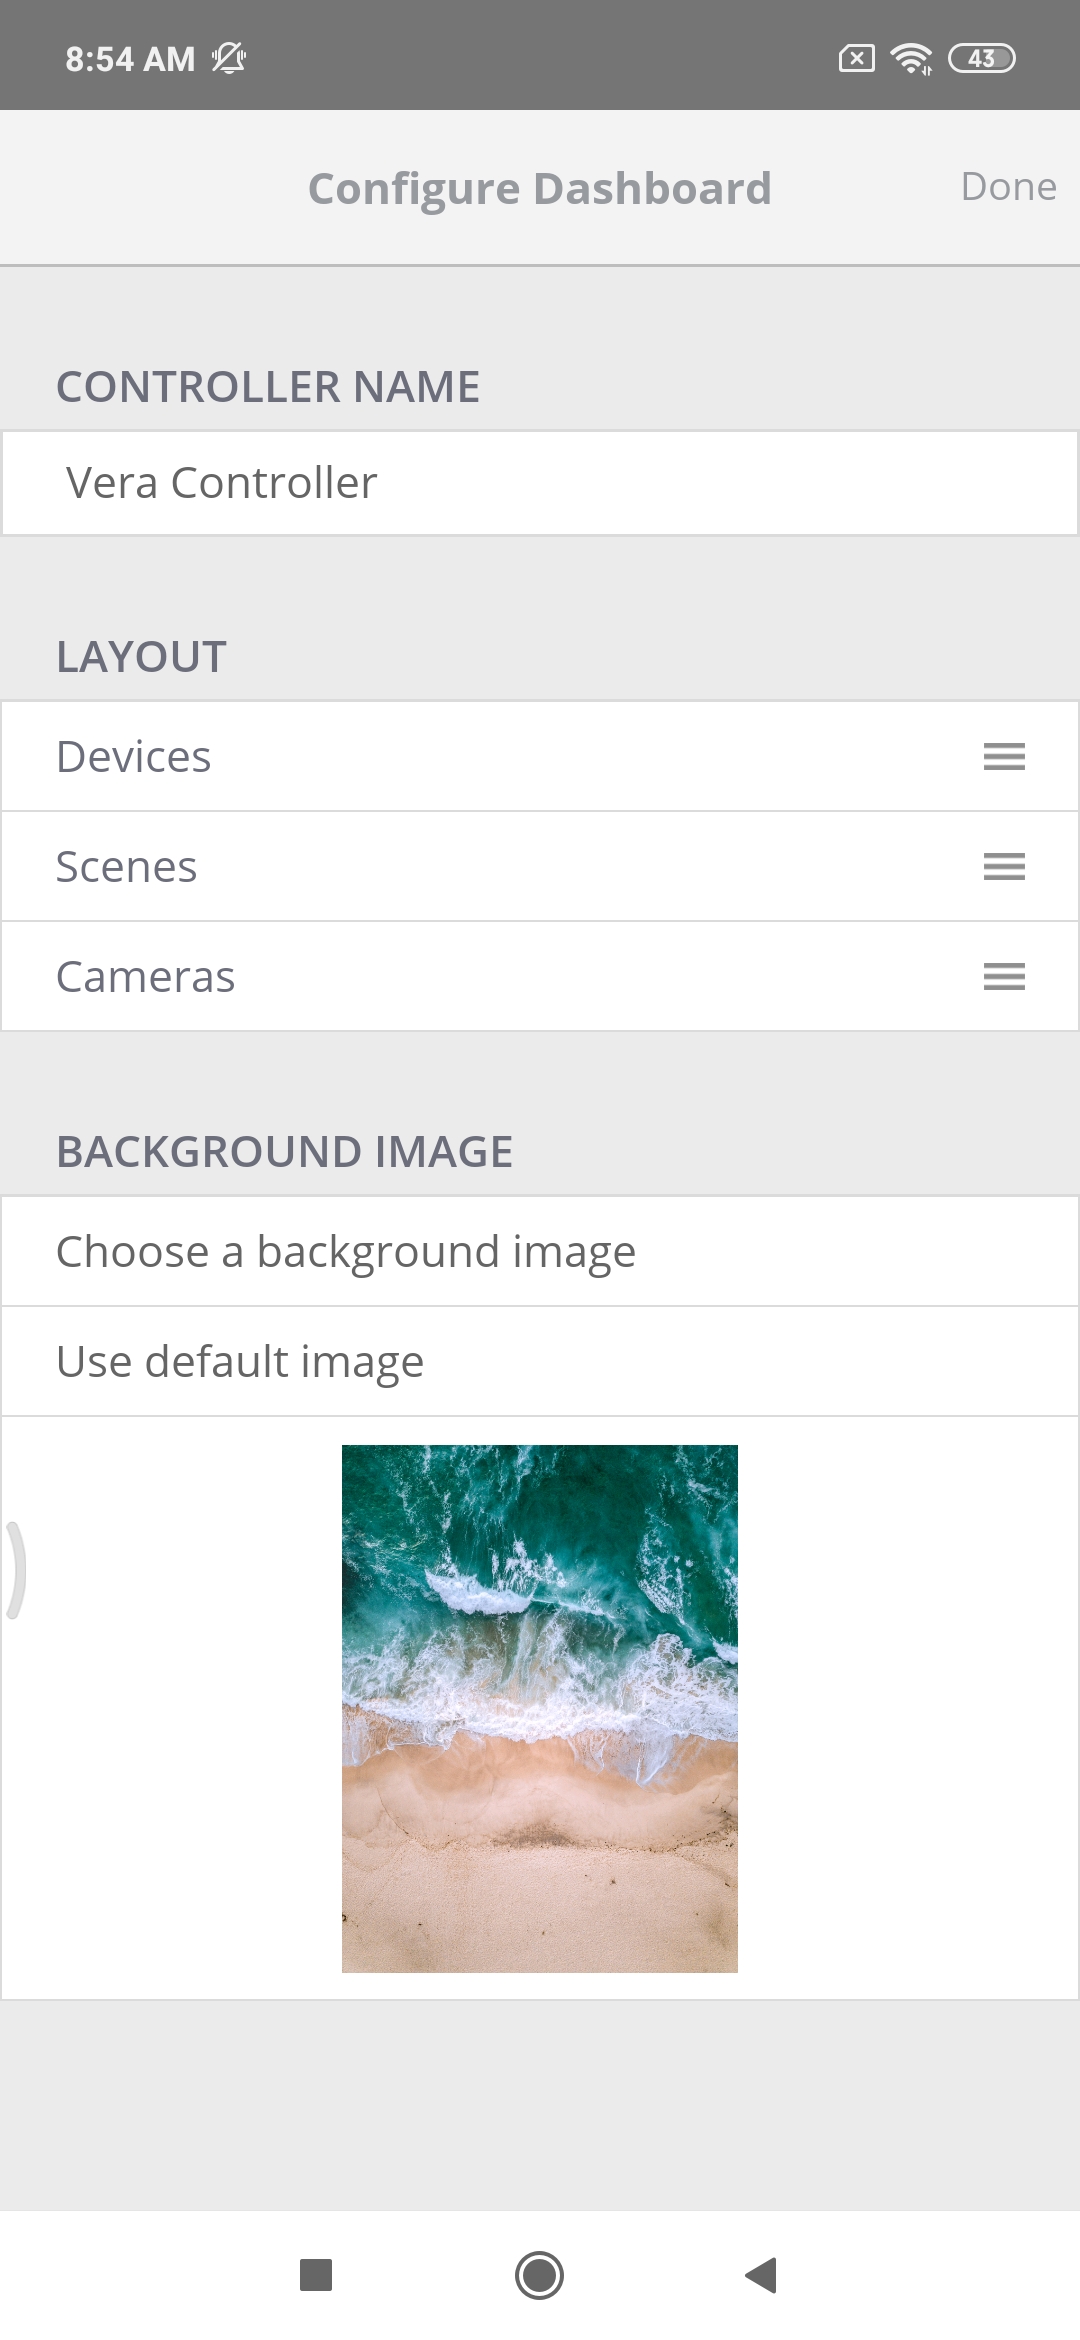
The name can also easily be changed by simply typing in a new one under where it says Controller Name.
Tap on Done (top right corner of the screen) when finished, to save the changes.
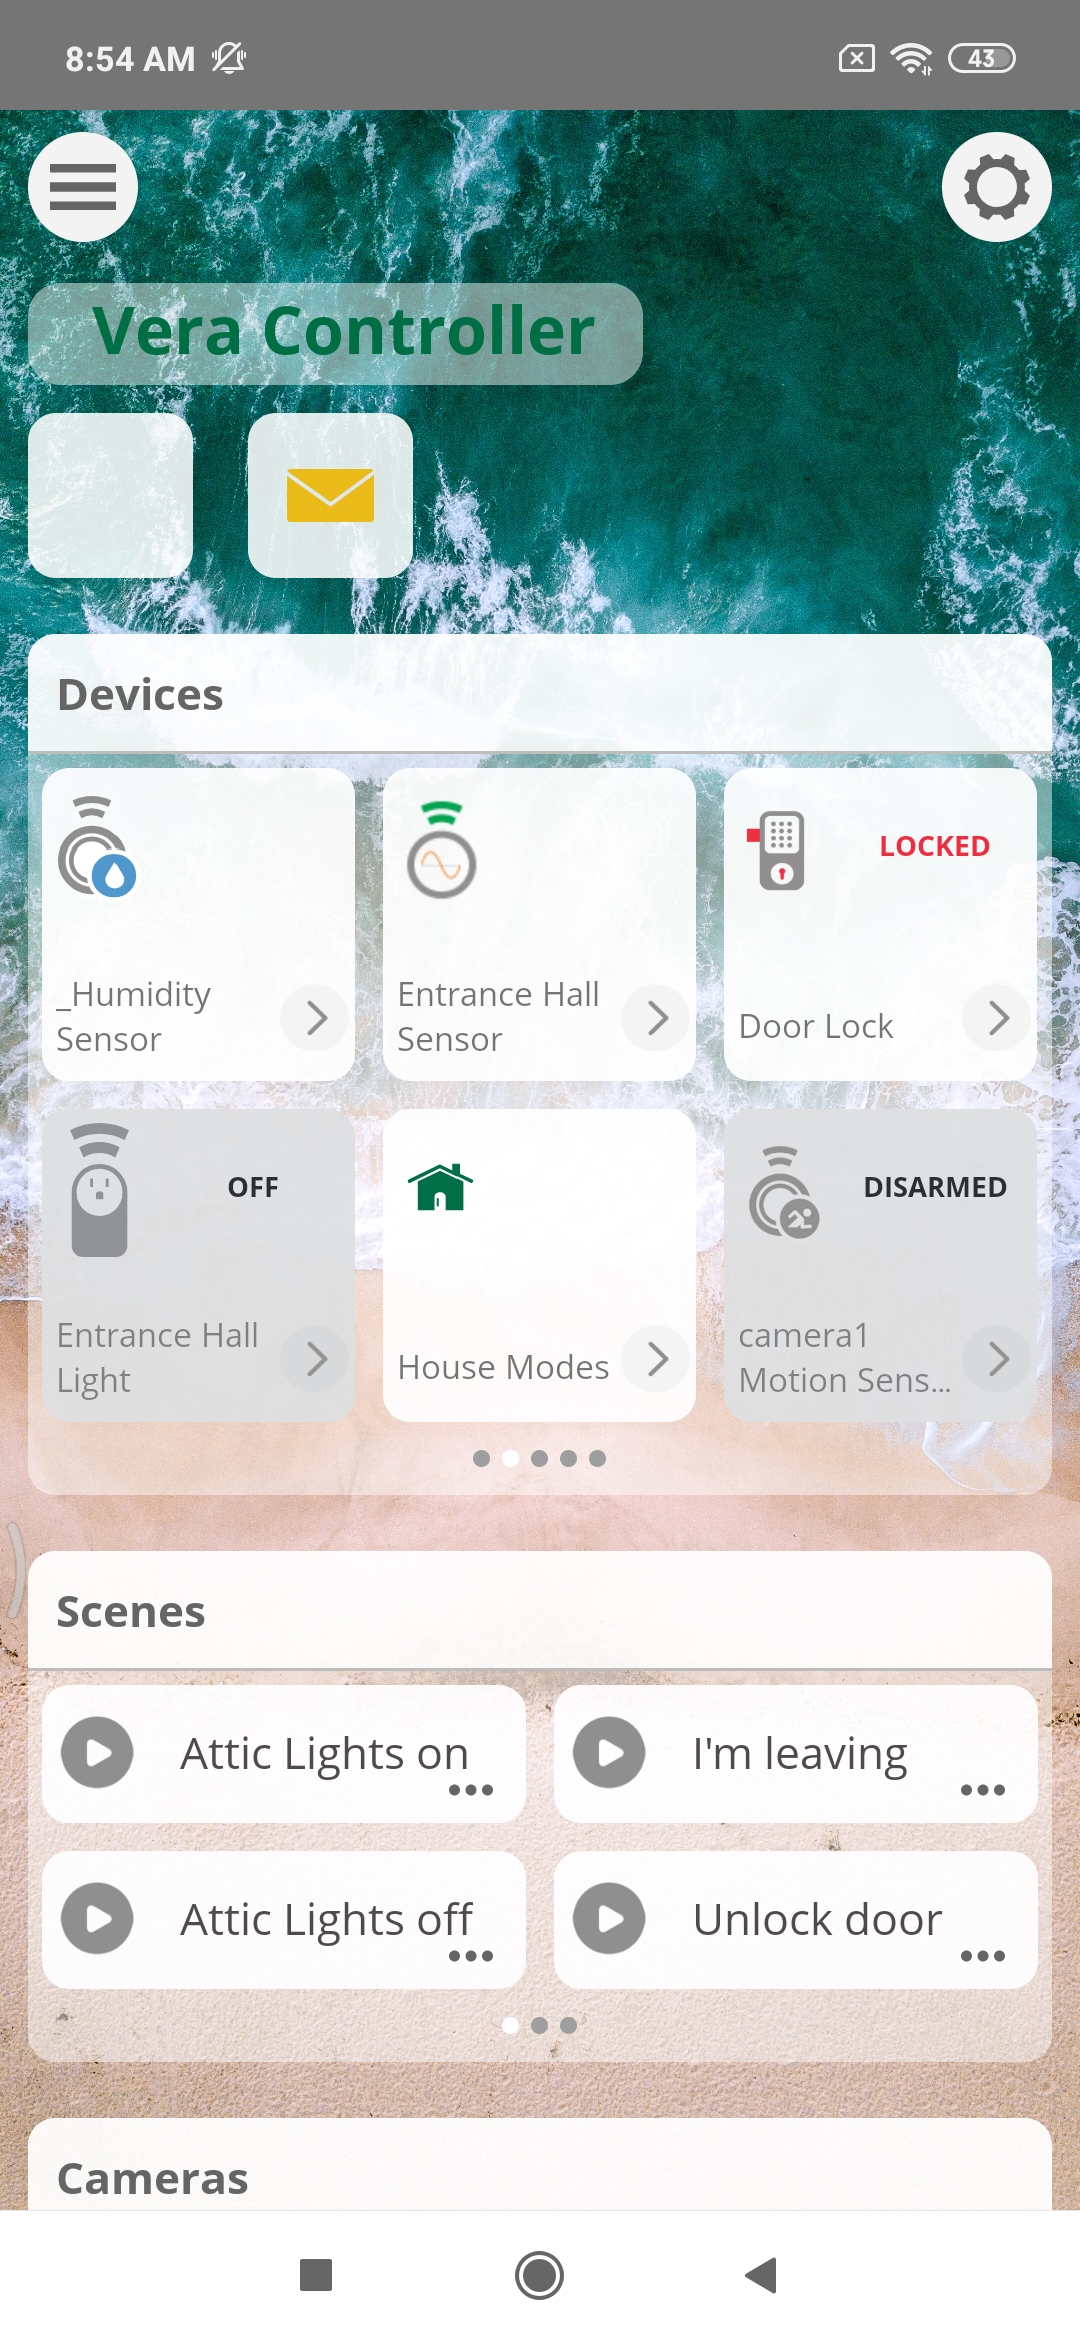
Here's just an example of how you might customize the dashboard:
4. Additional iOS features
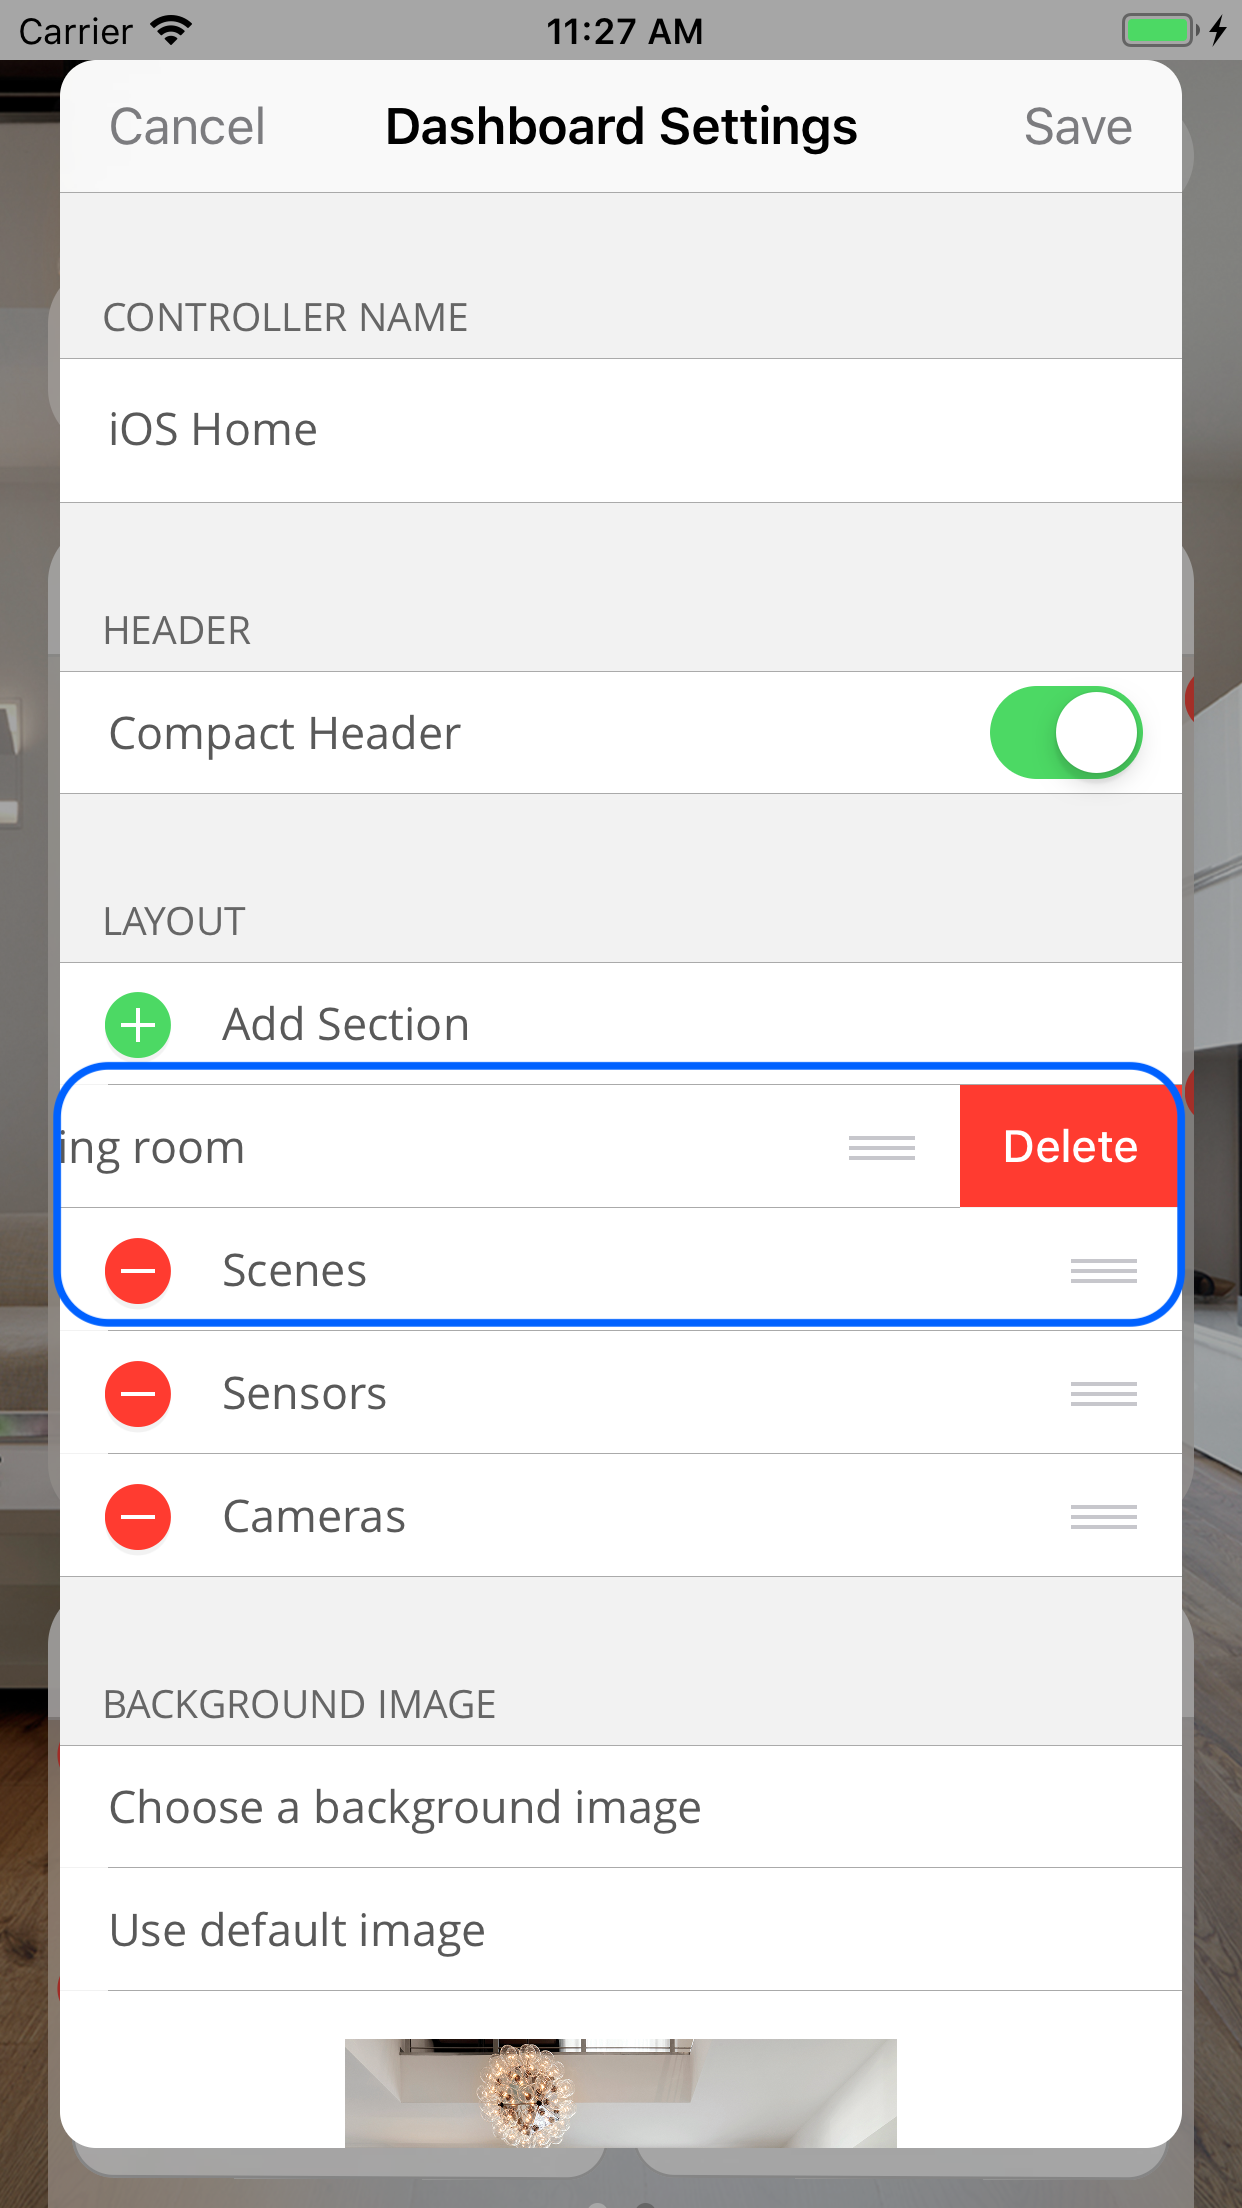
The iOS version of the Vera Mobile app comes with some added features, such as Compact Header and the ability to add and remove additional sections besides the three default ones (i.e. Cameras, Scenes, and Devices).
Another nice thing to have is the Siri Shortcuts, which enable you to run Vera scenes in no time, straight from your home screen or through voice commands.
Turning on the compact header will make it so that only the controller name and house mode button are displayed, as well as—provided the service is active—the Vera Protect SOS button, near the edit gear icon.
Here's a Demo video of the iOS version:

Comments
0 comments
Please sign in to leave a comment.