![]()
Quick breakdown of the content:
Also see:
- Controlling Your Vera-paired Devices and Scenes Through Alexa
- Modifying Alexa's Access and Syncing your Devices
- Supported Devices: What Works with Alexa?
Much as with Google Home, you can link your Amazon Alexa with your Vera account for hands-free voice control of your Vera-paired devices and scenes. This makes it significantly more convenient to change the state of your devices (such as turning a switch or plug on/off, dimming down a bulb etc.) or query the voice assistant about it.
Before you get started
You need to have an Amazon Alexa smart speaker and Alexa account while it's also best to make sure your Vera controller is running the latest firmware available, or 1.7.4452 for Vera Edge, 1.7.4453 for Vera Plus, and 1.7.4454 for Vera Secure.
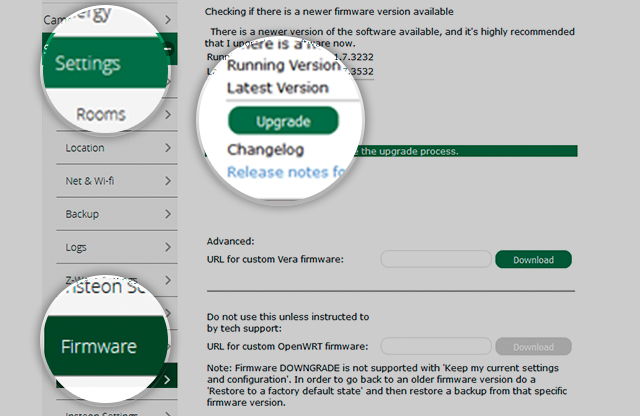
You can check to see the latest firmware available as shown below or by having a look at the release notes here.
To perform the firmware upgrade, you can head over to Firmware in the Settings tab, and click on the Upgrade button found there—provided there's a newer firmware version available that you can update to.
Which devices work with Alexa?
Due to security and safety considerations, certain devices are prohibited at this time and won't work with Alexa.
The Vera Control Skill API currently supports lights, switches, smart plugs and thermostats, including turning devices on and off, dimming lights, and thermostat controls, as well as having Alexa answer queries regarding device status.
Linking Alexa with Vera
Note: You can get your Amazon Alexa set up with Vera either via the Amazon Alexa app or through the alexa.amazon.com web-based interface.
A. Linking Alexa with Vera via the Alexa app
Steps:
- Find and enable the Vera Control skill in the Skills & Games section of the Alexa app
- Authorize Alexa to control Vera devices and scenes
- Device and scene discovery
1. Finding and enabling the Vera Control skill
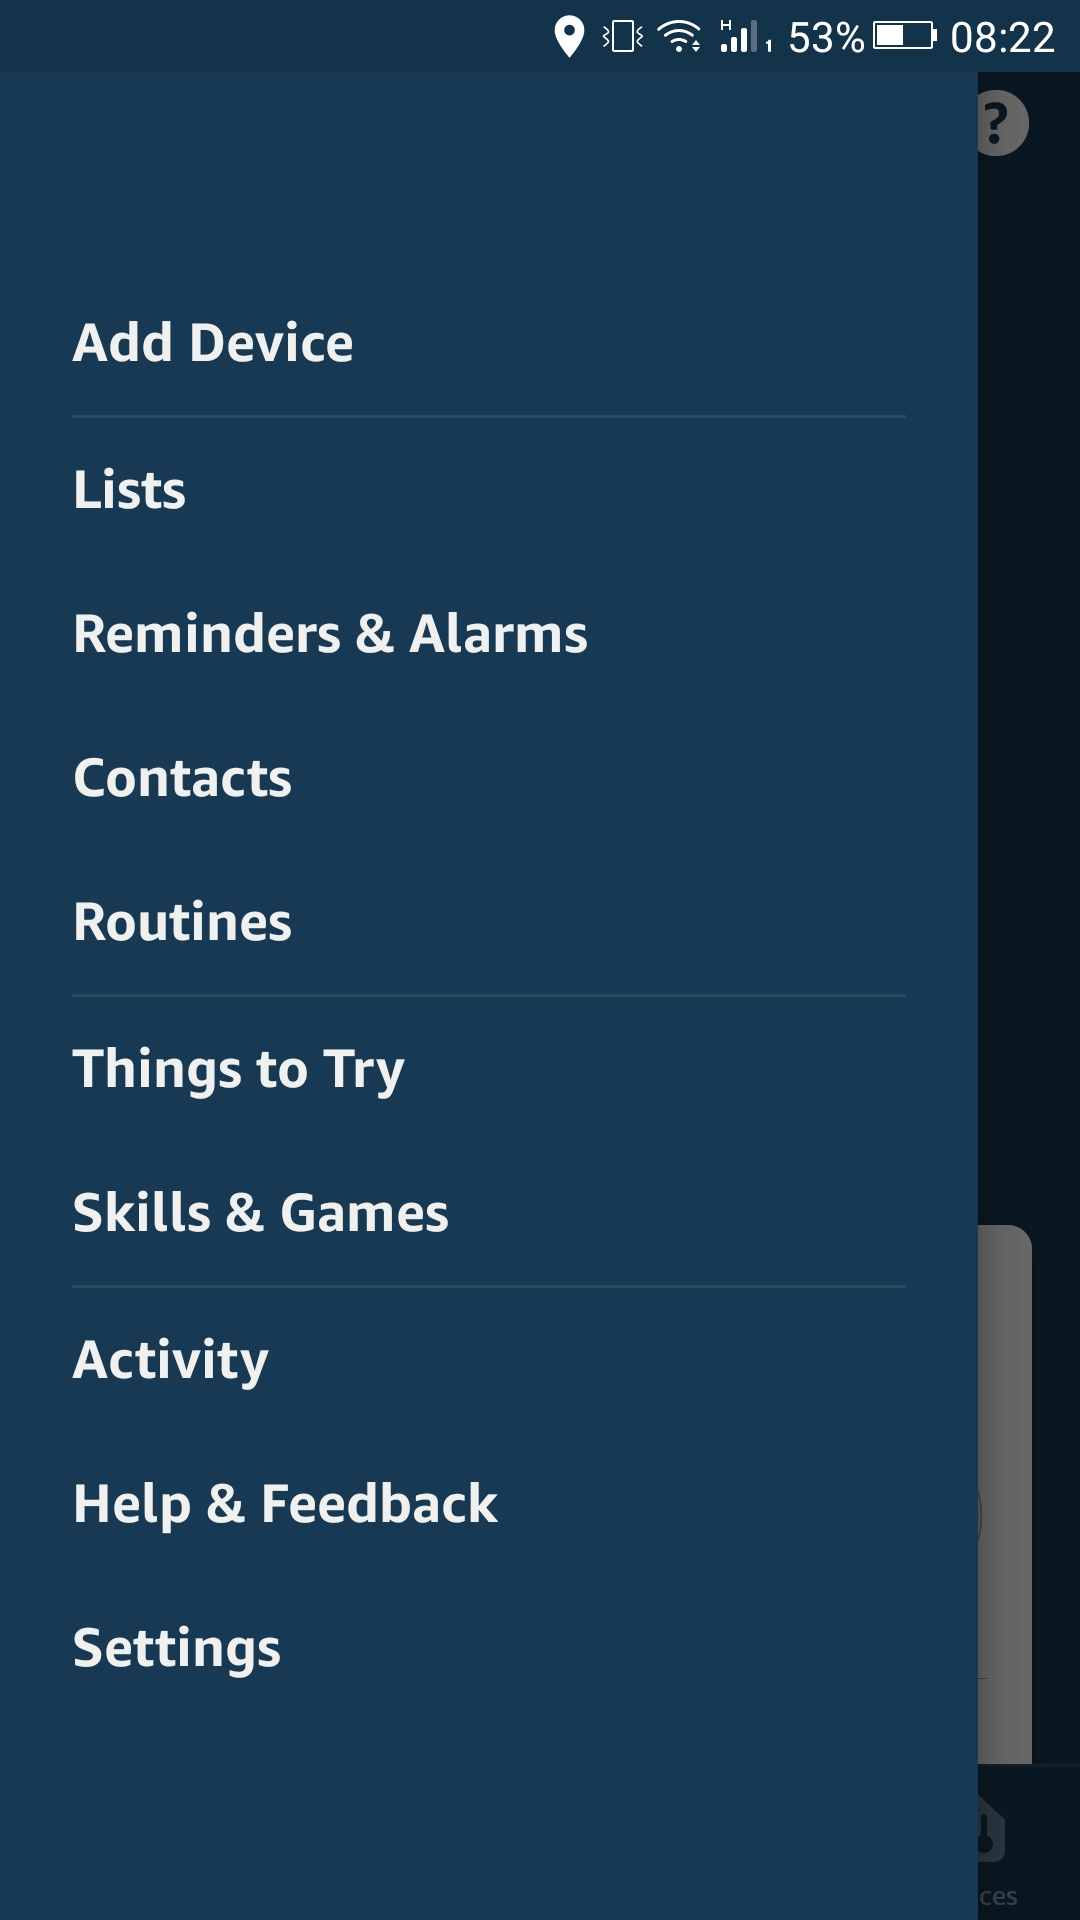
In the Amazon Alexa app, tap on the hamburger icon in the top left corner of the screen, and then on the Skills & Games tab from the ensuing menu.
![]()
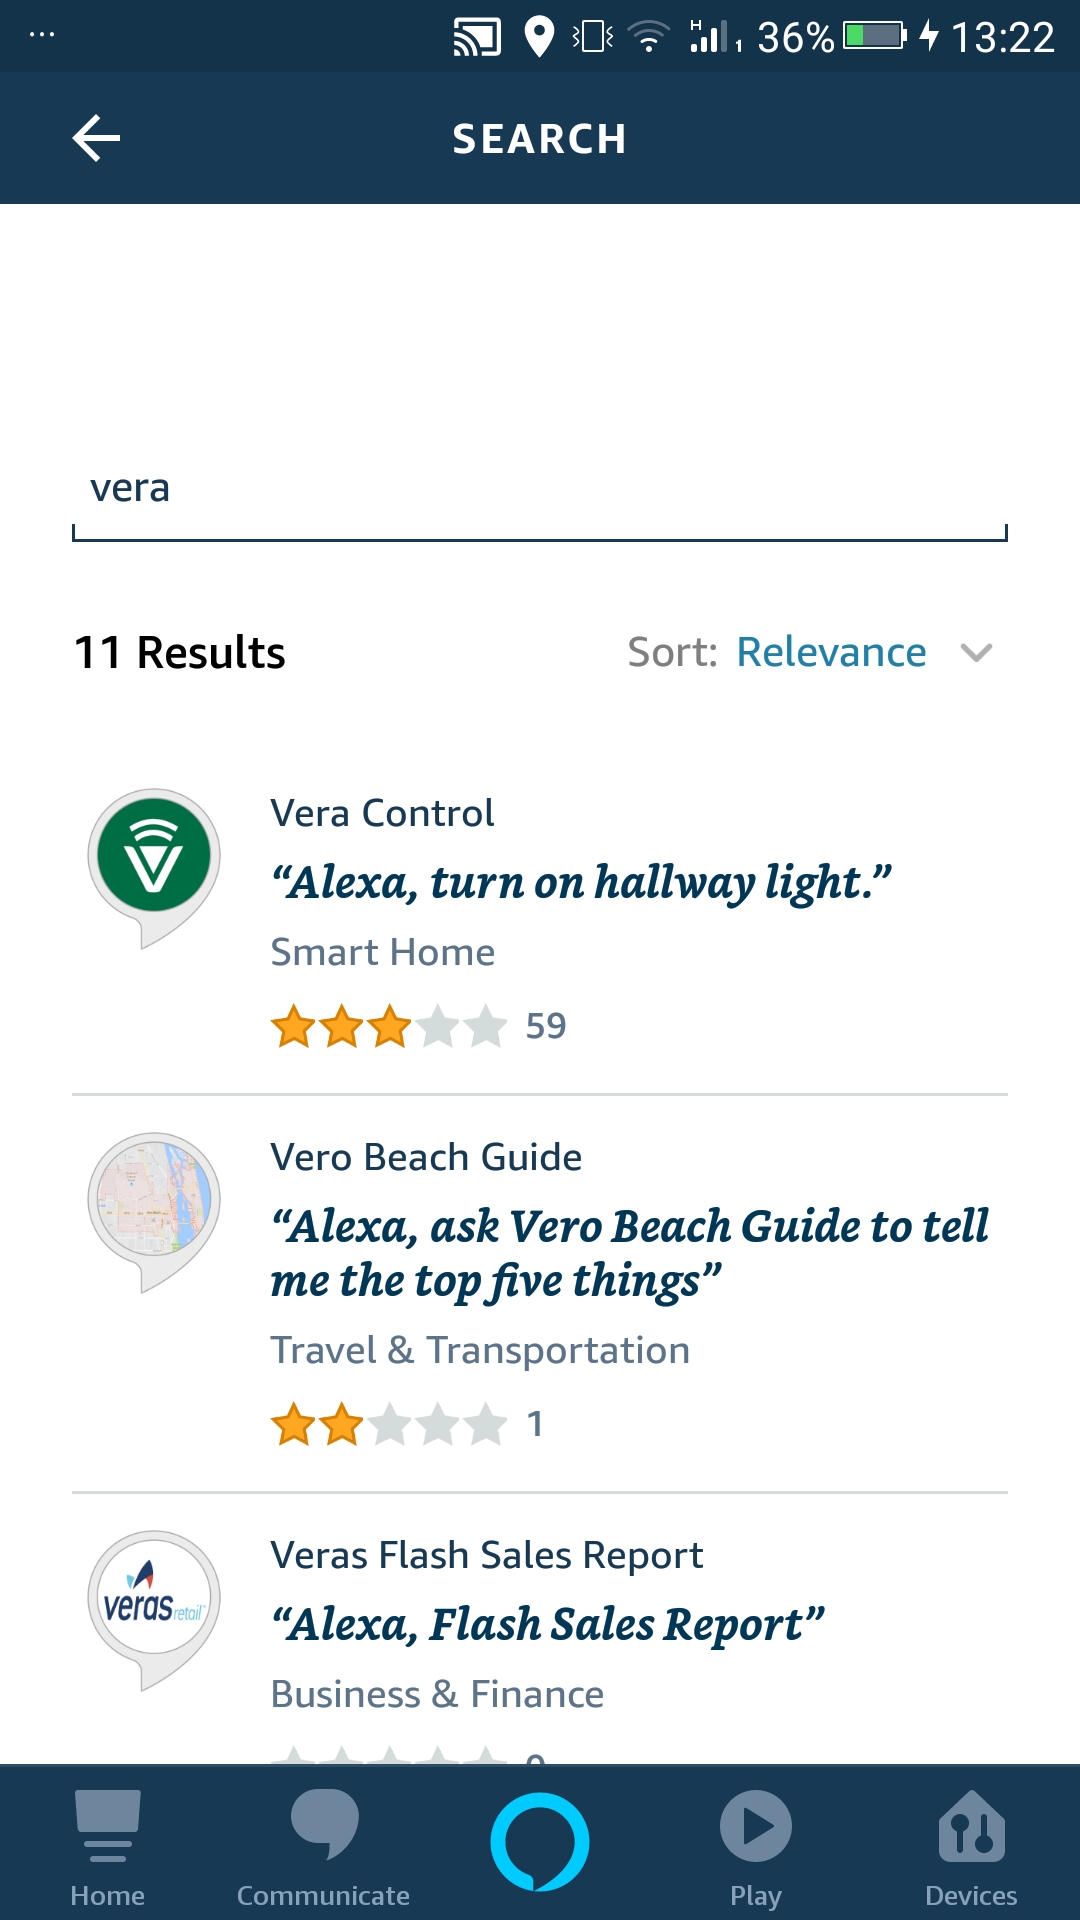
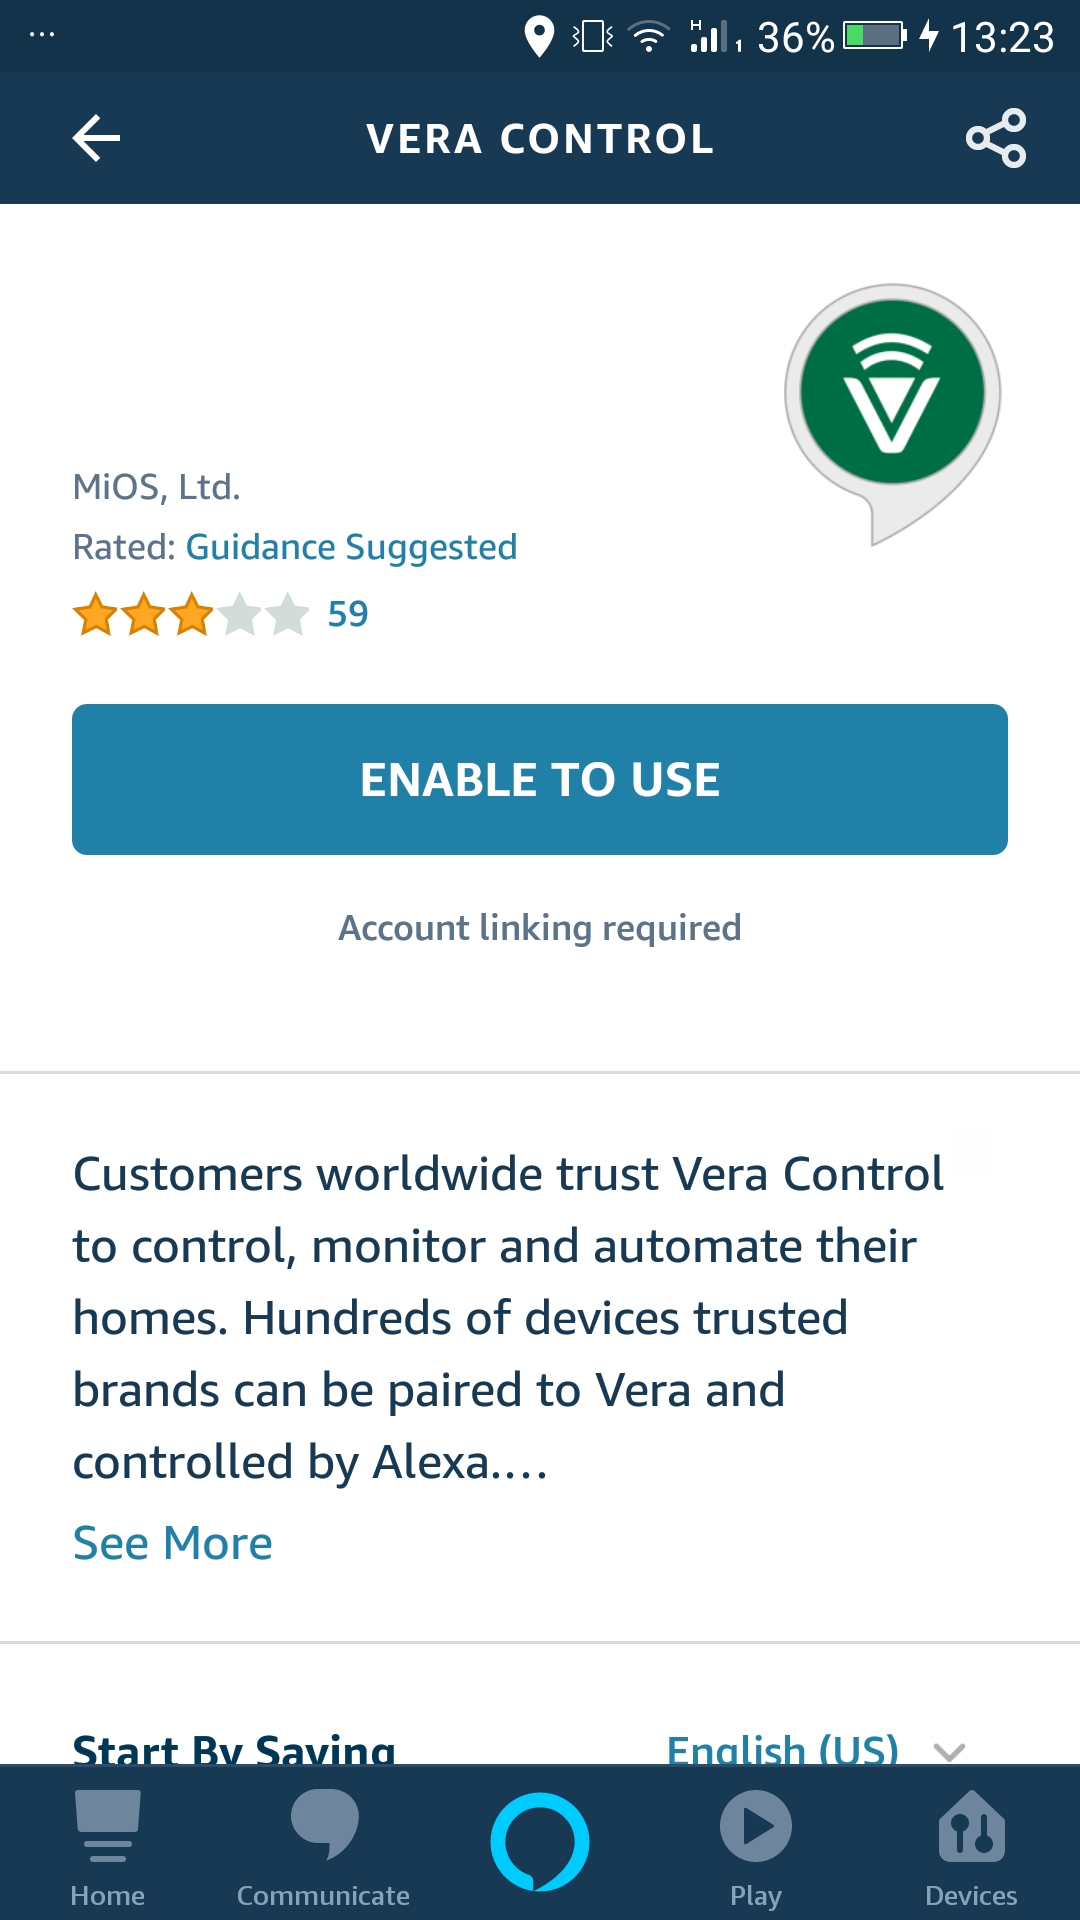
On the subsequent screen, tap on the search icon at the top and search for Vera Control, then, once found, tap on the Enable to Use button to activate the skill.
2. Authorizing Alexa to control Vera devices and scenes
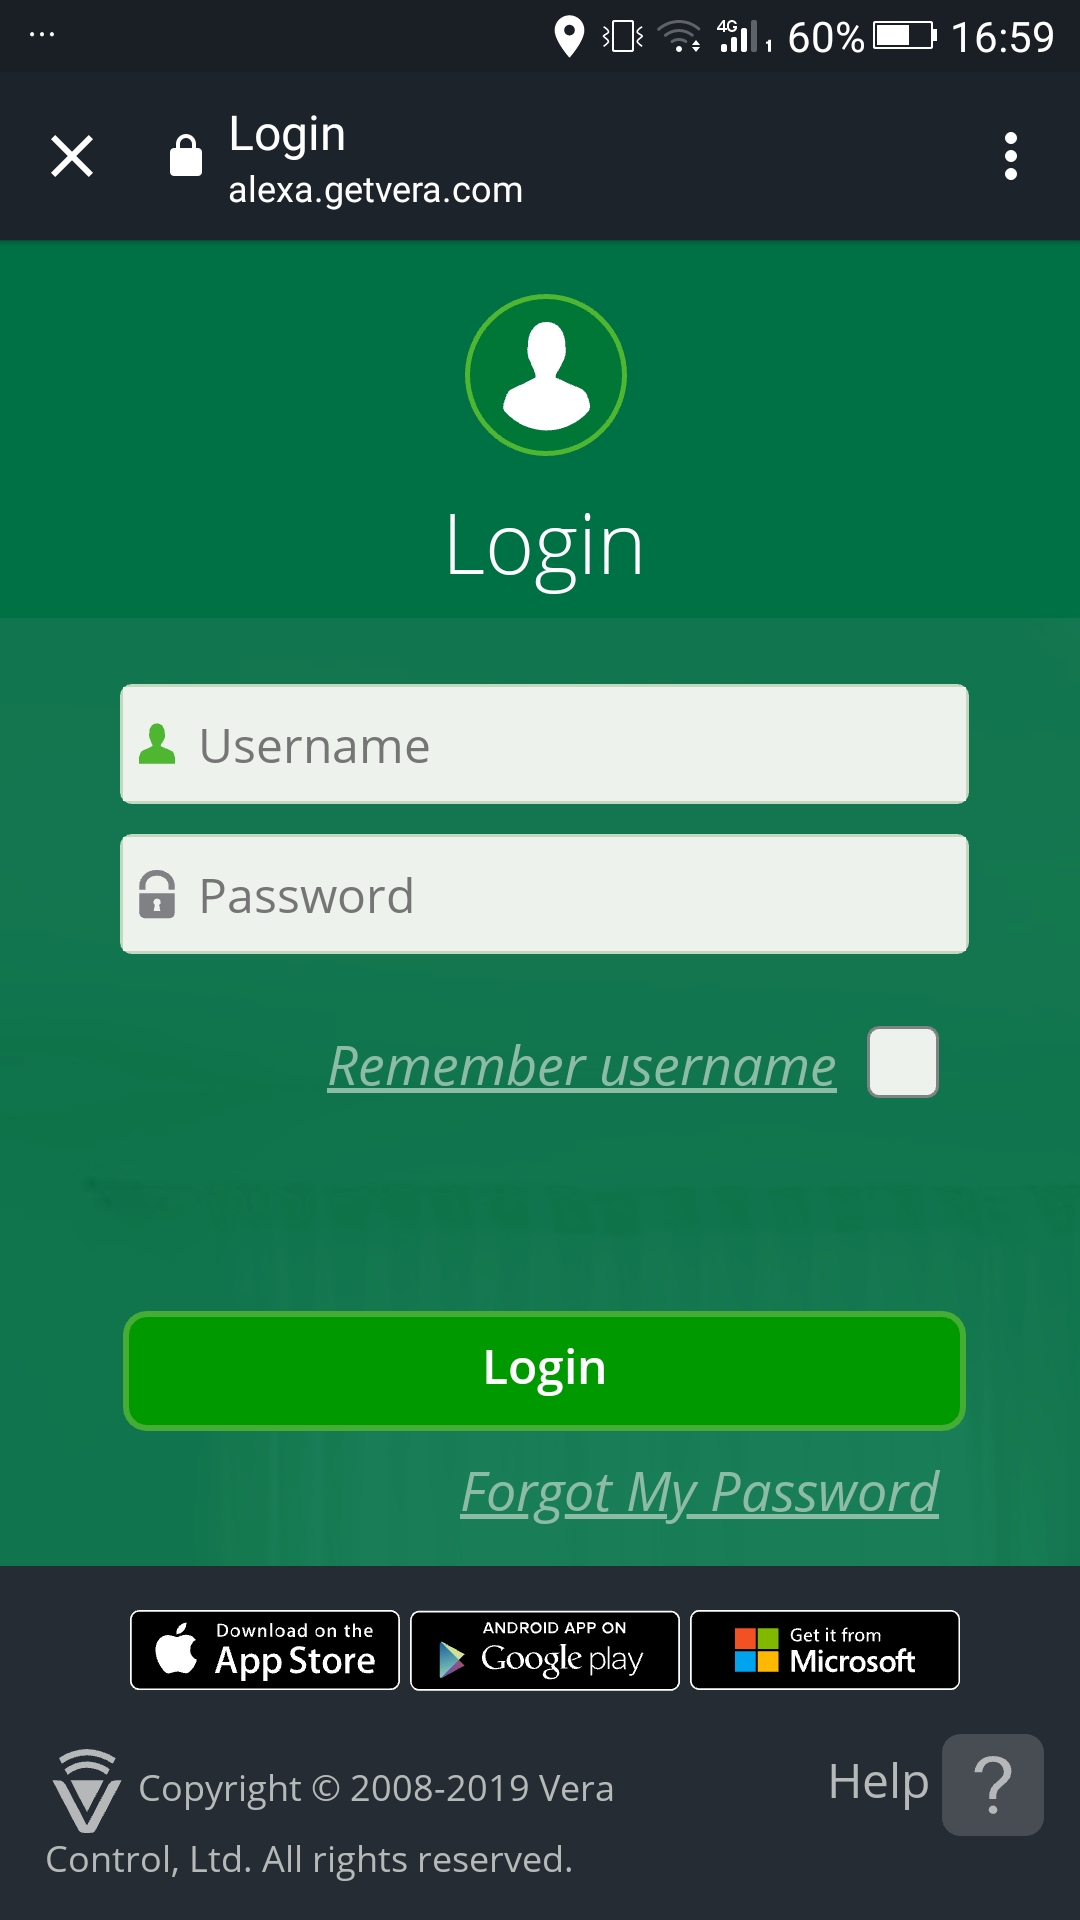
As soon as you press the Enable button, you'll be redirected to a Vera sign-in screen where you need to log in with your Vera username and password in order to authorize Alexa to see and control your devices.
Fill in your credentials, then push the Login button down at the bottom, whereupon Alexa will follow through with the linking process.
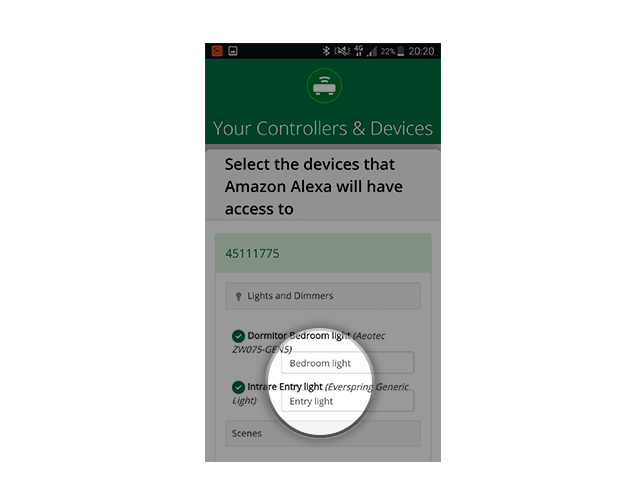
Once you've successfully logged in, you'll be presented with a list of your Vera scenes and devices and prompted to pick the ones you want Alexa to be able to see and control. You also have the option of giving the selected scenes and devices custom names. Tap on Finish when done.
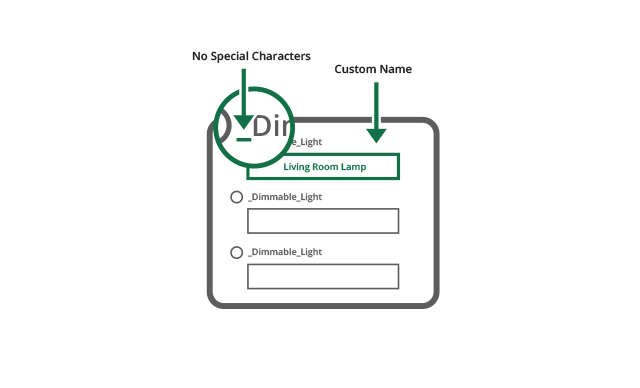
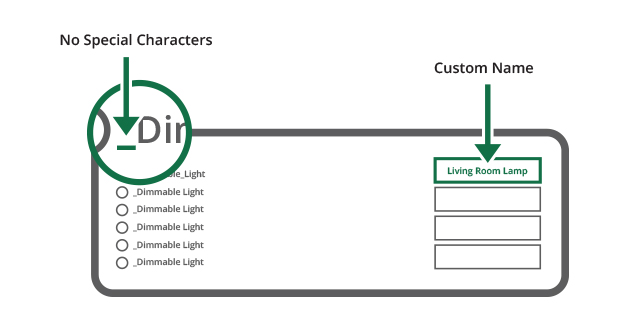
Note: You can't use special characters when naming the said devices or scenes as Alexa won't recognize them.
3. Device and scene discovery
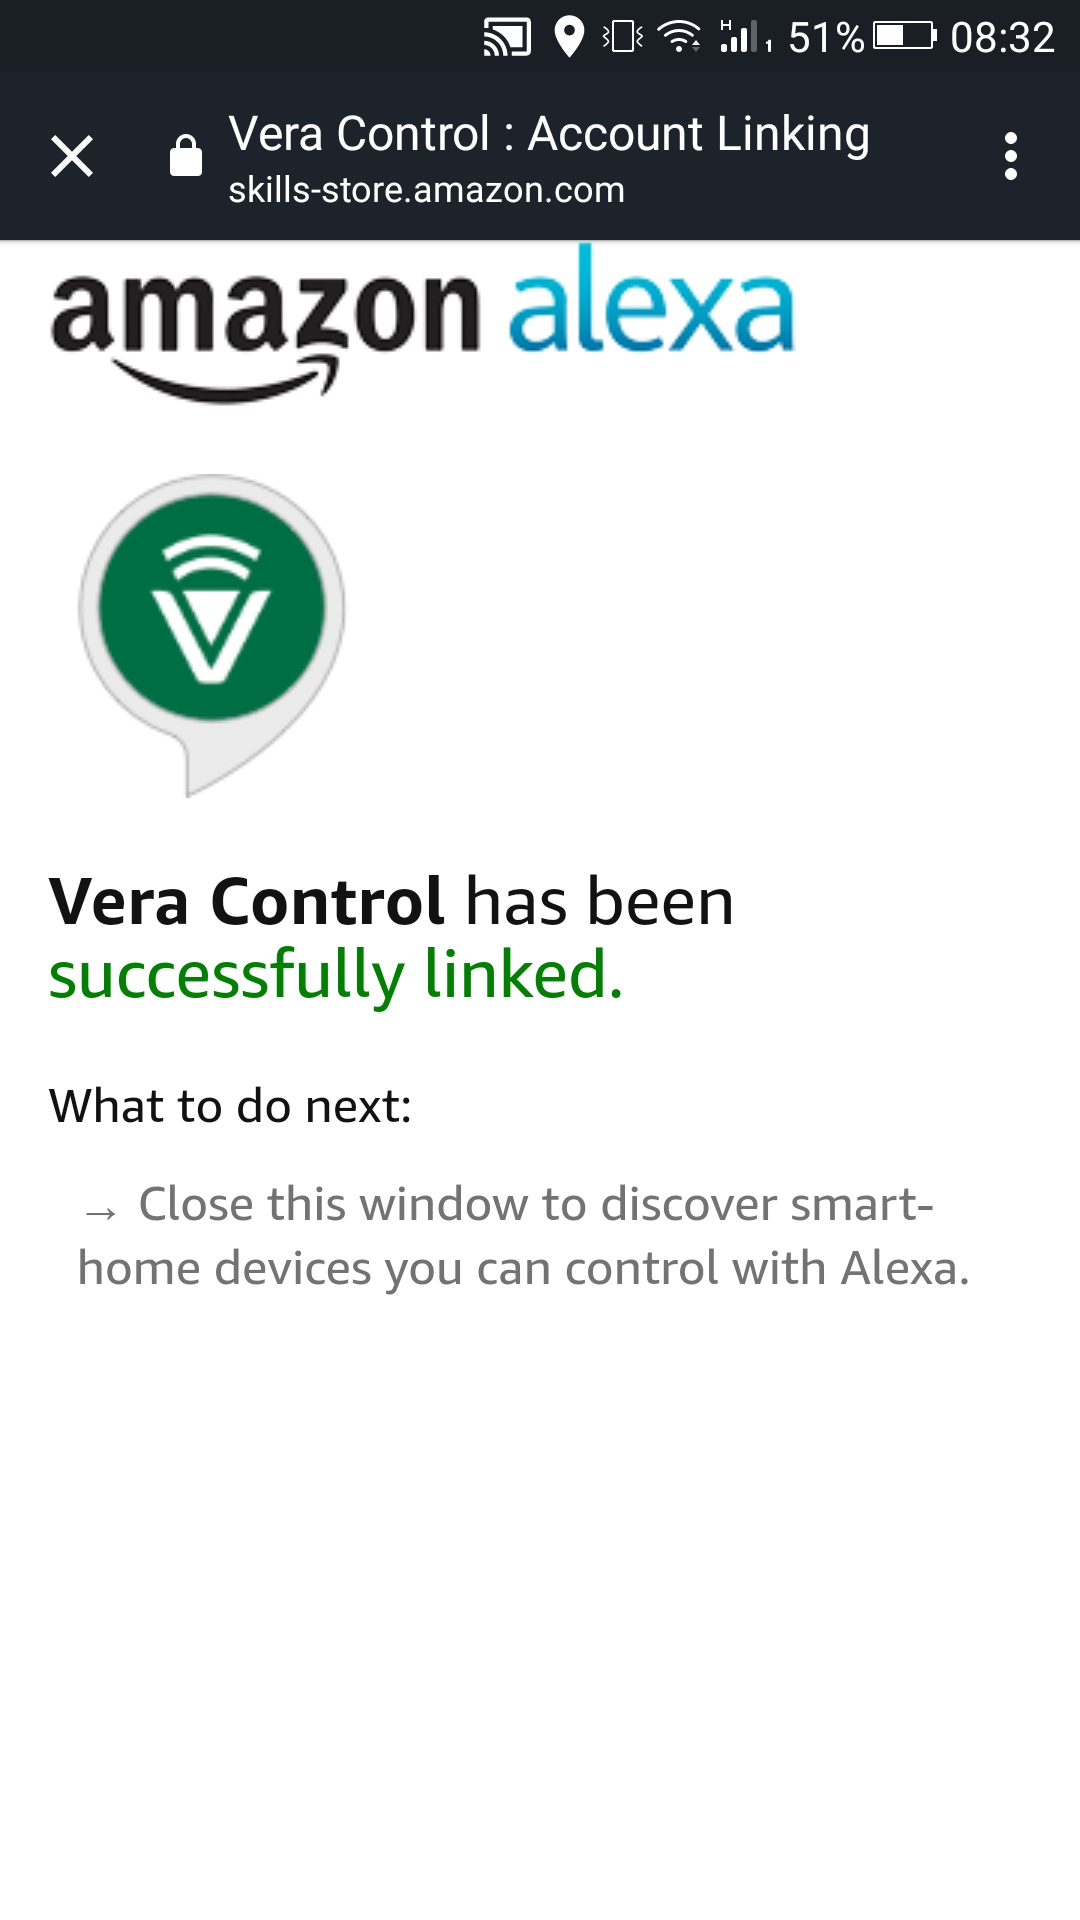
You should see a confirmation screen afterwards, informing you that the linking process has been completed and that it's safe to close the window, immediately after which you'll be prompted to have Alexa 'discover' your devices.
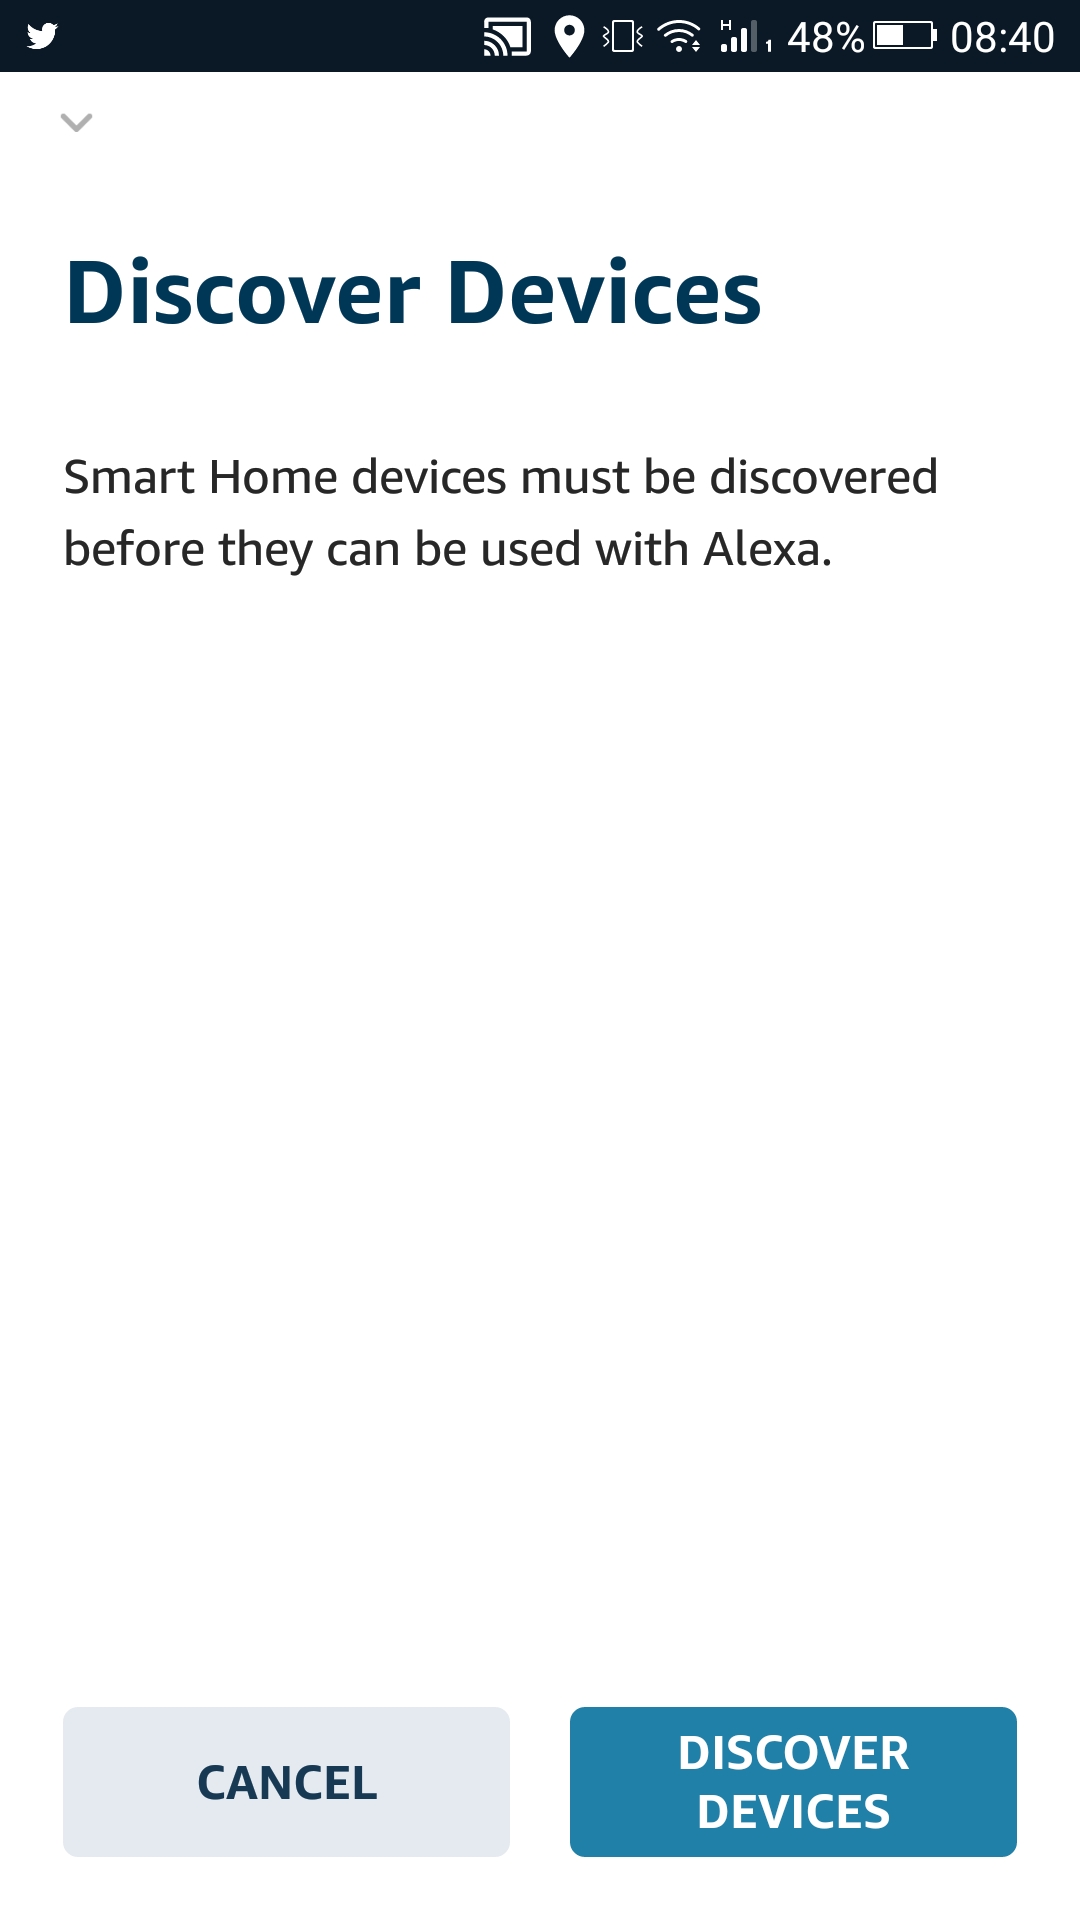
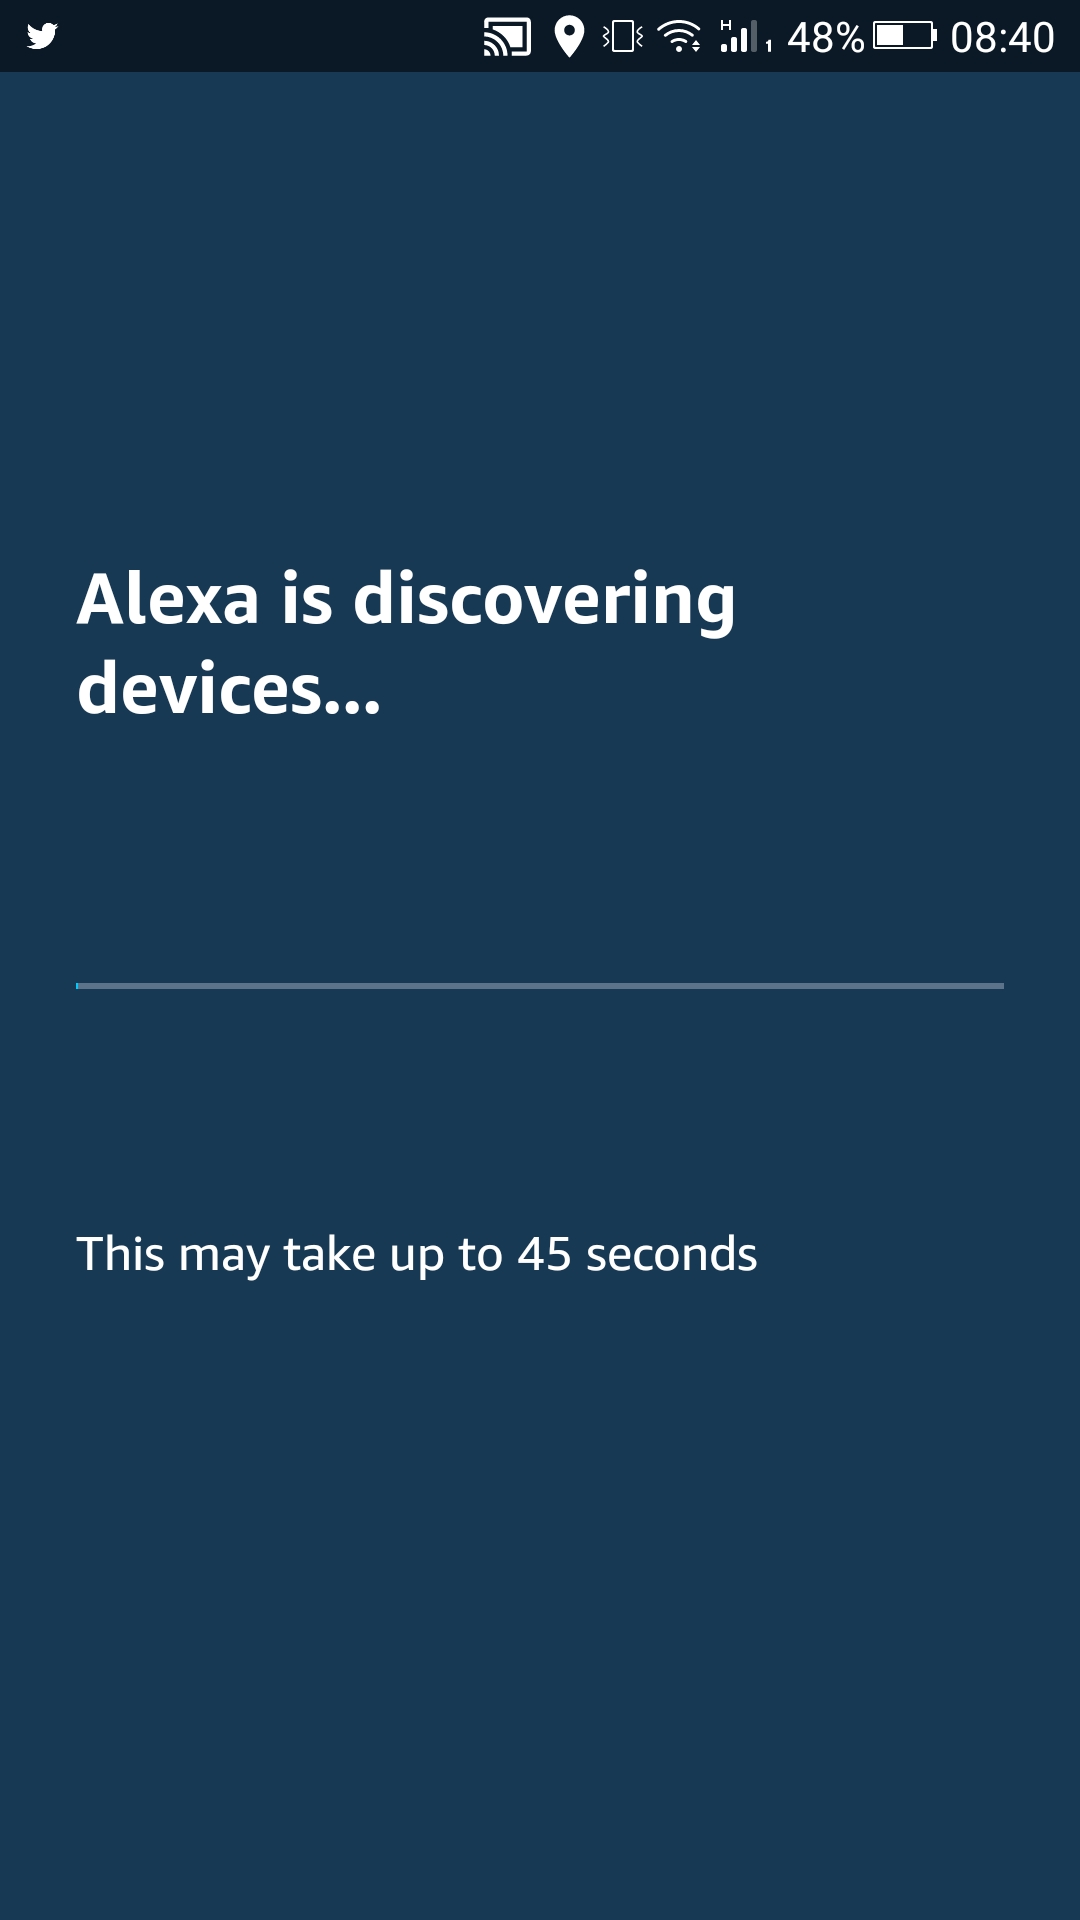
As per the on-screen guide, this process might take up to nearly a minute, at the end of which you'll get a confirmation message as to the detected scenes and devices.
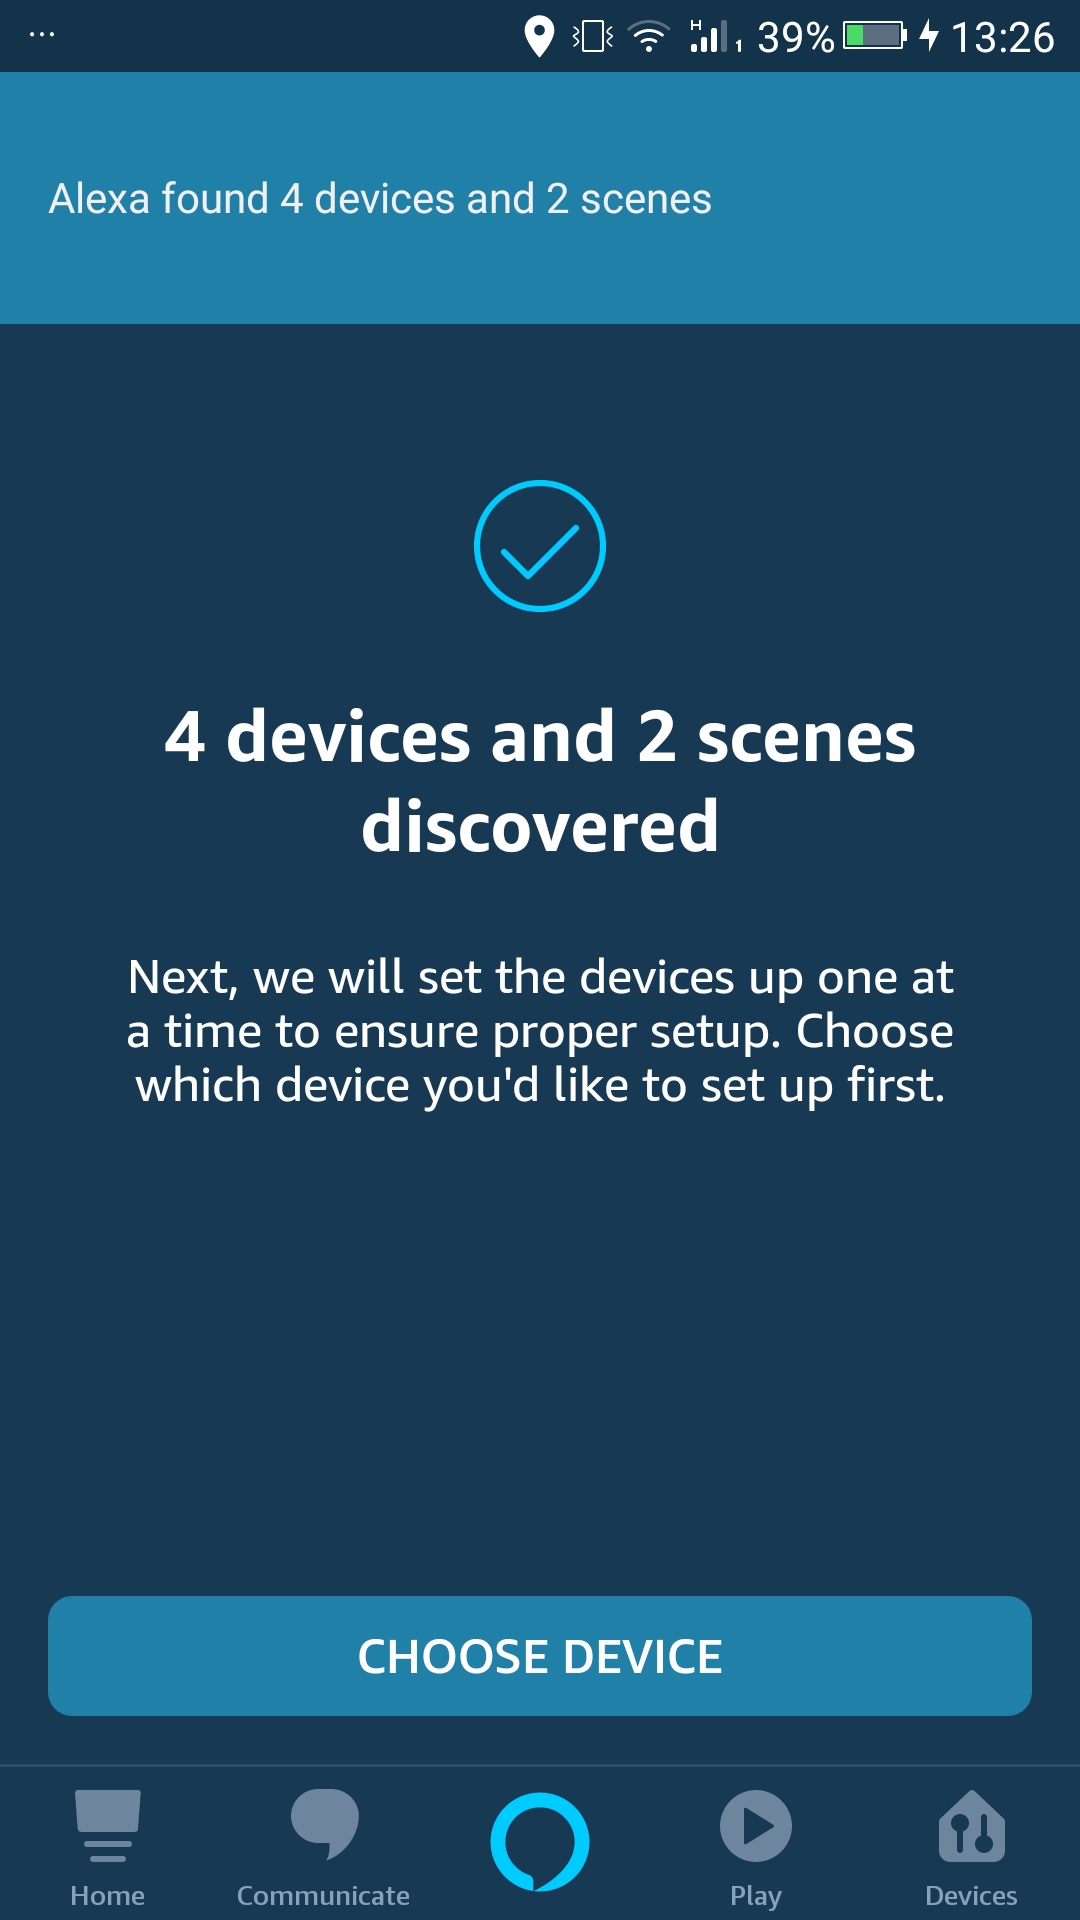
Next, you'll be prompted to add each of the discovered devices and scenes to a group, for organizational purposes. You can choose from a list of preset rooms, or you can set up a new one with a custom name by tapping on Create custom group, found by swiping down to the bottom of the screen.
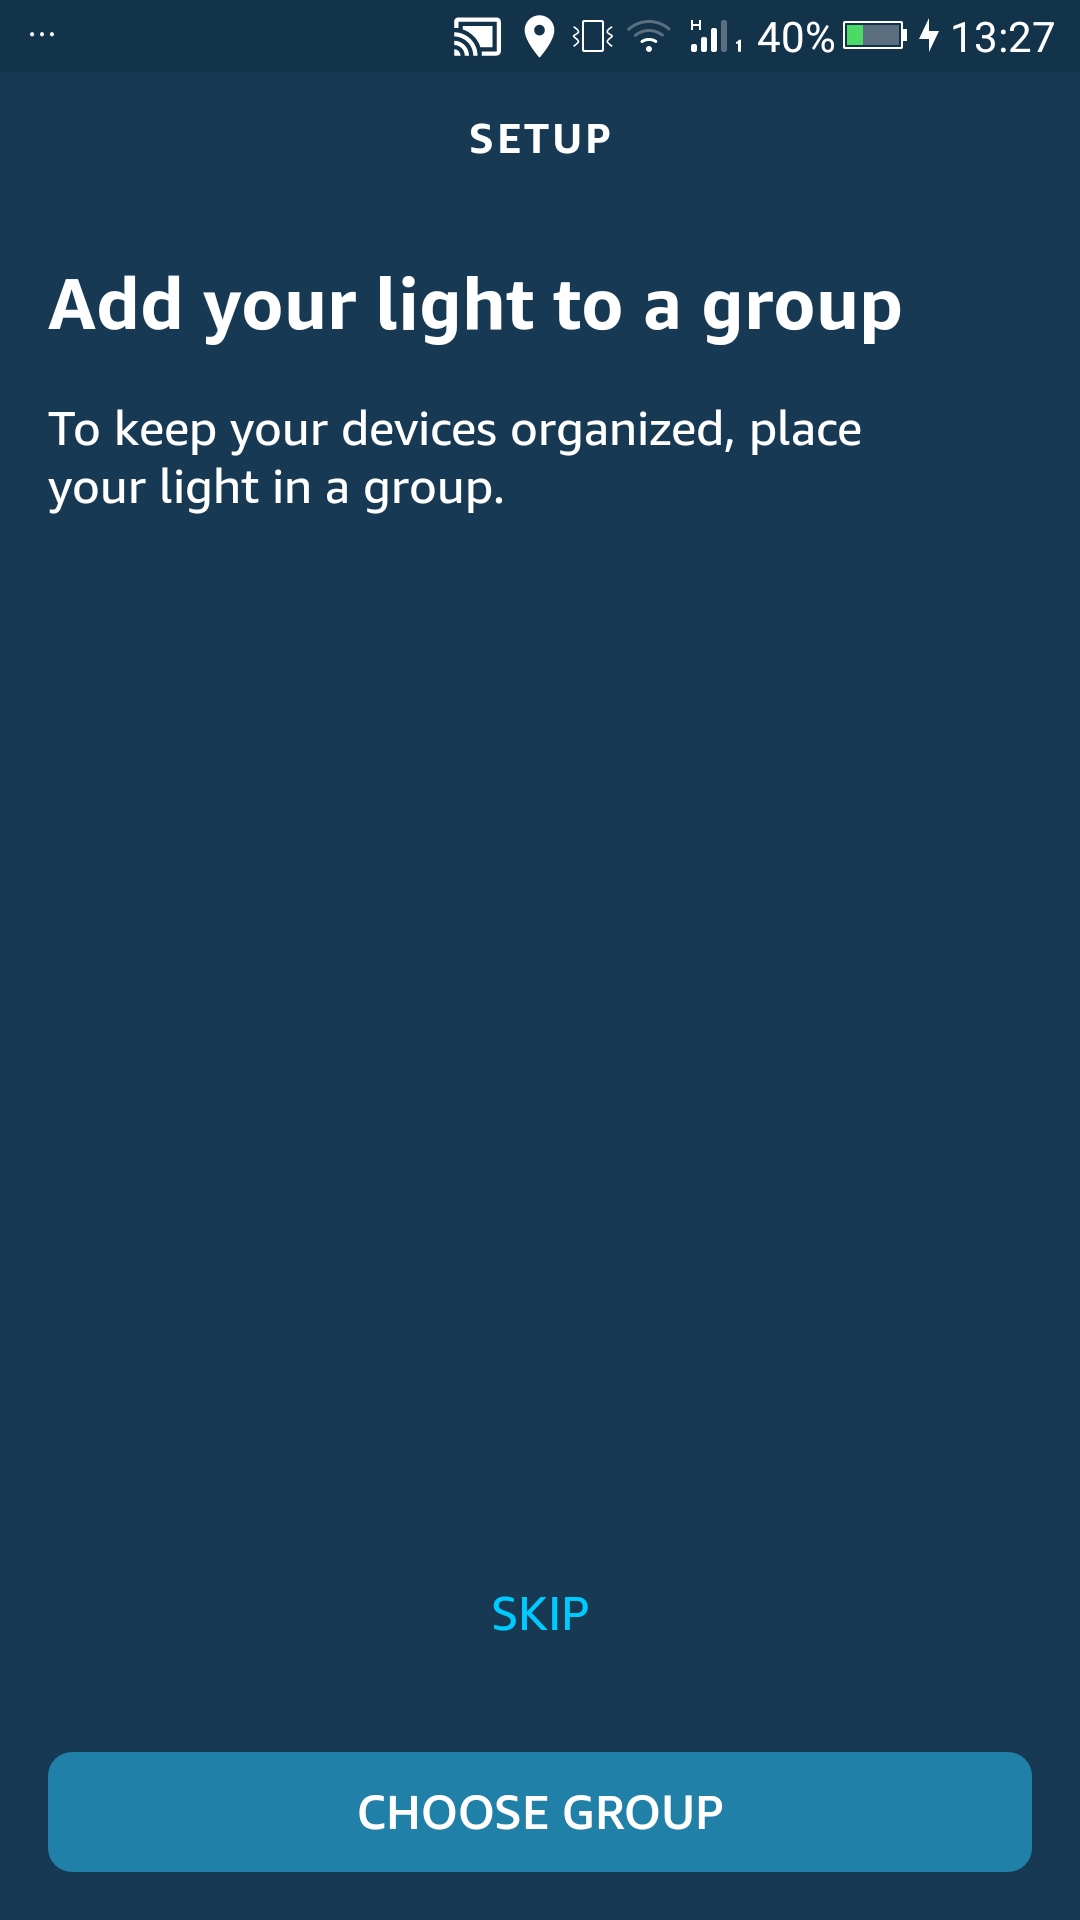
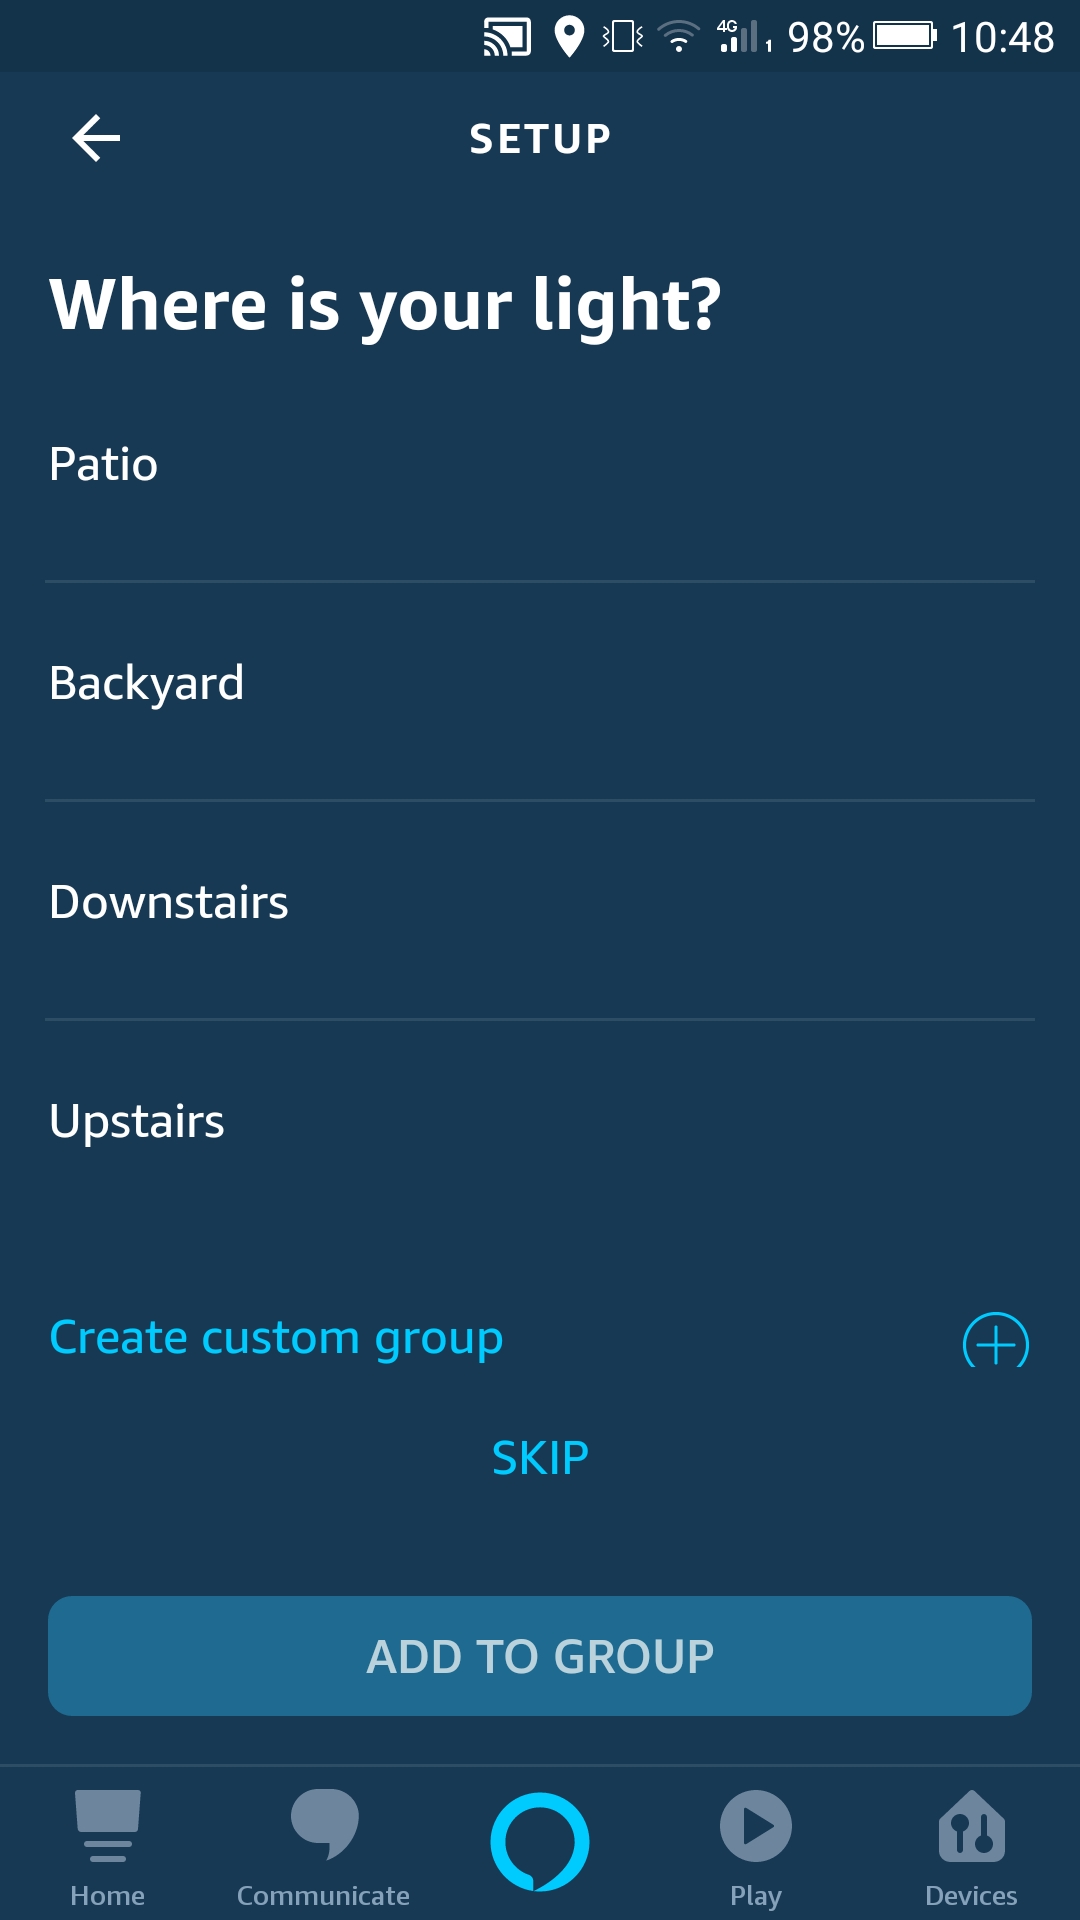
However, note that it's not essential you do this now—you can change the room a particular device is assigned to later on, among other things. With that in mind, you can exit this screen by tapping on the Devices tab at the bottom of the screen and find all of the devices listed there.
Find out more about rooms, groups, and devices on Alexa here.
B. Linking Alexa with Vera via the web interface
Visually, there's no major discrepancy between the Alexa app and the web interface, with the layout being very similar, and the Alexa-Vera linking process thus being essentially the same, no matter which route you take. It might be just a little faster doing it all from the Web UI, but using the app might be just that more convenient, while also keeping in mind you'll mostly interact with Alexa via the app—when not using your voice, that is.
Steps:
- Go to Skills and find and enable the Vera Control skill
- Authorize Alexa to control Vera devices and scenes
- Device and scene discovery
1. Find and enable the Vera Control skill from the Skills section
After having logged into your Alexa account at alexa.amazon.com, select Skills from the menu on the left.
Type Vera in the ensuing search bar at the top to pull up the Vera Control skill, and, once found, click on it, and then on the subsequent Enable button that will have come up on the skill page.
2. Authorize Alexa to control your Vera scenes and devices
You should be redirected to alexa.getvera.com just as soon as you click on Enable, where you need to log in with your Vera credentials.
On the ensuing page, you need to pick which of your devices and scenes you want Alexa to have access to. As discussed above, not all the devices that you have paired with Vera will appear here. Prohibited devices won't show up at all, and scenes containing such a device can't be selected.
Selected devices will be marked with a white check mark inside a green circle in front, whereas this will be grayed out for devices that aren't selected.
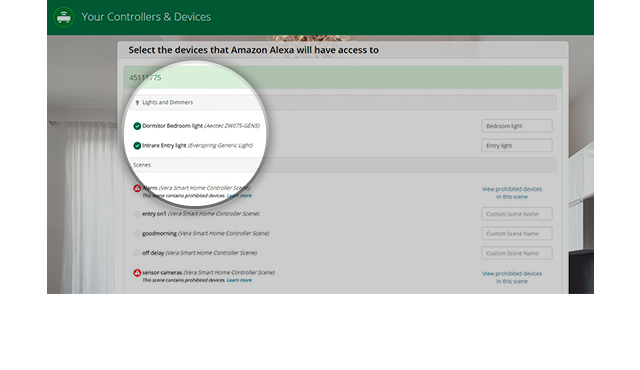
You can choose to give the devices and scenes custom names, but note that the these can't contain special characters as they won't be recognized by Alexa. A red border will surround the respective blank space for the name of the device/scene in question if this is the case, by way of signalling the said issue.
Once you're done, click on the Finish button at the bottom.
3. Device and scene discovery
You should see a confirmation message, once the process is completed, letting you know the linking has been successful and prompting you to close the window.
After doing so, a pop-up prompt for device discovery will have come up—click on Discover Devices, as prompted, for Alexa to register the devices and scenes that you've granted it access to earlier on.
Wait for the process to finish, after which you'll get a list of all of your devices—already paired, or only just discovered now, whether through Vera or otherwise.
All the scenes and devices are to be found in the Smart Home section (just below Skills) afterwards.

Comments
0 comments
Please sign in to leave a comment.