With Ezlo Atom you can have your house ready and waiting the way you want it when you come home, at the push of a button.
If you're anything like most people, chances are that one of the first things you'll have in mind for a smart home is light control. Let's see how you can have your house waiting for you with the lights on when coming home in the evening. While at it, to round out this 'coming home' sequence, you can have all the sensors disabled so as to stop them from reporting activity - which is what you'll probably want when at home.
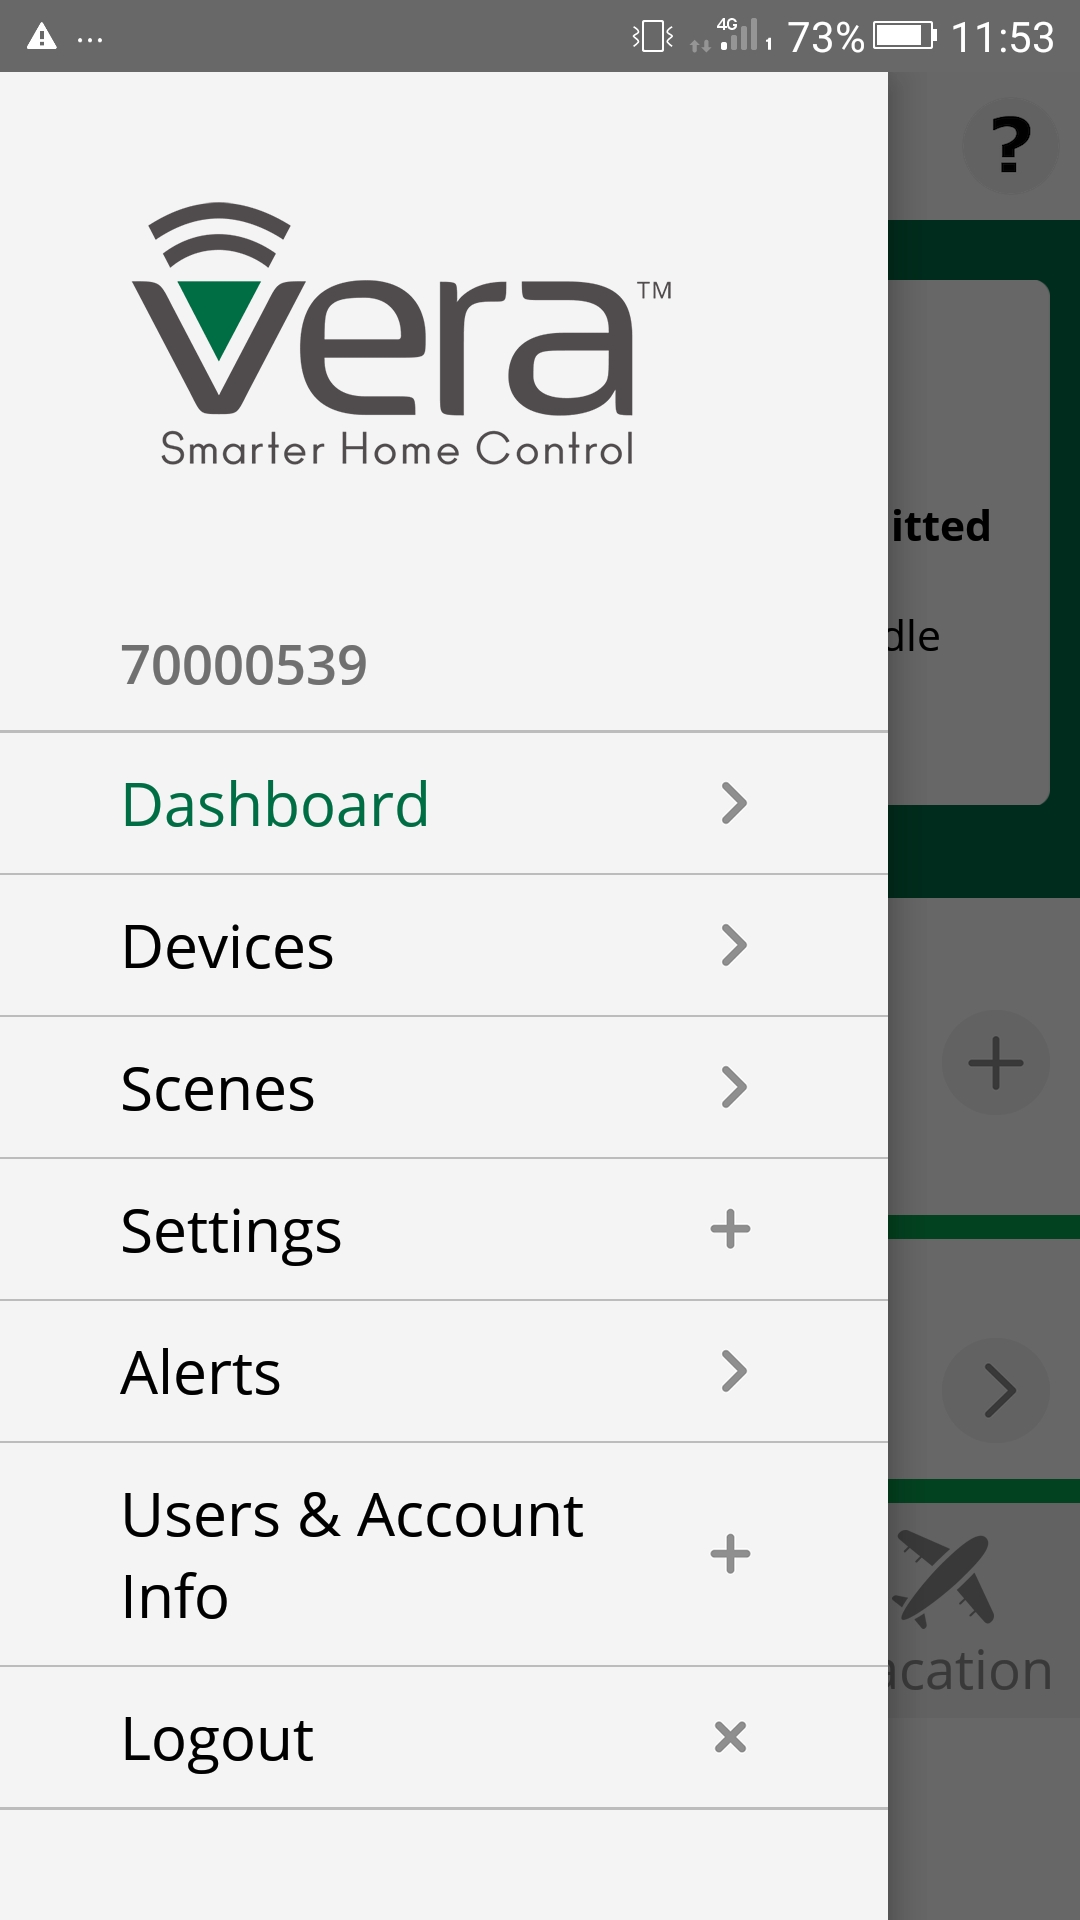
Start by going into the Scenes section of the app, which can be accessed from the left-hand-side menu.
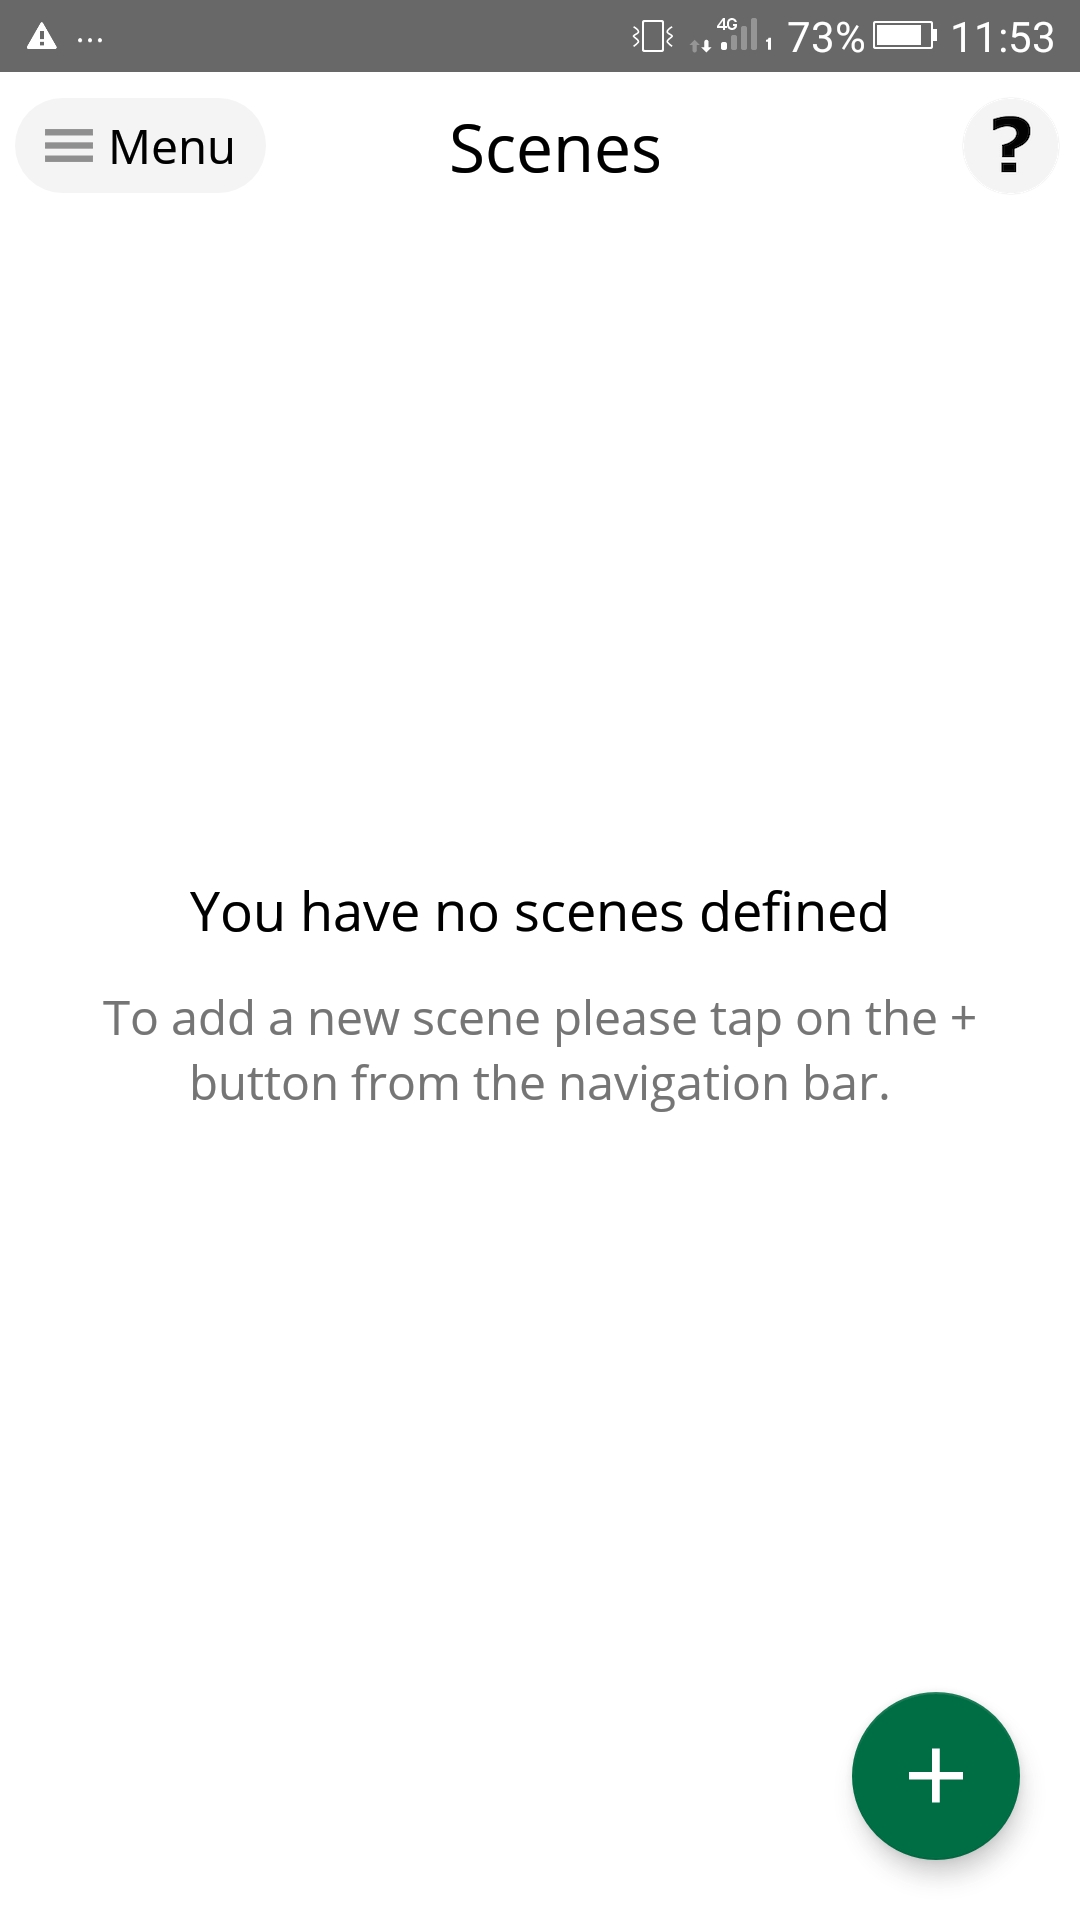
There you can add a new scene or, alternatively, edit/remove existing ones, provided there are any, by tapping on the pen or trash can icon, respectively. To set up a new scene, tap on the plus-sign button at the bottom of the screen.
Step One: Trigger
The first step is picking a trigger - with the two options provided being manual and schedule. Choosing the former means you'll only ever have the scene run manually, while the latter allows you to set the scene to run either at specific intervals or at a recurring time, or as a one-off.
The most practical triggers for this would be either having the scene run everyday at a specific time when you or a family member normally get home, or triggering it manually when close.
Once you've decided on the kind of trigger you want to set off the scene, tap on Validate.

Step Two: Device Action
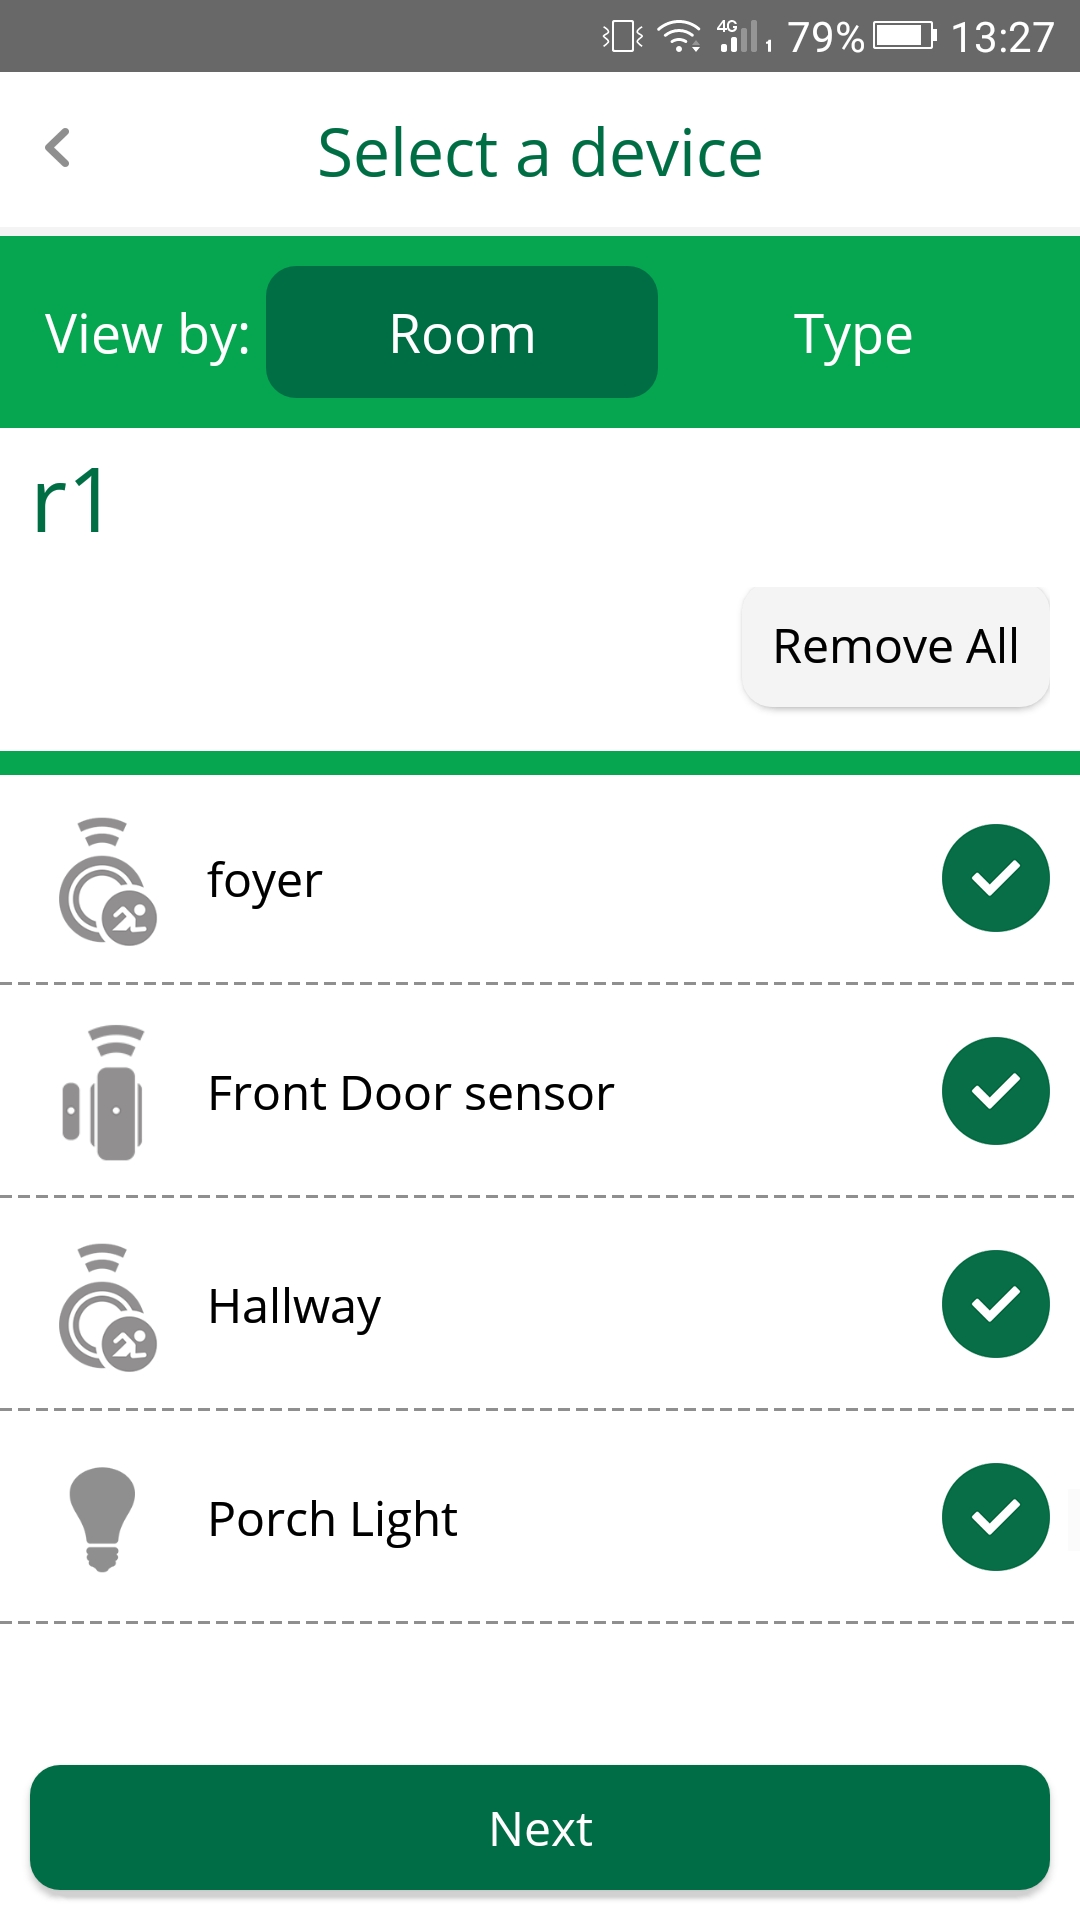
This step is about actually choosing which devices you want to do what. Tap on the arrow sign to the left of where it says Select Devices.

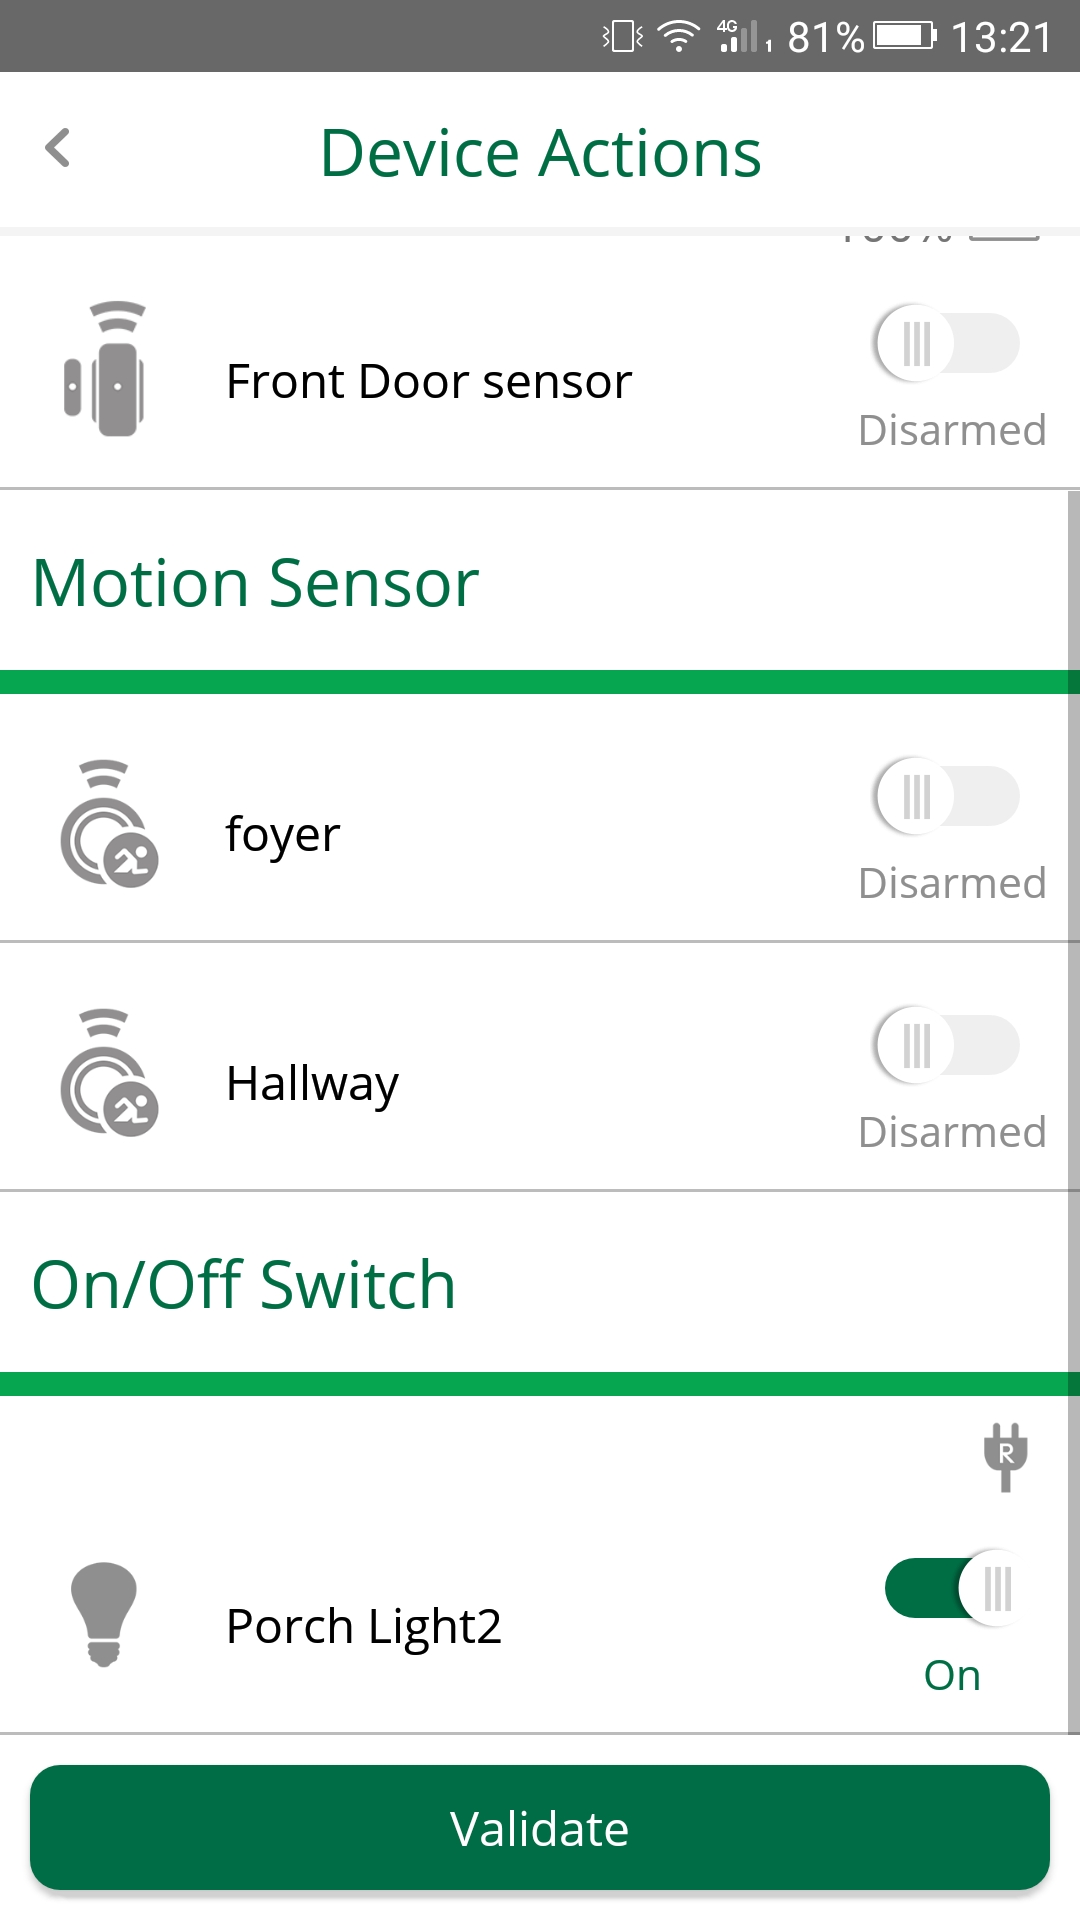
You can select here the lights you'd like turned on when running the scene, as well as the sensors that you'd like disarmed.
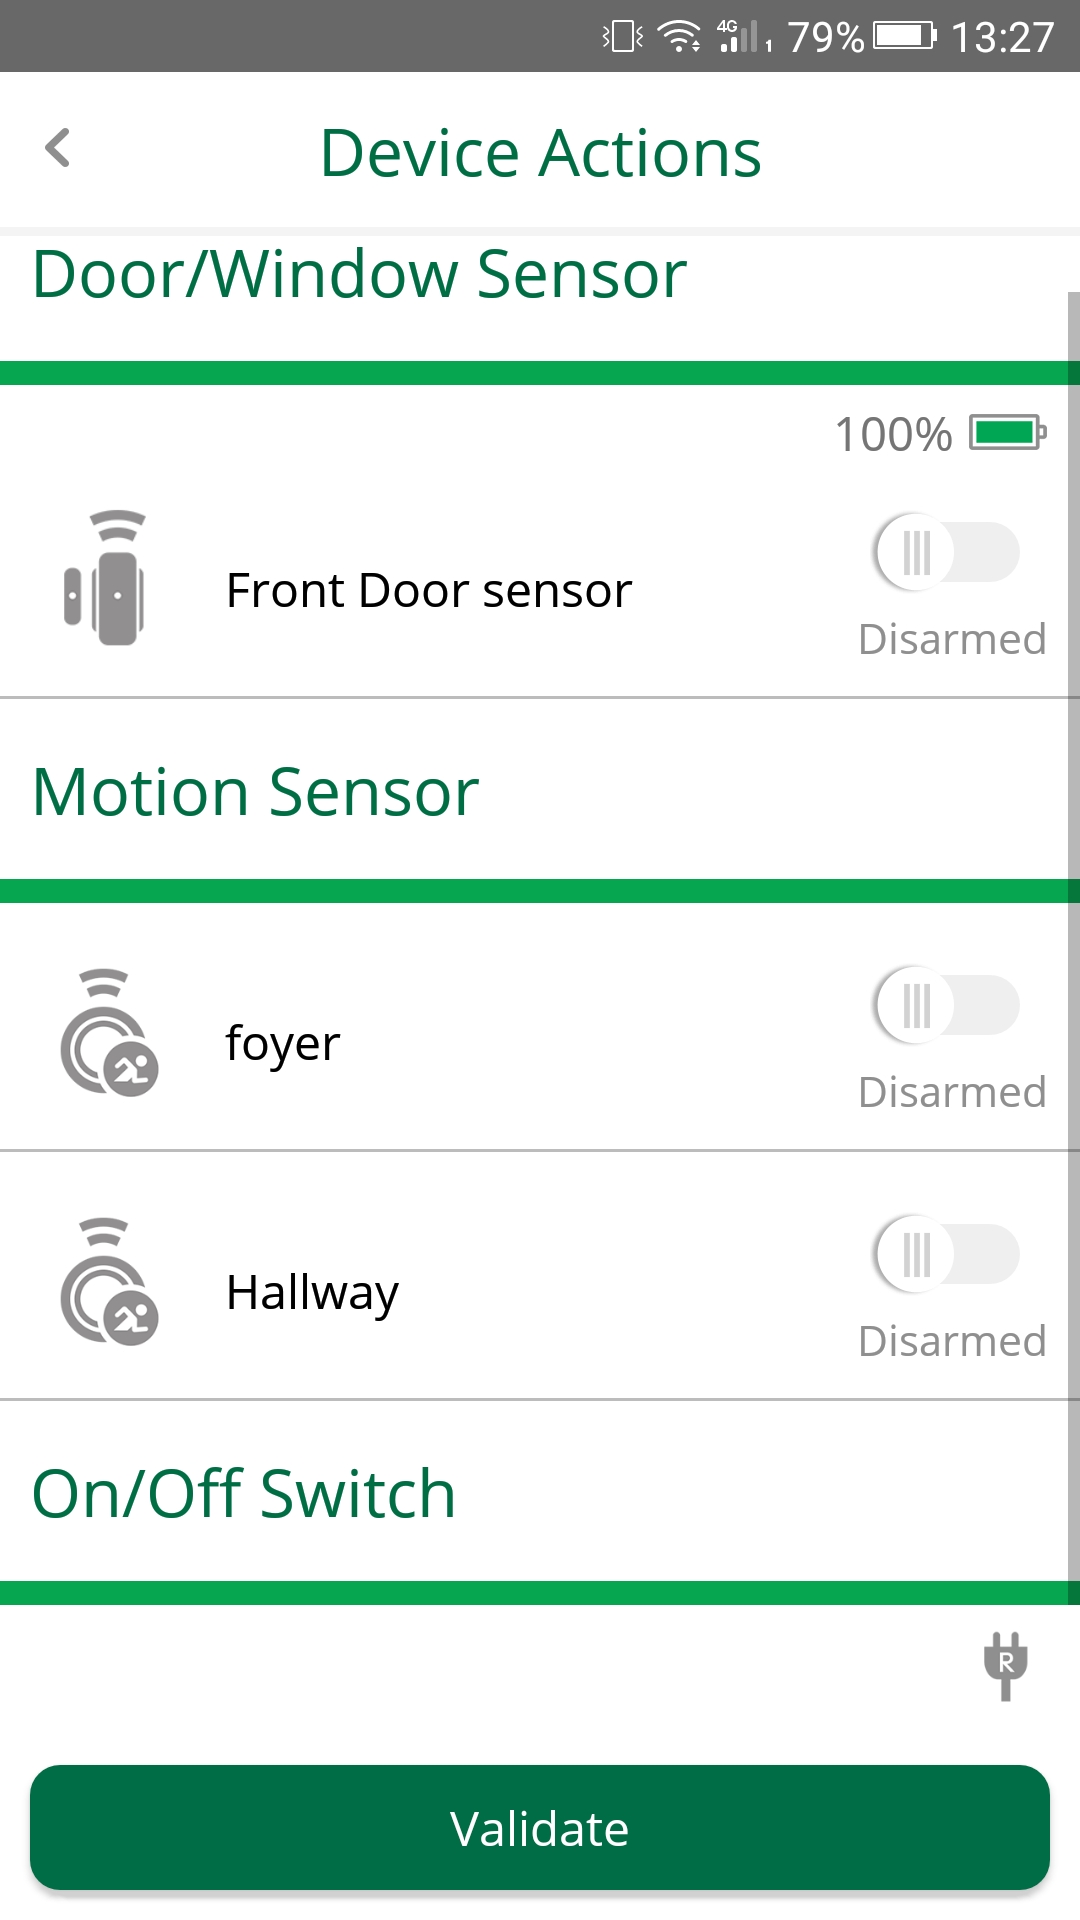
On the next screen, you need to select the state you want the devices in as a result of the scene. Make sure the toggle switch icon next to the light is set to 'on', and that it's 'off' for the sensors to have them disarmed. (You can easily turn the scene on its head and get a 'leaving home scene' by simply doing the reverse: set all the switches to 'on' i.e. armed, and the lights to 'off').
Tap on validate again, like before, to go on.
Step Three: Final Touches
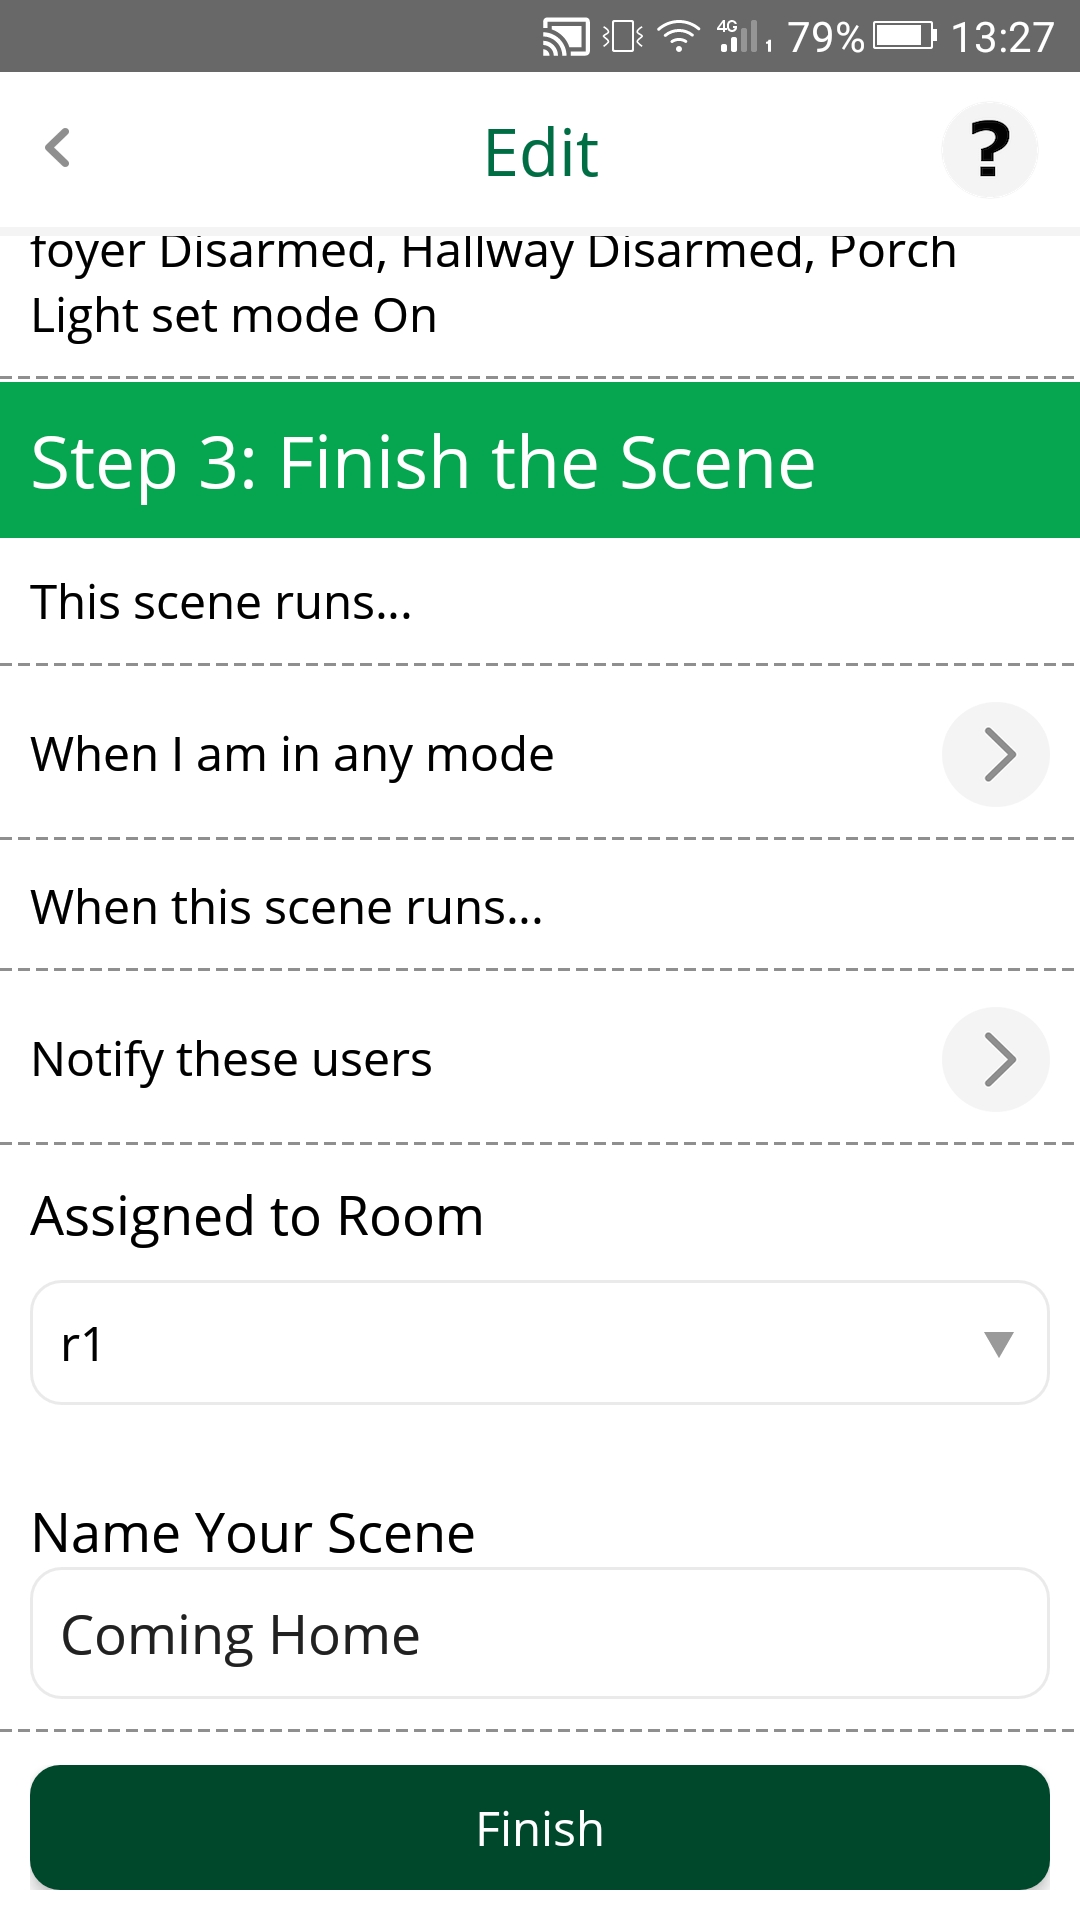
The final step gives you several options to further configure your scene before finishing it up. These are choosing the house mode the scene is to run in and the users to be notified when it runs, assigning the scene to a room, and, finally, naming your scene.
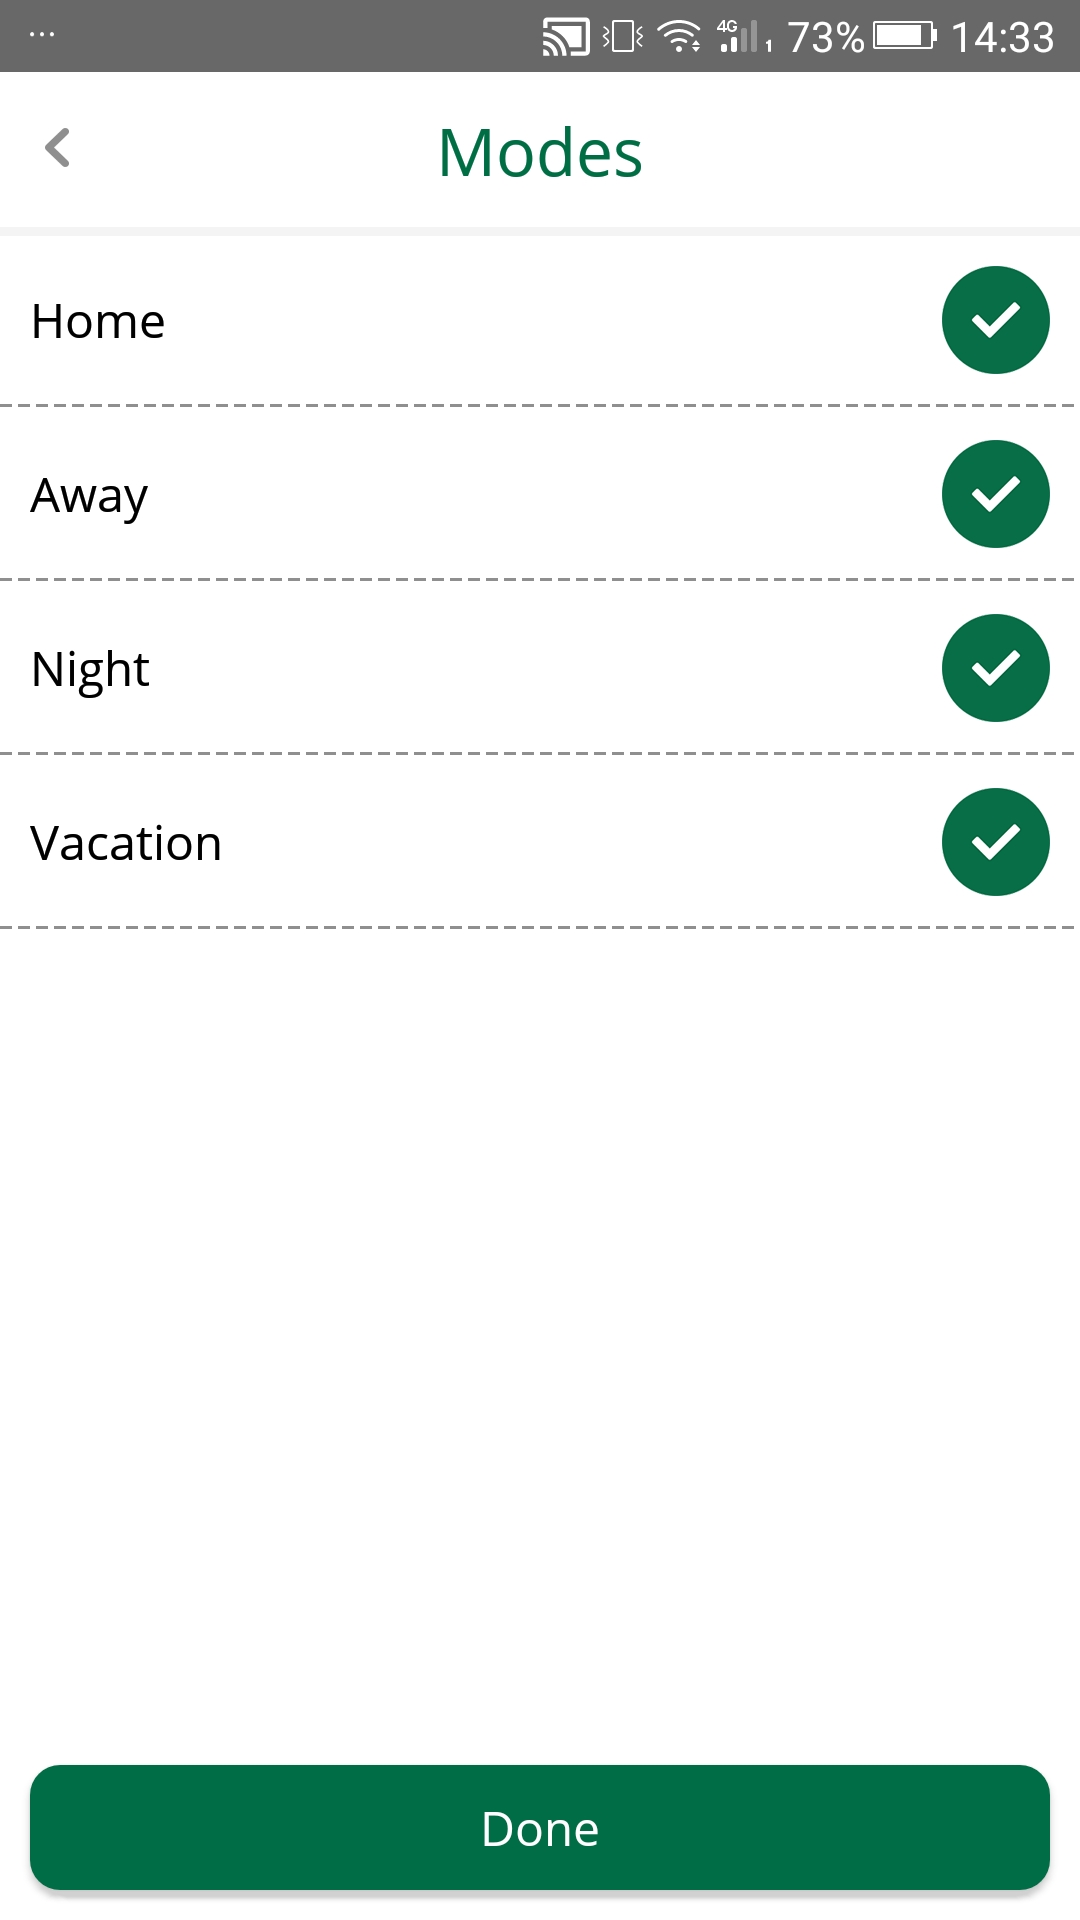
Note that the default setting is that the scene will run in any mode, with all the Modes options checked, so if you want the scene to be limited to just one mode, you'll need to uncheck the rest. If you chose Schedule as the trigger, then House Modes make for a very convenient feature, in that they allow you to quickly disable a scene. For example, if you have a scene running daily when in Away Mode, you can stop the scene from running by switching to Home mode, since it won't run in that mode.
If you chose Manual, however, the House mode shouldn't be a defining factor, so you could just as well leave the default setting as they are.
If you want any users on your system to be notified when the scene runs, set the toggle switch next to the them to 'on'.
Tap Done to proceed to the next step.

The last details you need to take care of to round out the scene are the room and the name. Assigning your scene to a room is essentially just to keep things organized, but doesn't have any bearing on how or if the scene runs. You can even not assign it to a specific room, in which case it will go under No Room.
Much of the same applies to naming the scene as well, except you actually have to give it name to be able to finish the configuration.
To finish the set-up, tap on Finish.
You can find a list of your existing scenes in the Scenes section of the app, where your newly created scene should appear.

The three icons to the left of the scene name are used to (from left to right) manually set off the scene, edit it, and remove it. The icon on the left is used to enable and disable the scene (that is to say, if you disable a scene, it won't run until you've re-enabled it). If the button is green, it means that the scene is active, while if the button is grayed-out, it means that the scene is disabled.


Comments
0 comments
Please sign in to leave a comment.