(click here to skip ahead for a quick guide to setting up a user)
Assuming yours is the main account on the controller (i.e. the account that it is assigned to), you can have various users under this account that you can invest with varying access rights. You can freely remove or edit the settings for a certain user, including the permissions, later on.
You can decide where and what kind of access a user has. That is to say, supposing you have five controllers assigned to your account, you can allow a user access to all, some, or just one of them.
What's more, there are various permission levels you can grant users, as explained below. These go a long way toward precluding accidental or unauthorized changes being made to your system, coming in especially handy in situations where many people interact with it.
- Account Administrator : The Account Administrator is the highest-level type of user you can create, and they have full control over the system, and implicitly, the other accounts, being able to remove or change the access rights for them. They can change anything ranging from the way the system operates, e.g. which sensors are armed in which mode, to account-related information such as home address. In a nutshell, there are no restrictions in place for this kind of user, and they have the run of the system. Typically, the person whose account the controller is tied to is the only Administrator, but other users can readily be given administrator permissions as well, if need be.
- Advanced User : The dividing line between an Advanced User and the Account administrator is drawn at control over other users. Advanced Users cannot remove, create, or in any way change the settings for other users. Barring this, they can do everything Account Administrators can. Considering the high-level permissions, Advanced User status should be reserved for those who are supposed to be able to freely change device and scene settings and configure the way the system works.
-
Basic User : The Basic User level of permissions is usually the most common, especially for larger families or small businesses with employees. A Basic User can operate the Vera system as allowed by the Account Administrator(s). Typically this is the level that's assigned to most family members (especially children), or household help, or employees of a small business. Essentially, a Basic User can use the system but cannot make any changes to account settings or how the system is set up, and cannot create or modify other users accounts.
-
Notification-Only Recipient : A Notifications-Only Recipient will only receive text and/or email notifications in case of events such as security breaches, temperature extremes, and other safety or security occurrences (Which events will trigger these notifications is under the control of the Account or Guest Administrators). With the lowest level of permissions granted, notification-only recipients cannot control or configure the system, nor, indeed, do they have access to it. That is to say, all of the users can log in using the credentials set by the Account Administrator and connect to the controller they've been given access to, except this kind of user: they can log in but will be denied access to the controller, as seen in the image below:
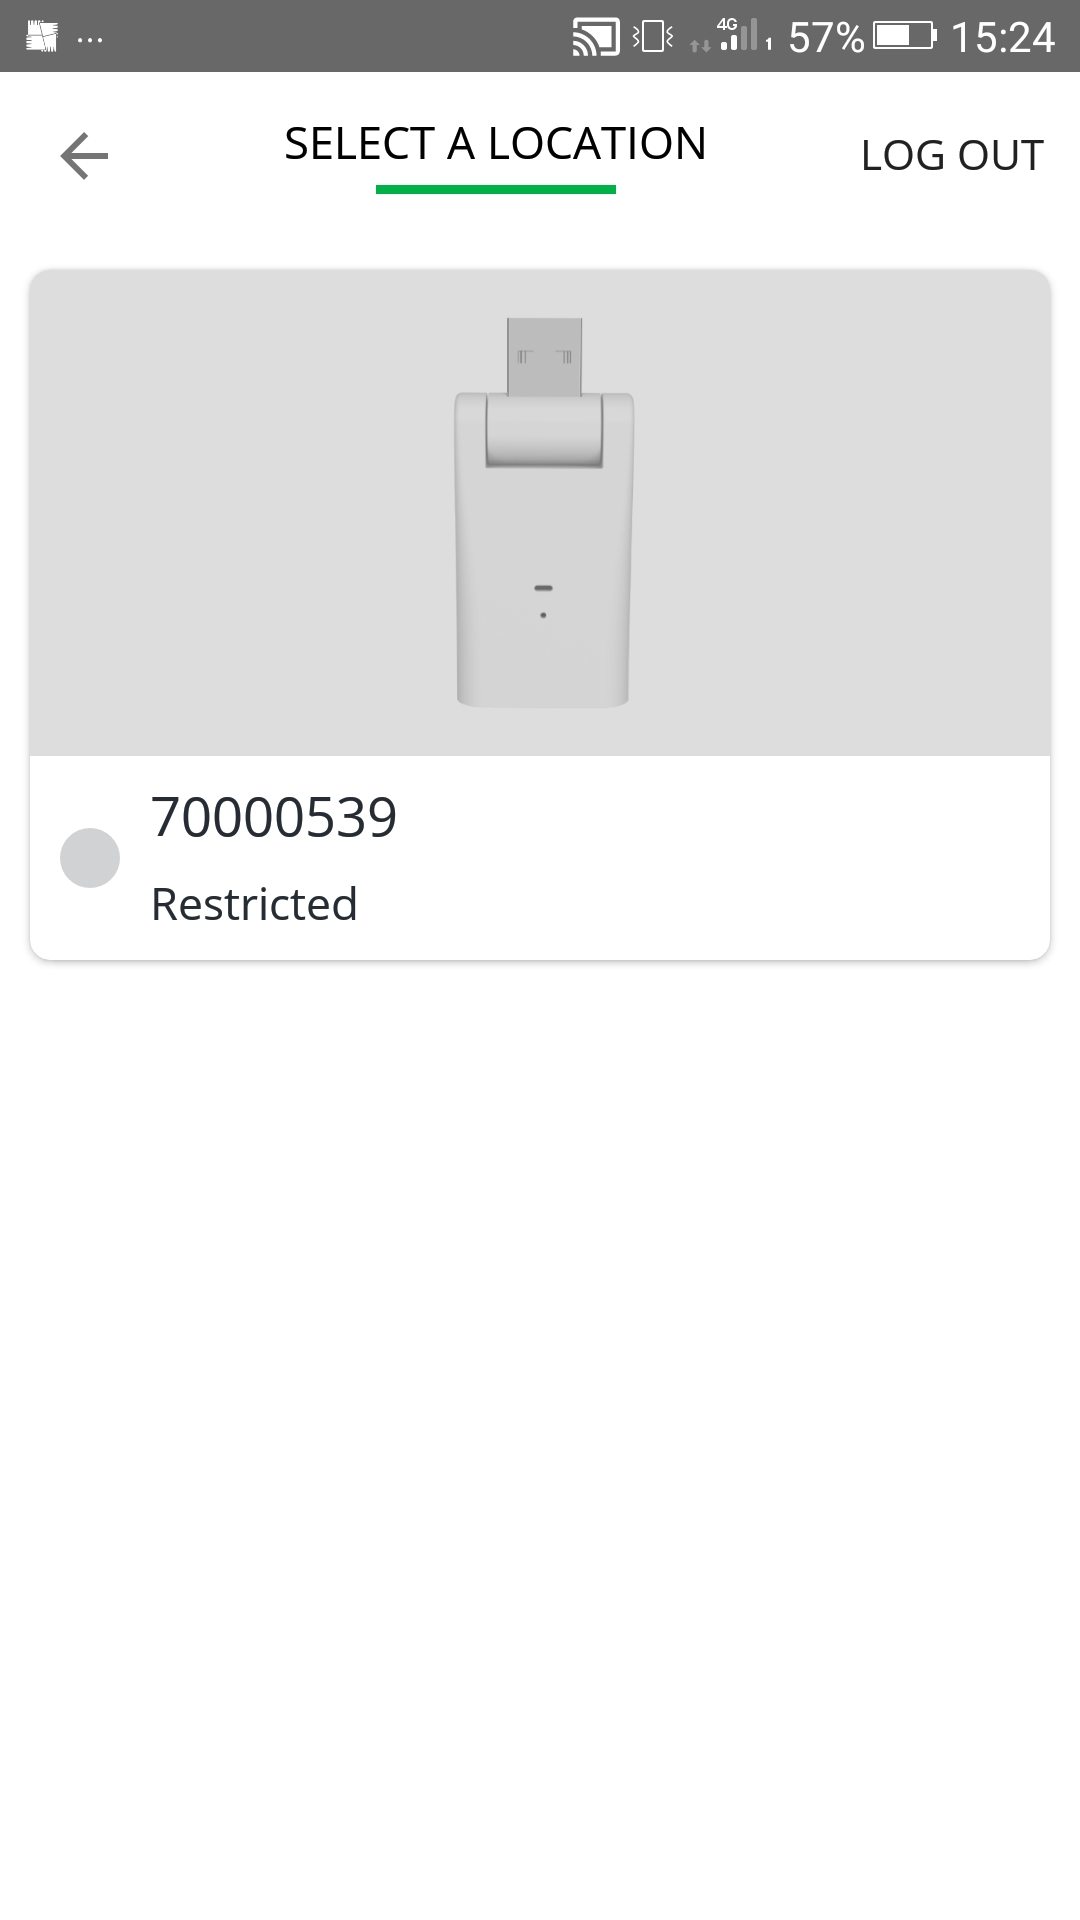
A note on users: The users you set up under your main account - that is to say the account that the controller is assigned to- are tied to it, in the sense that if you remove the controller from this account, the users automatically also lose access to it.
Short Guide to setting up a user
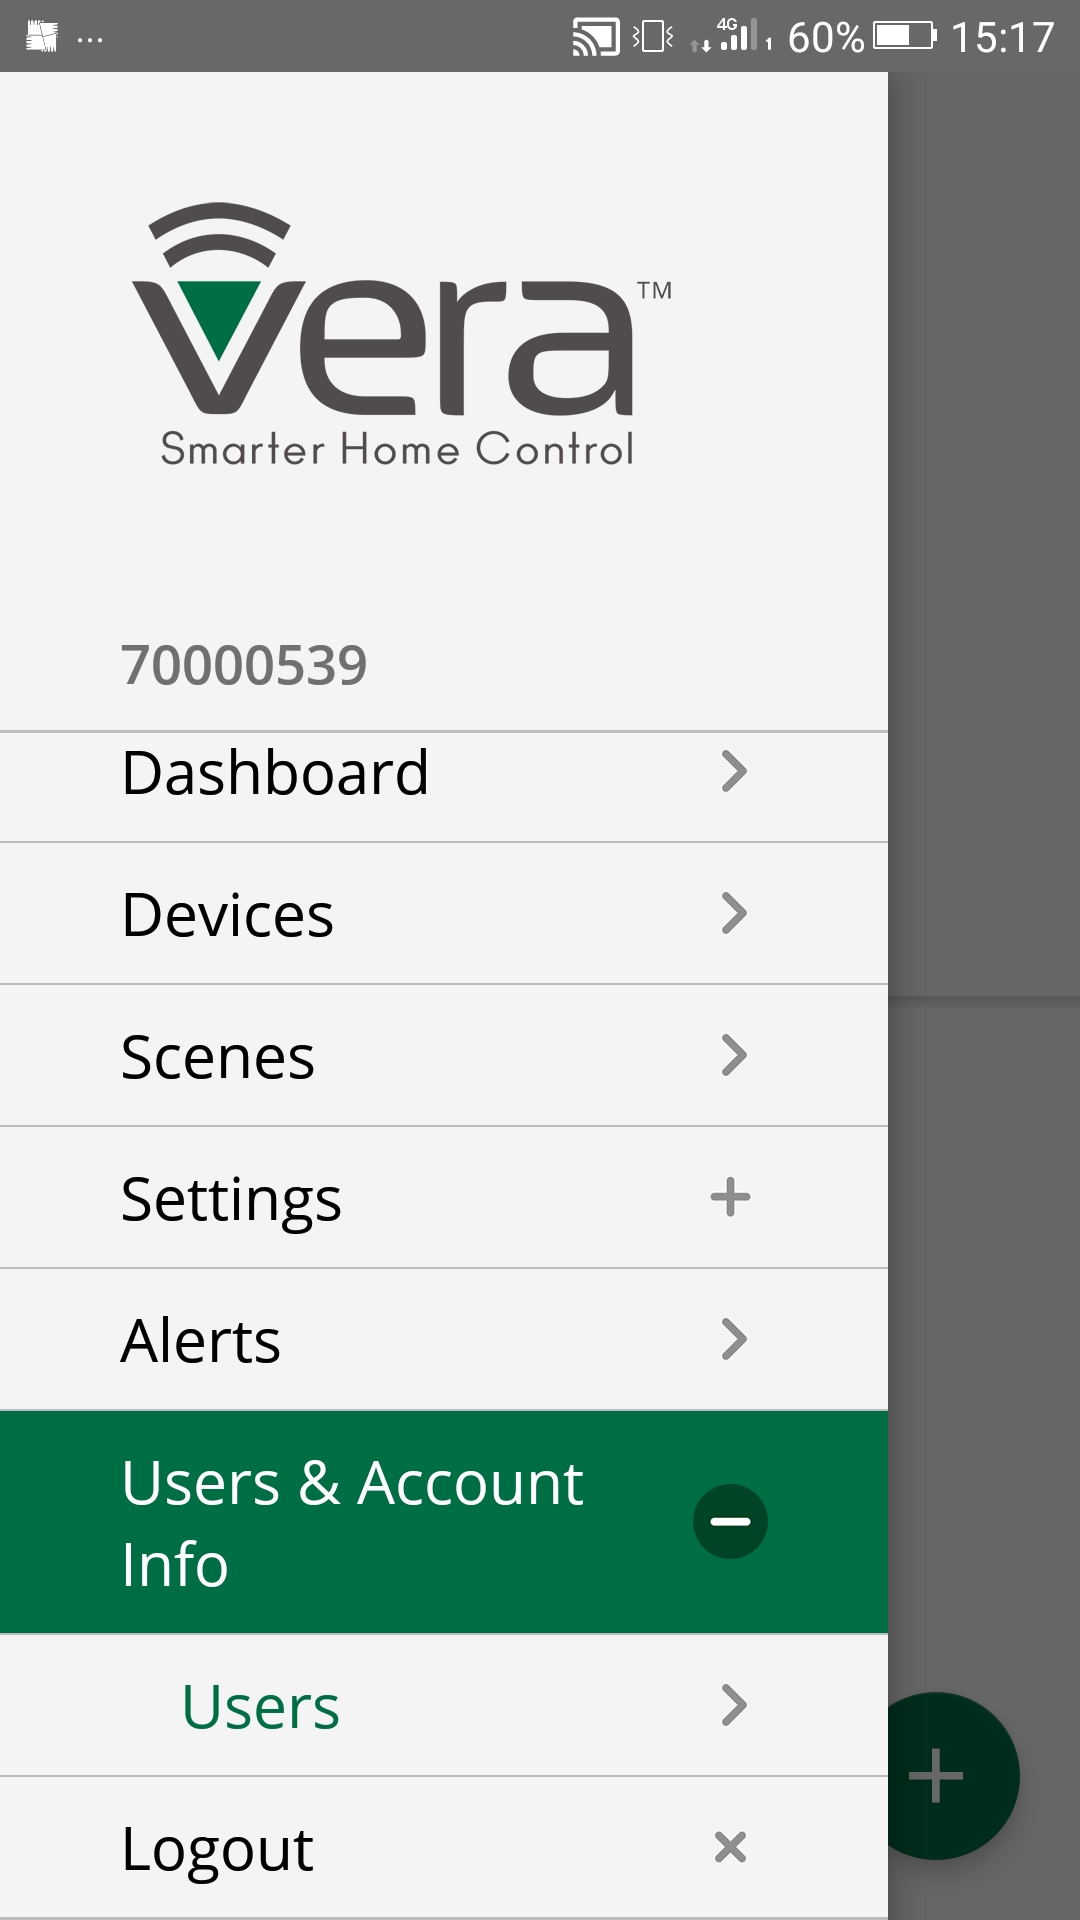
The Users section is to be found under Users & Account Info, on the left-hand-side menu. Once there, assuming there aren't any users set up, the page will look like the one on the right, below:
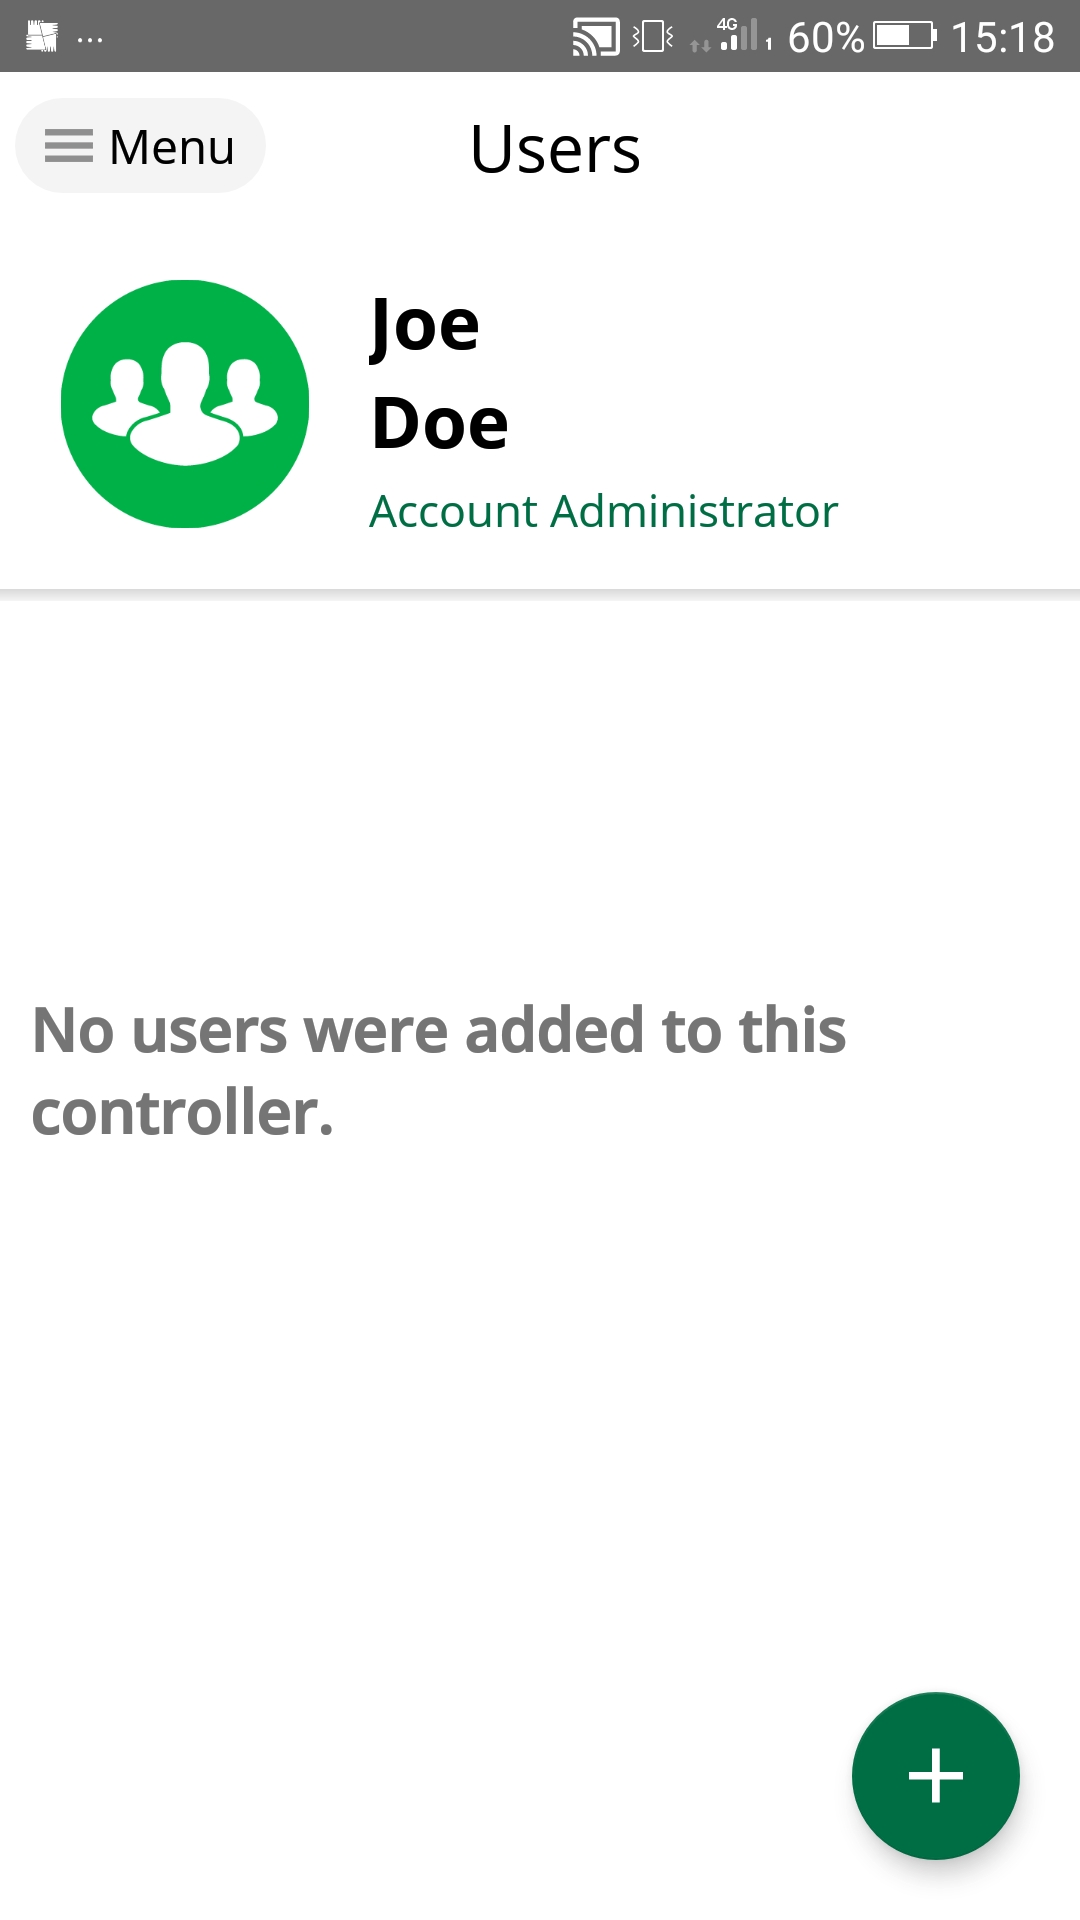
To set up a new user, click on the plus-sign button in the bottom left corner of the screen, which we'll immediately take you to the next page, where you can fill in user-related information like the first and last names and the email address, as well as add a profile-picture, if you're so inclined.
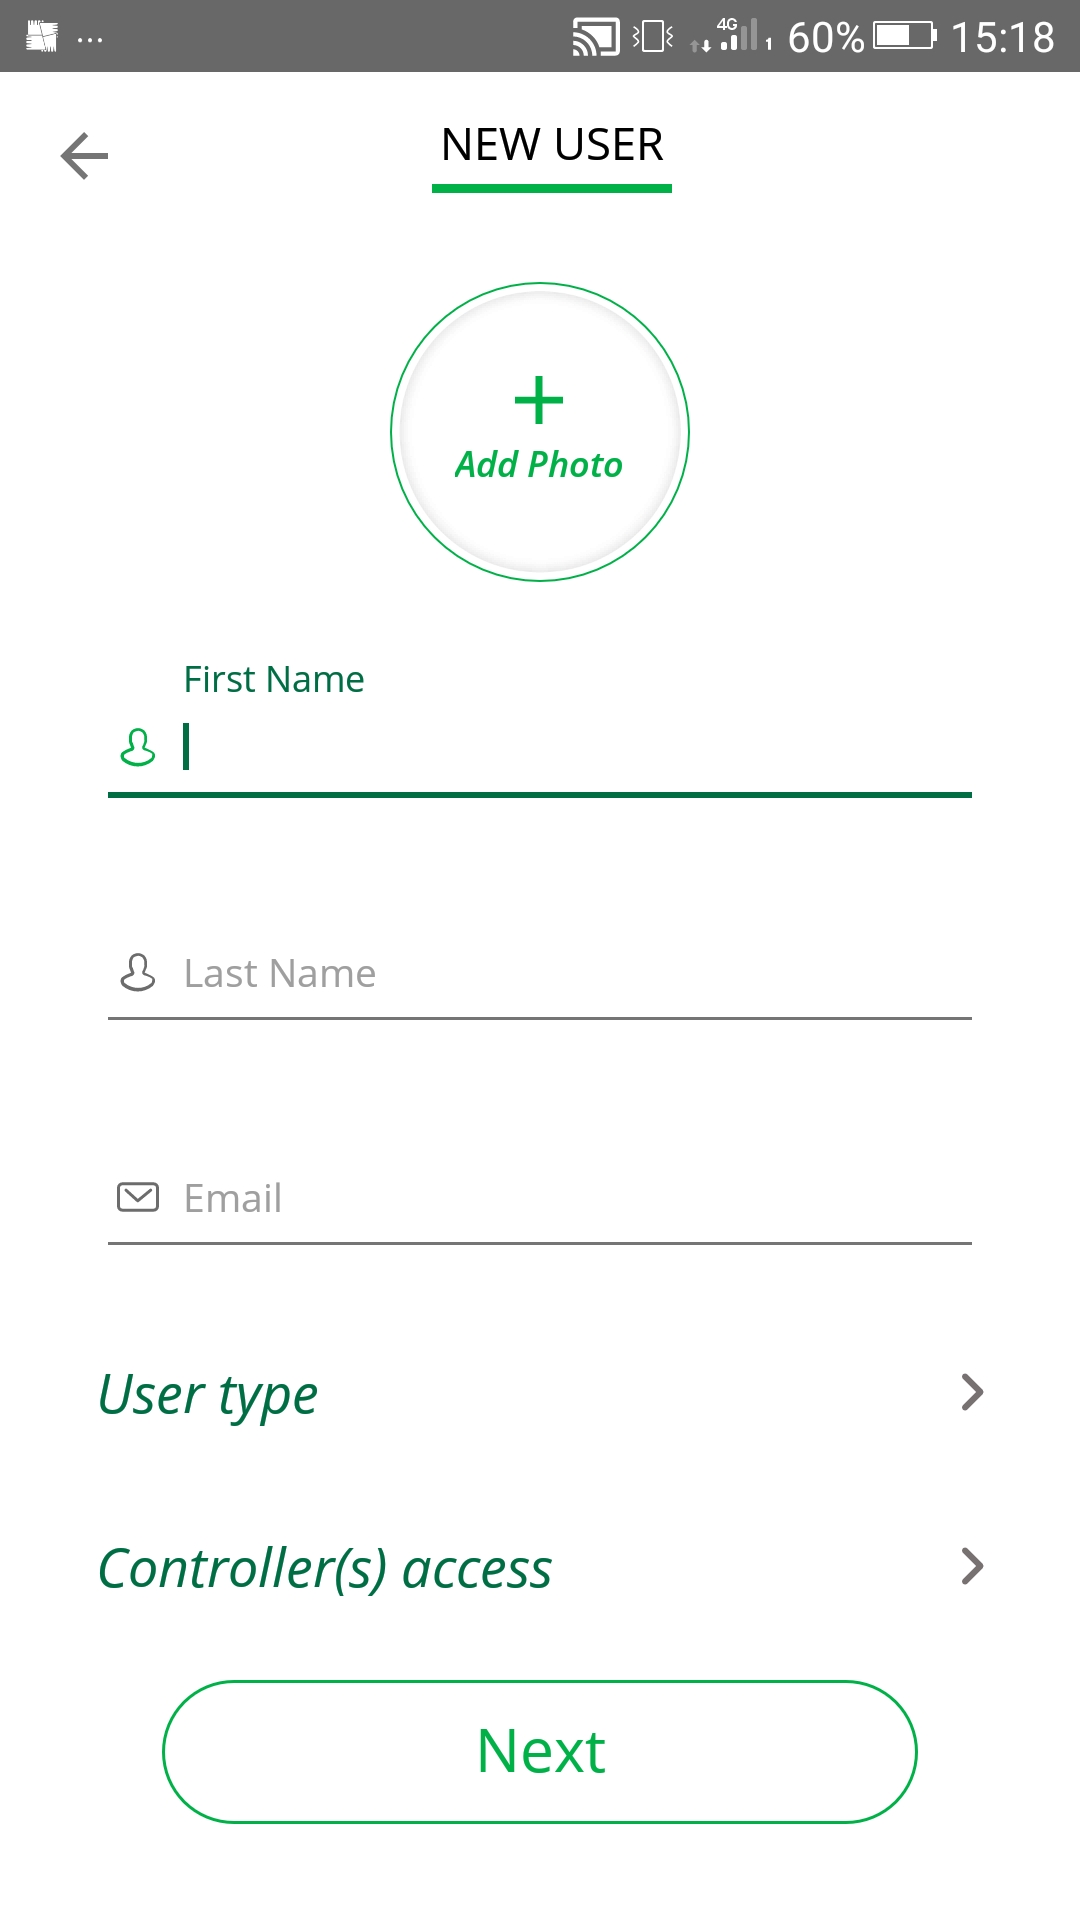
Below the Email input field, in User type, you have to select the access rights of the user (discussed above).

After deciding on the type of user (that is, what kind of permissions the user will have), you need to pick out the controllers that you want the user to have access to. This is useful when you have multiple controllers assigned to our account and want to limit the user's access, but there will only be one option if you only have one controller.
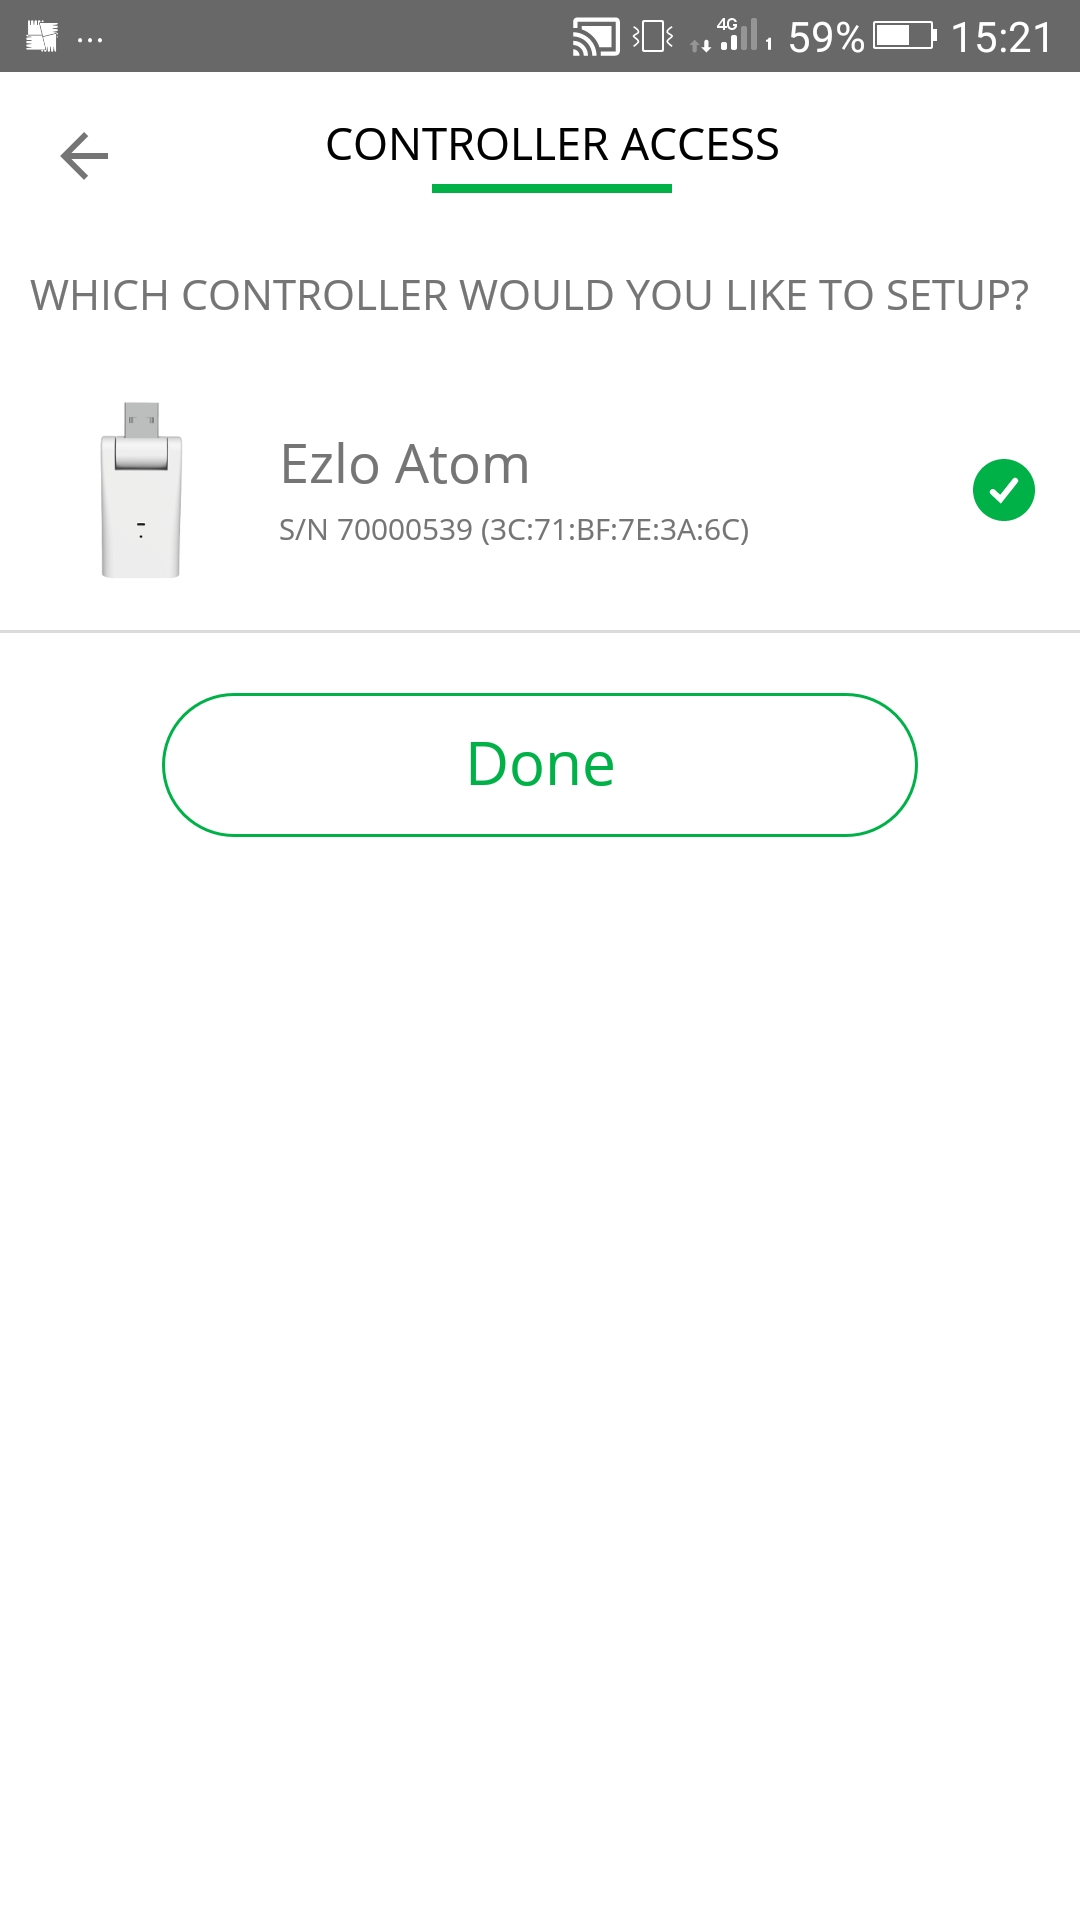
When finished, tap on Done to move on to the next and final page, where you'll need to set a username and password for the user. They will subsequently use these to log in the same way you do, and they'll be able to access your controller the same way, with the exception of the Notifications-only Recipient, in which case log-in is available but actual access to the unit is denied (see above).
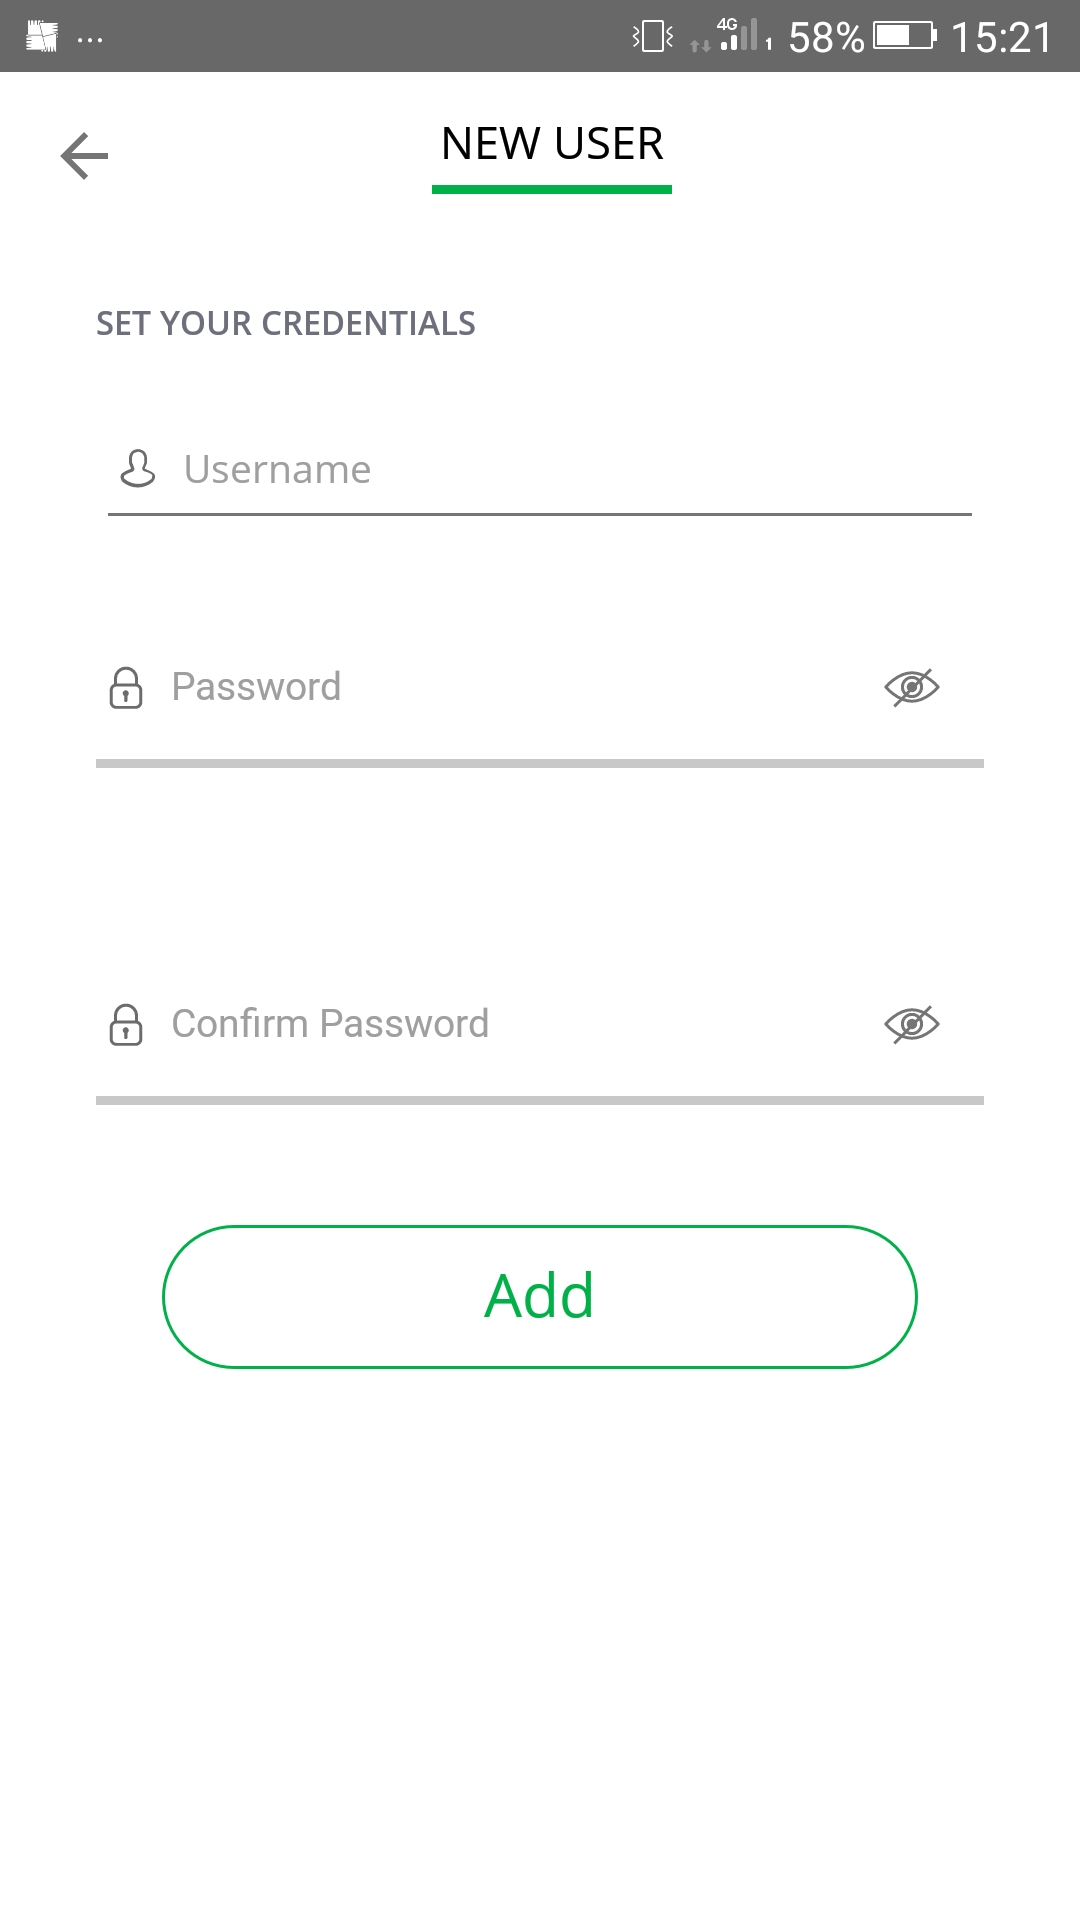
Finally, push the Add button to finish configuring the new user.
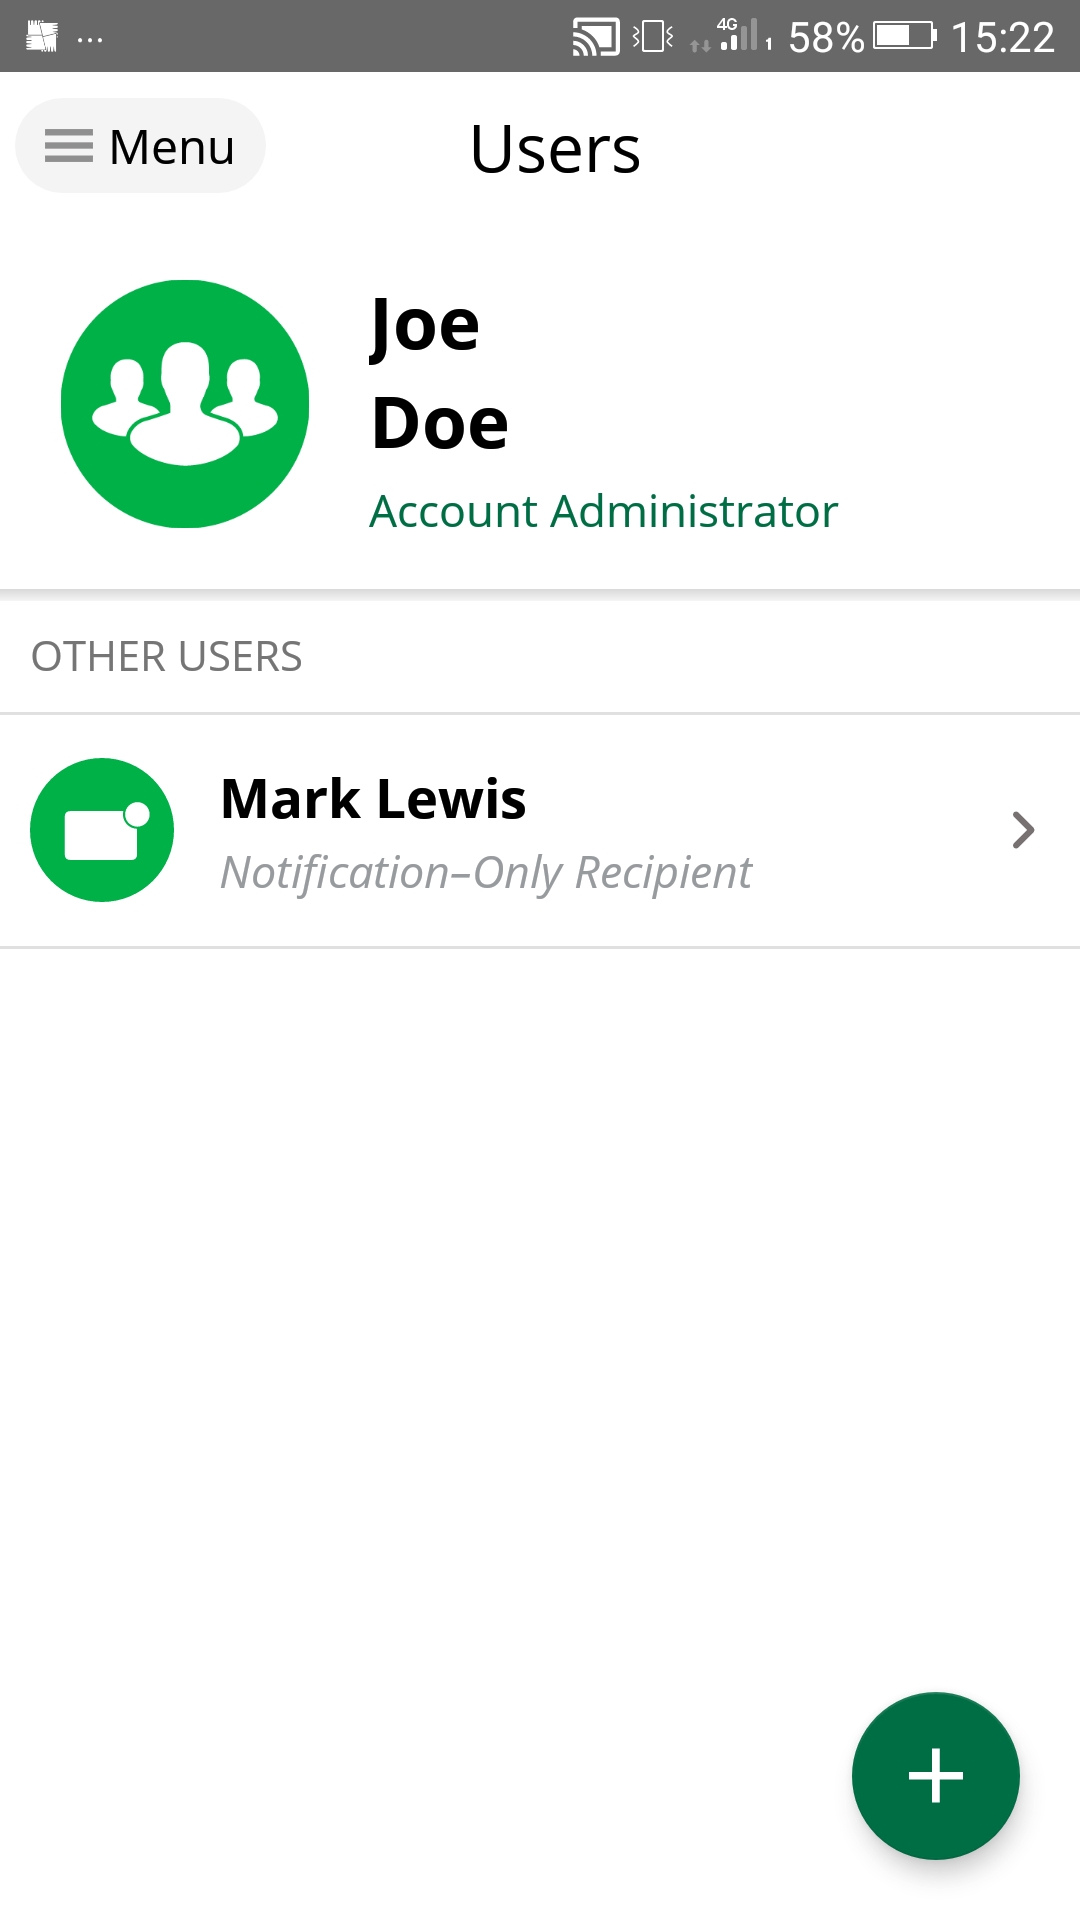
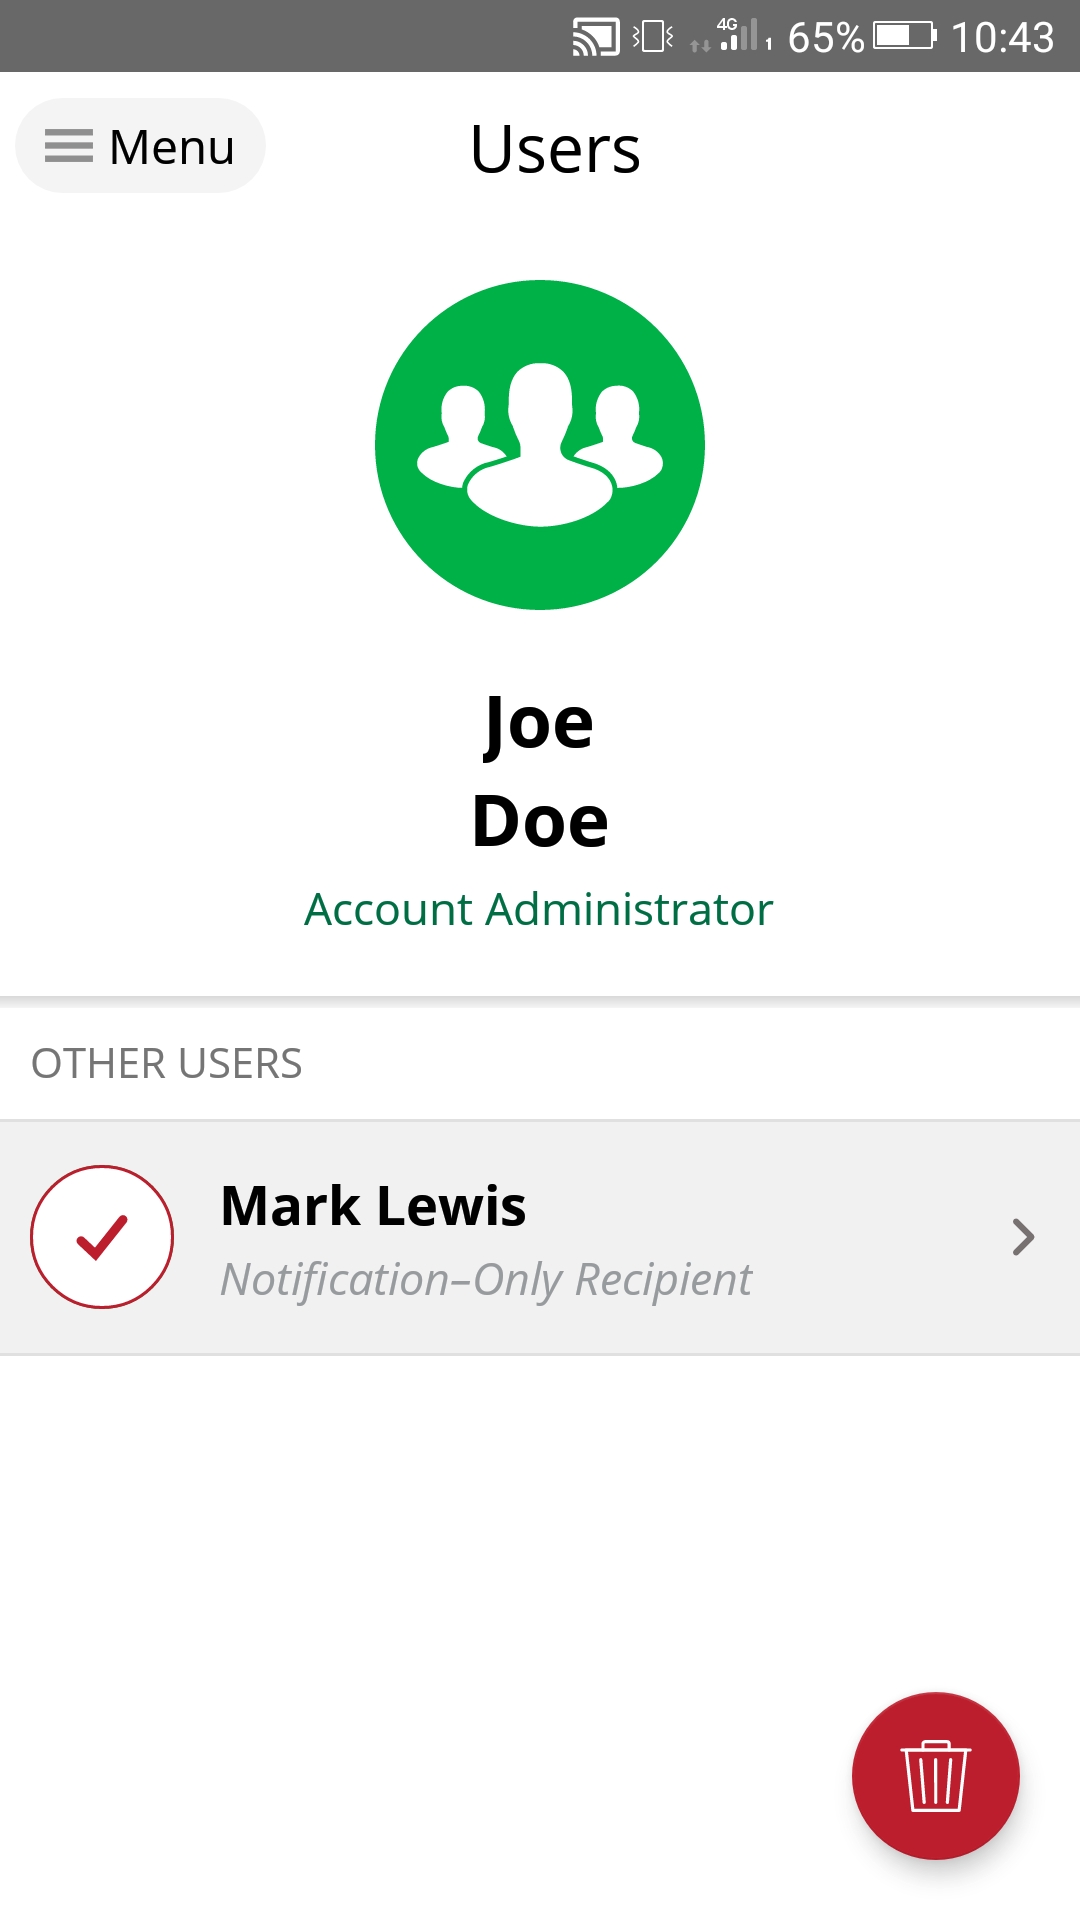
You can see all the users created, as mentioned above, in the Users section under Users & Account Info. You can easily change the settings for a particular user after the fact, if needed, by simply tapping on the respective user. Similarly, you can readily delete a user by tapping and holding and then tapping on the trash can icon that will have popped up.

Comments
0 comments
Please sign in to leave a comment.